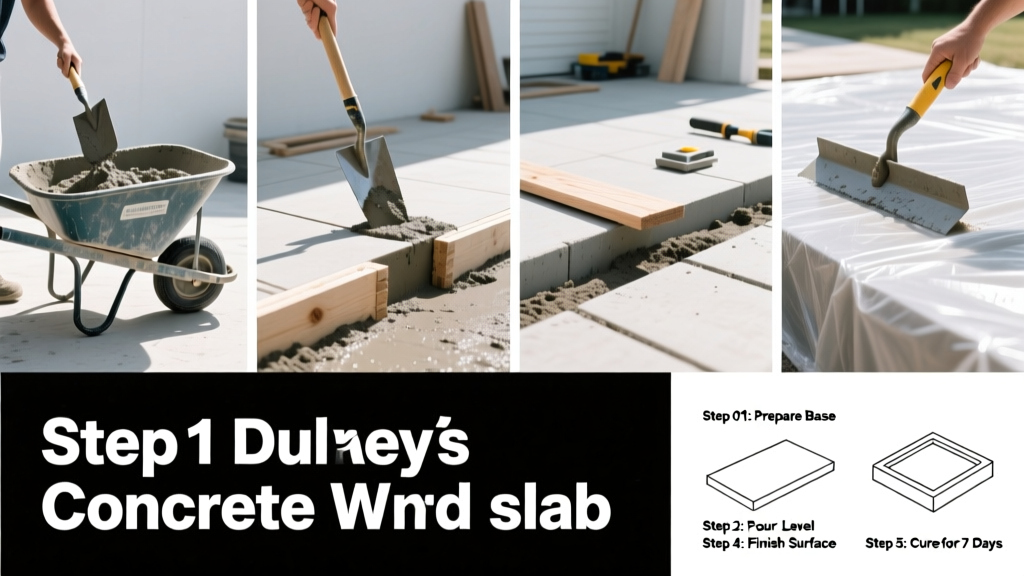
Forming concrete is the critical prep work that determines whether your patio, walkway, or garage slab stays level, square, and durable for decades—or cracks, settles, or slopes within a year. It’s a medium-difficulty skill requiring precision, not brute force, and takes 6–12 hours over 1–2 days (plus curing time). Done right, it saves hundreds in rework and repairs.
Overview
| Category | Details |
|---|---|
| Skill Level | Intermediate — requires measuring accuracy and basic carpentry |
| Time Required | 6–12 hours active work (plus 24–48 hrs before pouring, 7+ days curing) |
| Tools Needed | String line, transit or laser level, framing square, drill/driver, circular saw, sledgehammer, come-along or ratchet straps |
| Estimated Cost | $45–$120 for materials (lumber, stakes, nails, tie wire) — excludes concrete |
Tools & Materials
| Item | Specs & Notes |
|---|---|
| 2×4 or 2×6 lumber | Pressure-treated for ground contact; cut to exact form height + 1" extra for screeding |
| 16d galvanized nails | Or 3" deck screws — corrosion-resistant only; never use untreated nails |
| 18" rebar stakes or 2×2 stakes | Driven 12" deep outside form line; spaced ≤ 4 ft apart on straight runs |
| Form ties & spacers | Plastic snap-ties (for 4" slabs) or metal waler clamps; 24" on-center spacing |
| Laser level or builder’s level | Must read within ±1/8" over 10 ft — verify calibration before staking |
| Gravel base & sand | ¾" crushed stone, compacted to 4" depth; topped with 1" leveling sand |
Step-by-Step Instructions
1. Layout and Stake the Perimeter
Drive corner stakes 2" outside your intended slab edge. Stretch mason’s string between them, then use a framing square to confirm 90° corners. Measure diagonals — they must match within 1/8". Adjust stakes until both diagonals are equal. This step alone prevents 70% of alignment errors reported in leveling corrections later.
2. Install Grade Stakes and Set Elevation
Along each side, drive grade stakes every 4 ft. Use a laser level or rotating transit to mark a consistent elevation on each stake — this becomes your top-of-form reference. Record each mark’s height from ground. According to the American Concrete Institute’s ACI 302.1R-20, slab thickness tolerance is ±¼", so all marks must fall within that band.
3. Build and Brace the Forms
Cut lumber to length, ensuring ends are square. Nail or screw forms to stakes — never just toe-nail into soil. Attach horizontal walers (2×4s) across the outside face every 3 ft, secured with 12" rebar pins driven 8" deep. For slabs >4" thick or >10 ft wide, add diagonal braces anchored to ground stakes. Never rely on soil alone to hold lateral pressure — wet concrete exerts up to 1,500 psf against forms.
4. Check Alignment, Level, and Tie Off
Re-check string lines and corner angles. Run a straightedge along the top edge — no gap >1/8". Install plastic snap-ties every 24" to maintain width under hydrostatic pressure. Fill gaps behind forms with native soil and tamp firmly. Then, place 1" sand over compacted gravel base and screed smooth — this is your final bedding layer.
"Most concrete failures begin before the pour — not during. If your forms shift more than 1/16" during vibration, you’ve already compromised structural integrity." — Gary L. Hays, ACI-certified Field Technician, Concrete Construction Magazine, 2022
Pro Tips
Avoid these three common missteps: First, skipping base compaction — un-compacted gravel settles unevenly, causing edge drop-offs. Second, using untreated lumber for forms — moisture warps it within hours, distorting dimensions. Third, omitting expansion joints every 10–12 ft on slabs >8 ft wide. Without them, thermal stress creates random cracking.
Always pre-soak wooden forms for 30 minutes before pouring — dry lumber absorbs water from the mix’s surface, creating a weak, dusty finish. And never remove forms before 24 hours: premature stripping causes corner chipping and edge spalling, especially in cool weather.
- For driveways or heavy-load slabs, upgrade to 2×6 forms and 6" gravel base
- Use a chalk line snapped directly on the form top to guide screeding — faster and more accurate than relying on string lines
- If pouring in temps below 50°F, cover forms overnight with insulated blankets — cold concrete gains strength 50% slower (Portland Cement Association, 2021)
How deep should gravel base be for a 4-inch patio slab?
Minimum 4 inches of compacted ¾" crushed stone — tested with a plate compactor at 95% Proctor density. Less than that invites frost heave in cold climates and settling under foot traffic. See our full ground prep guide for soil-specific recommendations.
Can I use plywood instead of dimensional lumber for forms?
Only if it’s 3/4" exterior-grade plywood, screwed to 2×4 stiffeners every 16". Standard 1/2" plywood bows under concrete pressure and leaks slurry. Contractors report 3× higher repair rates on plywood-formed residential slabs (National Ready Mixed Concrete Association, 2023).
Do I need rebar for a 10×12-foot backyard patio?
Yes — #3 rebar grid at 18" on-center, elevated 2" off the base with concrete chairs. Unreinforced slabs crack predictably at control joints and under point loads like grill stands or planter boxes.
What’s the best way to prevent form blowout during pouring?
Limit pour rate to ≤ 4 ft/hr vertically, use a pump chute or wheelbarrow ramp to reduce impact, and vibrate only after each 12–18" lift — never plunge deeply near forms. Blowouts happen most often at corners and where forms meet grade stakes.
How long do I wait before walking on the slab?
You can walk on it lightly after 24 hours if temps stay above 60°F and humidity is moderate. But wait 7 days before parking cars or placing heavy furniture — compressive strength reaches only ~70% at 3 days and 90% at 7 days (ACI 302.1R-20).
Why does my form keep leaning outward when I backfill?
Because you’re applying lateral pressure before the concrete sets. Fix it by installing angled braces (2×4s cut to 30°) from the top of the form down to ground stakes driven 18" deep — not just soil. Also, backfill in 6" lifts and tamp each layer.
Forming concrete isn’t about speed — it’s about disciplined repetition of measurement, bracing, and verification. Get the forms right, and the pour becomes predictable. Rush any step, and you’ll spend twice as long grinding, patching, or replacing. When your first finished slab holds up through two winters and still looks clean at the edges? That’s the moment you know you’ve earned the title of concrete framer.