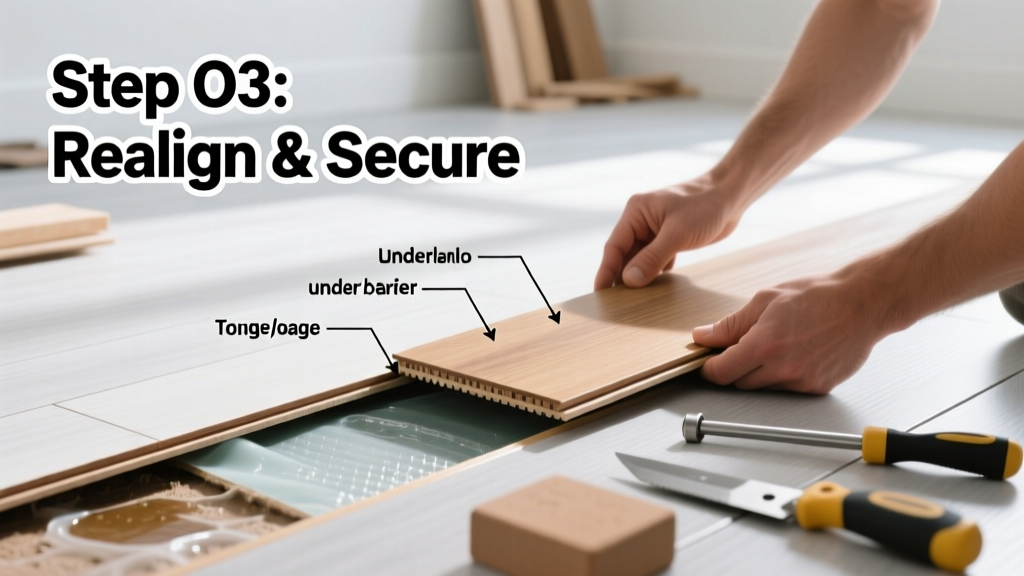
Fixing buckling laminate flooring is a mid-skill DIY task that takes 2–4 hours depending on the affected area. It’s not about replacing planks—it’s about diagnosing moisture, relieving pressure, and resecuring the floor properly. Most buckles can be resolved without removing the entire run.
Overview
| Skill Level | Time Required | Tools Needed | Estimated Cost |
|---|---|---|---|
| Intermediate | 2–4 hours | Utility knife, pry bar, tapping block, rubber mallet, moisture meter, caulk gun | $12–$38 (mostly for underlayment & spacers) |
Tools & Materials
| Item | Quantity | Notes |
|---|---|---|
| Moisture meter (pin-type) | 1 | Essential: Confirm subfloor moisture is ≤75% RH per NWFA standards (2022) |
| Expansion spacers (1/4") | 6–10 | Plastic or foam; never substitute with cardboard |
| Underlayment patch (foam + vapor barrier) | 1–2 sq ft | Match existing thickness (usually 2–3 mm) |
| Construction adhesive (laminate-rated) | 1 tube | Loctite PL Premium or Bostik Best — avoid water-based glues |
| Utility knife with snap-off blades | 1 | For precise undercutting of baseboards |
Step-by-Step Instructions
1. Identify and isolate the buckle
Start at the most visible raised section—usually near walls or doorways. Gently press down on adjacent planks. If they lift or click audibly, the buckle is active and expanding. Mark the outermost affected planks with painter’s tape. Never step directly on a buckle—it can crack the locking mechanism.
2. Remove baseboard and expansion gap cover
Use a utility knife to cut any caulk sealing the baseboard to the floor. Insert a pry bar behind the baseboard at stud locations only (avoid drywall damage), then gently lever it free. Set aside nails and screws. Check the expansion gap: if it’s fully closed (<1/8”), that’s your primary cause.
3. Relieve pressure and inspect the subfloor
Insert a thin pry bar between the buckled plank and its neighbor. Tap *gently* with a rubber mallet to separate the tongue-and-groove joint just enough to release tension—not to remove the plank. Lift the edge slightly and slide in a moisture meter probe. According to the National Wood Flooring Association’s 2022 Field Guidelines, subfloor moisture above 75% RH requires drying before reassembly.
4. Repair, reacclimate, and reinstall
If the subfloor is dry, replace damaged underlayment beneath the buckle using a fresh 2-mm foam/vapor-barrier patch. Reinstall planks starting from the wall, using expansion spacers every 12 inches. Tap joints together with a tapping block and mallet—never hammer directly on edges. Let the floor acclimate 24 hours before reinstalling baseboards.
- Tip: If buckling recurs within 3 weeks, test HVAC humidity—laminate thrives between 35–55% RH (U.S. EPA Indoor Air Quality Guide, 2023)
- Warning: Never glue down floating laminate. Doing so voids warranties and traps moisture.
Pro Tips
Seasoned installers know buckling rarely starts where it’s most visible. Trace the ripple backward—the true origin is often 3–5 planks away, near a doorway or heating vent. Also, never skip the moisture test—even in ‘dry’ basements. The U.S. EPA estimates 14% of household water usage is from leaks, many hidden under flooring.
“Most ‘buckling’ isn’t structural failure—it’s the floor trying to breathe. Fix the environment, not just the symptom.” — Mike R., 22-year NWFA-certified installer, quoted in Flooring Contractor Magazine, 2023
- Common mistake: Using too much adhesive. A 1/8" bead along the groove side is sufficient—not a full perimeter.
- Pro move: After reinstallation, walk the full length wearing soft-soled shoes. Listen for hollow sounds—they indicate poor subfloor contact.
Why does laminate buckle only in one room?
Uneven HVAC airflow or localized plumbing leaks cause microclimate differences. Bathrooms and kitchens see 3× more moisture spikes than living rooms (Building Science Corporation, 2021). Check supply vents and toe-kick heaters first.
Can I fix buckling without removing planks?
Only if the buckle is minor (<1/8" rise) and isolated. Drill two 1/16" pilot holes through the raised plank into the subfloor, inject construction adhesive with a needle-tip applicator, then weight it with books for 48 hours. Success rate drops sharply beyond 3 sq ft.
Do I need to replace the underlayment?
Yes—if it’s compressed, torn, or shows discoloration. Even if dry, degraded foam loses 60% of its cushioning after 5 years (Laminate Flooring Association Product Testing Report, 2022). Patch only for temporary fixes.
Will buckling come back after repair?
It will—if humidity stays above 60% RH for >48 consecutive hours or if expansion gaps remain obstructed. Install a $25 hygrometer near the floor and check weekly for the first month.
What’s the difference between buckling and cupping?
Buckling lifts the entire plank upward at the ends; cupping curls edges upward while the center stays down. Cupping signals surface moisture (e.g., spills); buckling points to subfloor or ambient humidity issues. See our guide on how to fix cupping laminate flooring for contrast.
Can furniture weight cause buckling?
Rarely—but heavy items placed directly over expansion gaps (like a piano leg on a threshold) restrict movement and initiate ripple effects. Always use felt pads and position furniture at least 6 inches from walls.
Fixing buckling laminate isn’t about brute force—it’s about listening to what the floor is telling you. Once you’ve addressed moisture, gaps, and acclimation, your floor will settle back into place quietly and securely. For persistent issues, consult a certified inspector—especially if you suspect slab leakage. And remember: your laminate installation checklist and underlayment selection guide are always here if you need deeper context.