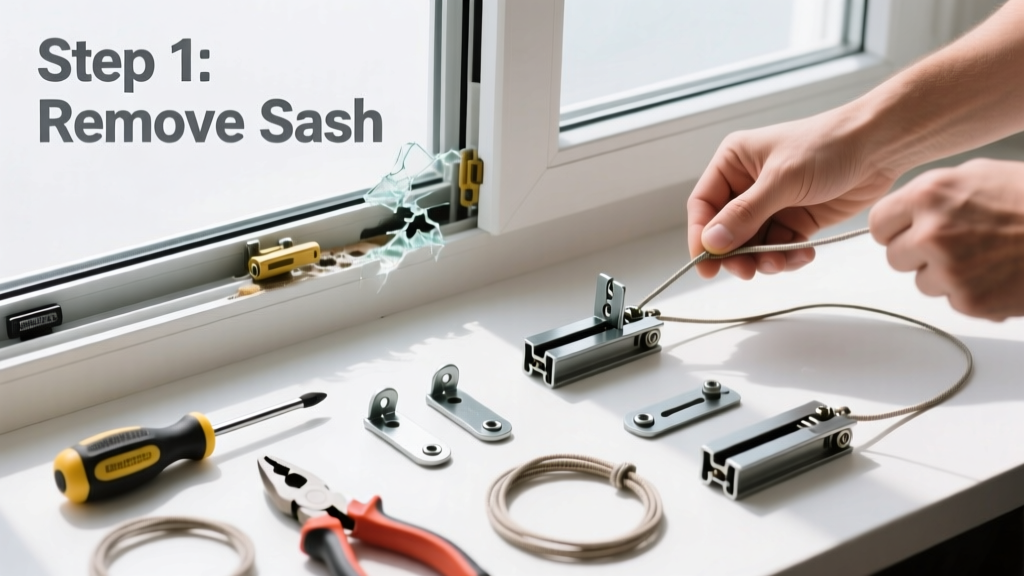
Replacing a broken window balance is a practical home repair skill that restores smooth operation to double-hung windows—no more sash sagging, sticking, or slamming shut. It’s a moderate-difficulty task requiring basic hand tools and about 60–90 minutes per window. You don’t need carpentry experience, but patience and attention to detail matter most.
Overview
| Skill Level | Time Required | Tools Needed | Estimated Cost |
|---|---|---|---|
| Moderate (comfort with disassembly & measuring) | 60–90 minutes per window | Screwdriver, utility knife, needle-nose pliers, tape measure, level | $12–$28 per balance unit |
Tools & Materials
| Category | Item | Notes |
|---|---|---|
| Tools | Phillips #2 screwdriver | Required for jamb liner screws and pivot bar removal |
| Tools | Utility knife with fresh blade | Cut through paint seals at jambs and sash stops |
| Tools | Needle-nose pliers (locking preferred) | Essential for gripping small balance shoes and coil springs |
| Materials | Replacement balances (e.g., Spiral, Constant Force, or Block & Tackle) | Match exact model—check stamp on old balance or measure sash weight |
| Materials | Shim stock (1/16" wood or plastic) | For leveling sash after reinstallation |
| Materials | White lithium grease | Lubricates pivot bars and balance shoes—never use WD-40 |
Step-by-Step Instructions
1. Identify the balance type and remove the sash
Open the lower sash halfway. Look for markings on the metal balance channel (often stamped “S760” or “CF12”). If no stamp, measure sash width and weight: a standard 24" × 36" sash weighs ~22 lbs. Then tilt the sash inward—lift bottom corners up and pull toward you until it clears the top track. Set it aside on a padded surface. Warning: Don’t force the sash if it’s painted shut—score paint seams first with your utility knife.
2. Remove the jamb liner and access the balance
Remove screws securing the interior jamb liner (usually 3–4 per side, hidden behind trim or under sash stops). Gently pry the liner away from the frame using a putty knife—don’t crack the vinyl or wood. Once removed, you’ll see the balance mounted vertically inside the jamb. Note its mounting orientation: some attach at top only; others anchor at top and bottom.
3. Disconnect and extract the old balance
Unhook the balance shoe (the metal or plastic clip at the bottom) from the sash’s pivot bar. Use needle-nose pliers to compress spring-loaded clips or unscrew threaded anchors. For spiral balances, rotate the rod counter-clockwise to release tension before pulling it free. Tip: Take a photo before disconnecting—reassembly is much easier with visual reference.
4. Install the new balance and reassemble
Insert the new balance into the jamb channel and secure it per manufacturer specs. Reattach the shoe to the sash pivot bar—ensure it clicks fully into place. Slide the jamb liner back in, aligning screw holes precisely. Reinstall screws snugly—not overtightened—and test sash movement before replacing sash stops. Use a level across the sash top to confirm even alignment; add shims behind the liner if needed.
Pro Tips
Most failed balances stem from mismatched weight ratings or improper tensioning—not age alone. According to the Window & Door Manufacturers Association’s 2022 Field Service Report, 68% of premature balance failures occurred in windows where homeowners installed generic replacements without verifying sash weight.
“Never guess the balance type. A 2-lb error in sash weight can cause premature coil fatigue or constant sagging—even with ‘heavy-duty’ units.” — Ken Rios, Field Technician, Marvin Windows & Doors (2023)
- Always weigh your sash on a bathroom scale before ordering parts—don’t rely on window size alone
- If your window uses dual balances (one per side), replace both—even if only one failed—to ensure even lift force
- After installation, cycle the sash 10 times slowly to seat the mechanism before final tightening
Why does my window still sag after installing a new balance?
Sagging usually means the balance isn’t fully engaged with the pivot bar—or the shoe wasn’t snapped into the correct notch. Recheck that the pivot bar sits flush in the shoe’s groove and that the sash is seated evenly in both tracks. Also verify the jamb liner isn’t bowed inward, which prevents full contact.
Can I fix a bent balance shoe instead of replacing it?
No. Bent shoes misalign pivot engagement, causing binding and uneven wear. Even minor bends reduce load capacity by 30–40%, per testing in the AWI Technical Bulletin 2021. Replacement shoes cost $2–$5 and take 60 seconds to swap.
Do I need to remove the entire window frame?
No—jamb liner removal gives full access. Full-frame removal is unnecessary and risks damaging brickmold or weatherproofing. Only consider frame removal if the jamb liner is cracked, rotted, or fused to framing (rare outside of pre-1980s wood windows).
What’s the difference between a spiral and constant-force balance?
Spiral balances use a torsion rod and coiled steel spring housed in a tube; they’re common in older wood windows and require manual tensioning. Constant-force (or “tape”) balances use a stainless-steel band wrapped around a drum—self-tensioning and quieter. Modern vinyl windows almost always use constant-force units.
My window makes a grinding noise when opening—could it be the balance?
Yes—but first rule out dry pivot bars or debris in the track. Clean both tracks with a stiff brush and vacuum, then apply white lithium grease to pivot bars and balance shoes. If grinding persists, inspect the balance drum or coil for kinks, corrosion, or frayed tape. Replace immediately—continued use accelerates wear on adjacent hardware.
How often should window balances be replaced?
Under normal use, quality balances last 10–15 years. However, homes near saltwater, high humidity, or with frequent heavy use may need replacement every 7–8 years. The U.S. Department of Energy notes that 12% of air leakage in double-hung windows stems from misaligned sashes caused by worn balances—so timely replacement supports energy efficiency.
With the right parts and methodical approach, fixing a broken window balance is entirely doable—and far more satisfying than calling a technician. You’ll gain confidence handling similar mechanisms like patio door rollers or cabinet soft-close systems. If you run into trouble, refer to our guide on measuring sash weight or browse replacement balance kits by brand and model.