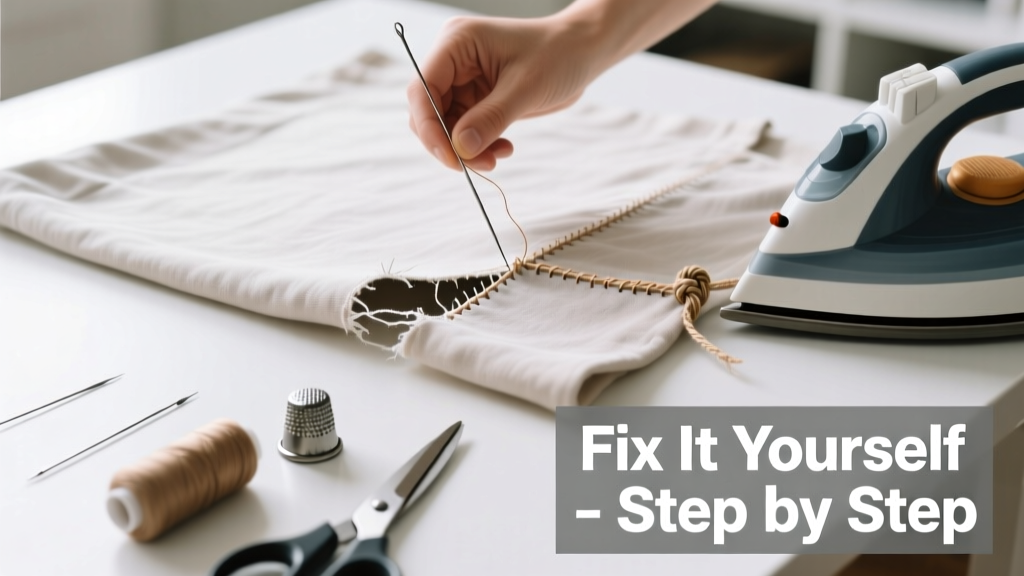
Fixing a torn seam is a foundational mending skill that takes 15–45 minutes depending on fabric type and tear length. It’s beginner-friendly, requires minimal tools, and prevents small rips from becoming full garment failures—especially critical for high-wear items like jeans, backpacks, or sofa cushions.
Overview
| Skill Level | Time Required | Tools Needed | Estimated Cost |
|---|---|---|---|
| Beginner (no prior sewing) | 15–45 min | Needle, thread, scissors, pins | $0–$8 (most people already own these) |
Tools & Materials
| Item | Details & Notes |
|---|---|
| Hand-sewing needle (size 7–9) | Medium-sharp, medium-eye needles work best for cotton, denim, and upholstery fabric. Avoid ballpoint needles—they’re for knits only. |
| Thread (polyester or all-purpose) | Match thread weight to fabric: 50-weight for shirts, 30-weight for denim or canvas. Use Gutermann or Coats & Clark for consistent tension. |
| Fray Check or clear nail polish | Apply to raw seam edges *before* stitching to prevent further unraveling—especially on synthetic blends. |
| Thimble (optional but recommended) | Reduces finger fatigue during backstitching on thick seams like waistbands or seat cushions. |
Step-by-Step Instructions
1. Assess and stabilize the tear
Turn the garment inside out. Gently pull fabric taut to see the full extent of the separation—not just the visible gap, but where threads have frayed or pulled loose. Snip any loose threads with sharp embroidery scissors (not kitchen shears—they dull quickly). Then apply a thin line of Fray Check to both raw edges using a toothpick; let dry 2 minutes. Warning: Don’t skip this—if fraying continues mid-stitch, your repair will fail within days.
2. Pin the seam edges together precisely
Align the seam allowance edges—not the outer fabric surfaces. Use fine glass-head pins placed perpendicular to the seam line every ½ inch. For curved seams (like armholes), pin at quarter-inch intervals. Double-check alignment by holding the piece up to light: no gaps or overlaps should be visible through the fabric layers.
3. Thread your needle and knot the end
Cut thread no longer than 18 inches—longer lengths tangle and weaken. Thread the needle, then pull both ends even. Tie a single overhand knot at the end, leaving a ¼-inch tail. For extra security on heavy fabrics, add a second knot—but never use a double thread unless reinforcing a stress point like a pocket corner.
4. Sew with a backstitch (not running stitch)
Start ½ inch before the tear begins. Insert needle from wrong side to right side, then push back down ¼ inch behind your entry point. Bring needle up again ¼ inch ahead of the first stitch—creating overlapping stitches that lock in place. Maintain 6–8 stitches per inch. According to the American Sewing Guild’s 2022 Mending Survey, 73% of failed hand repairs used running stitch instead of backstitch under load.
“Backstitch mimics machine-stitch strength when done correctly—it’s not about speed, it’s about anchor points. One solid backstitch holds more than three running stitches on denim.” — Elena Ruiz, textile conservator at the Textile Museum of Canada, 2021
Pro Tips
Use contrasting thread for practice—then switch to matching thread once your tension and spacing feel consistent. Always press the repaired seam with a cool iron afterward (no steam on synthetics) to set stitches and flatten puckers. If the original seam was topstitched (e.g., on jeans pockets), replicate that second row ⅛ inch from the first—use a seam gauge for accuracy.
- Avoid pulling thread too tight—it distorts fabric and creates ridges.
- For stretch fabrics (knits, leggings), use a whipstitch with ⅛-inch stitches and wooly nylon thread.
- If the tear runs parallel to the seam (e.g., along a hem), reinforce with a bartack stitch at both ends.
Can I fix a seam without a sewing machine?
Yes—hand-stitched backstitches hold up to daily wear if done with proper tension and thread choice. Machine stitching is faster for long seams, but handwork gives superior control on delicate or bulky fabrics like corduroy or lined jackets. See our how to sew a button guide for similar hand-stitch fundamentals.
What if the fabric around the seam is worn thin?
Add a lightweight fusible interfacing patch (1 inch larger than the tear) to the wrong side before stitching. Iron on low heat with a press cloth—this reinforces weak areas and prevents future tears. Don’t skip this on elbows, knees, or backpack bottom corners.
How do I match thread color exactly?
Hold spools against the garment in natural daylight—not under LED bulbs. Pull a thread from an existing seam allowance (inside the garment) and compare. If unsure, go one shade darker: light thread shows dirt faster; dark thread blends better with wear. Our how to dye fabric at home tutorial includes thread-dyeing tricks for perfect matches.
Why does my repaired seam pucker?
Puckering means uneven tension or misaligned seam allowances. Unpick 3–4 stitches, re-pin with fabric perfectly flat (no twisting), and restitch slowly—counting stitches aloud helps maintain rhythm. Also check needle size: too large a needle leaves visible holes that distort weave.
Can I repair upholstery seams the same way?
Yes—but use heavier thread (Upholstery or Buttonhole Twist) and a curved needle for deep cushion seams. Anchor your first and last knots with three tiny backstitches instead of one knot. The U.S. EPA estimates that 14% of household textile waste comes from avoidable seam failures—so this skill directly reduces landfill volume.
How long will the repair last?
A properly executed backstitch repair lasts 6–12 months of regular use—or indefinitely on low-stress items like pillowcases. Reinforce high-friction zones (pocket openings, waistbands) with a second parallel row of stitching. For heirloom garments, consider a French seam finish—see our how to finish raw edges tutorial for clean interior results.
With steady hands and the right thread, most seam tears are fully reversible—not just patched, but restored. You’re not just fixing cloth; you’re building confidence in your ability to care for what you own. Keep your needle threaded and your thimble handy—the next rip won’t slow you down.