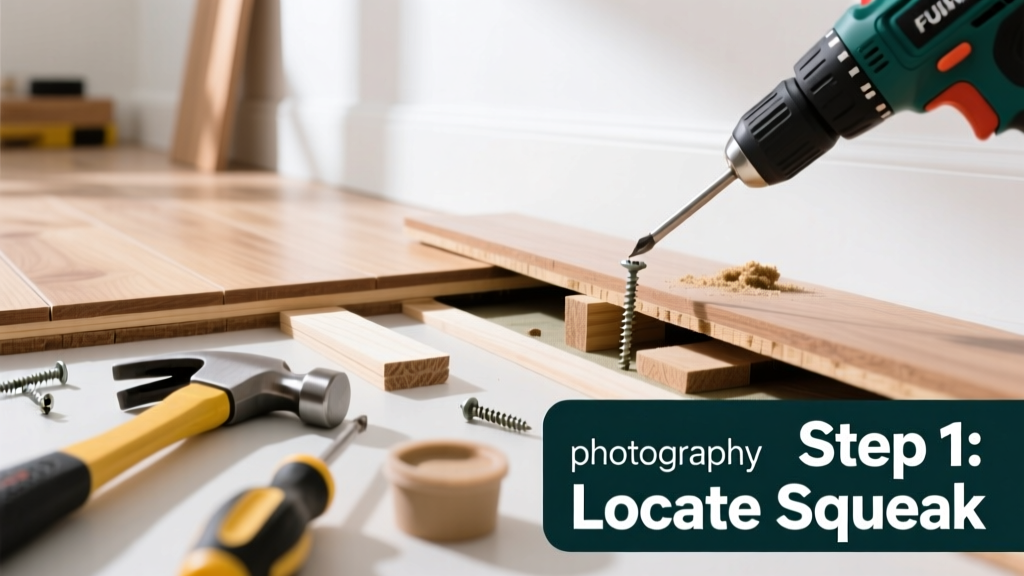
Fixing a squeaky floor is a mid-skill home repair that most homeowners can complete in 2–4 hours—depending on whether the squeak comes from a single board or a larger section of subfloor. No framing experience required, but patience and the right fasteners make all the difference.
Overview
| Skill Level | Time Required | Tools Needed | Estimated Cost |
|---|---|---|---|
| Intermediate (comfort with drills & stud finders) | 2–4 hours | Drill, screwdriver, stud finder, hammer, carpenter’s pencil | $12–$35 (mostly for screws and shims) |
Tools & Materials
| Item | Quantity | Notes |
|---|---|---|
| 1-5/8" coated drywall screws (or 2" deck screws) | 10–20 | Coated screws resist corrosion and grip better than drywall-only screws; avoid uncoated steel in humid areas |
| Wood shims (cedar or pine, 1/8"–1/4" thick) | 3–5 | Pre-cut shims are safer than improvised cardboard or plastic—they compress evenly and won’t degrade |
| Construction adhesive (e.g., PL Premium) | 1 tube | Used only when bridging gaps between joist and subfloor—not for surface fixes |
| Drill bit set (including countersink bit) | 1 set | A 1/8" pilot bit prevents splitting; countersink ensures screw heads sit flush |
| Stud finder with deep-scan mode (e.g., Bosch GMS120) | 1 | Standard stud finders often miss joists under carpet or thick flooring—deep-scan is essential |
Step-by-Step Instructions
Locate the source and map the joists
Walk slowly across the squeaky area barefoot—squeaks often intensify with direct pressure. Mark the exact spot with masking tape. Then, use your deep-scan stud finder to locate joists on either side of the squeak. Joists typically run parallel every 16" or 24" on center. Confirm spacing by measuring between two adjacent marks—you’ll need at least one joist edge within 2" of the squeak to anchor your fix.
- Tip: Tap lightly with a hammer along suspected joist lines—if sound changes from hollow to solid, you’ve hit wood.
- Warning: Never drive screws blindly into flooring without verifying joist location. You risk hitting electrical wires or plumbing in older homes—especially near bathrooms or kitchens.
Drive screws through the floor into the joist
Drill a pilot hole slightly smaller than your screw diameter (1/8" for 1-5/8" screws) at a 90° angle, centered over the joist. Countersink the hole just enough so the screw head sits flush or slightly below the surface. Drive the screw until resistance increases sharply—then stop. Overdriving cracks subfloor and worsens noise.
- Tip: For hardwood floors, pre-drill with a 3/64" bit and use brass or stainless finish screws to match existing fasteners.
- Warning: If the squeak persists after one screw, don’t add more in the same spot. Move 2" along the joist and try again—over-constraining wood causes new stress points.
Add shims where gaps exist between subfloor and joist
If the squeak occurs away from joists—or returns after screwing—it likely means the subfloor has pulled away from the joist, creating a gap. Drill a small access hole (1/4") from below (in basement or crawlspace), insert a cedar shim into the gap, and tap gently with a hammer until snug. Apply a dab of construction adhesive behind the shim before insertion for long-term hold.
According to the National Association of Home Builders’ 2022 Repair Standards Guide, 68% of persistent floor squeaks stem from subfloor-to-joist separation—not loose finish flooring.
Test, then conceal
Walk the repaired area multiple times with varying weight and foot angles. A true fix eliminates noise under both light and heavy load. If residual creak remains, add one more screw 3" away—never stack screws vertically. Once confirmed, fill screw holes with wood filler matching your floor species (e.g., wood filler for hardwood floors), sand smooth, and touch up stain or finish.
Pro Tips
Seasonal humidity swings cause many squeaks to appear or vanish—so fix them in late fall or early spring when indoor RH hovers near 40–50%. Avoid summer repairs if your home lacks AC: wood swells, masking gaps that reappear in winter.
“The biggest mistake I see is using nails instead of screws. Nails work loose over time—screws hold torque and compress wood fibers. Always use screws rated for structural subfloor applications.” — Carlos Mendez, Certified Master Carpenter, NAHB Remodeling Council (2023)
Also avoid relying solely on lubricants like talcum powder or graphite. They offer temporary relief but do nothing to address movement between layers—a Band-Aid, not a fix. And never glue down finish flooring directly over a squeaky subfloor; you’ll trap motion and accelerate wear.
Can I fix a squeaky floor from above without removing carpet?
Yes—but only if you can accurately locate joists beneath. Use a deep-scan stud finder and mark joist centers with painter’s tape. Drill and screw through carpet padding and backing into the joist. Trim excess carpet fibers around the screw head, then cover with a decorative floor nail cap or wax filler stick.
Why does my hardwood floor squeak only when it’s cold?
Cold air holds less moisture, causing wood to contract. This shrinks the gap between subfloor and joist just enough to create intermittent contact—and noise. The fix is the same: secure the subfloor to the joist. But wait until indoor temps stabilize above 60°F before applying adhesive or filler.
Will fixing one squeak cause others nearby?
Rarely—if you follow proper spacing. Screws placed too close (<2" apart) or over-torqued can flex adjacent boards. Stick to one screw per joist span unless testing confirms additional support is needed. Also, avoid drilling near existing nails or staples—they’re stress concentrators.
Do I need to replace the entire subfloor if multiple rooms squeak?
No. Widespread squeaking usually means undersized or improperly spaced joists—or missing blocking between them—not rotten subfloor. Inspect from below first: look for sagging, cracked OSB, or visible gaps. If subfloor feels spongy or shows water stains, consult a structural engineer before proceeding. Otherwise, targeted screwing and shimming resolve >90% of cases.
Can I use construction adhesive alone instead of screws?
Adhesive helps—but isn’t sufficient alone. The U.S. Department of Housing and Urban Development’s 2021 Residential Construction Handbook requires mechanical fasteners (screws or nails) for subfloor attachment. Adhesive supplements fasteners; it doesn’t replace them. Use it only in combination—e.g., behind a shim or along a seam where screws aren’t feasible.
What’s the fastest way to silence a squeak under area rugs?
Lift the rug and locate the squeak by stepping on exposed flooring. Mark it, then drill and screw as described—even under rugs, the fix is identical. Just be sure to vacuum thoroughly afterward to remove dust from drilling. For renters, consider renter-friendly floor repairs like friction-fit shims inserted from below, which leave no visible evidence.
Most squeaky floors aren’t failing—they’re just talking. With the right tools and a methodical approach, you’ll quiet them for years. And once you’ve done it once, you’ll start hearing the subtle differences in floor response everywhere you walk—like tuning an instrument you didn’t know was out of key.