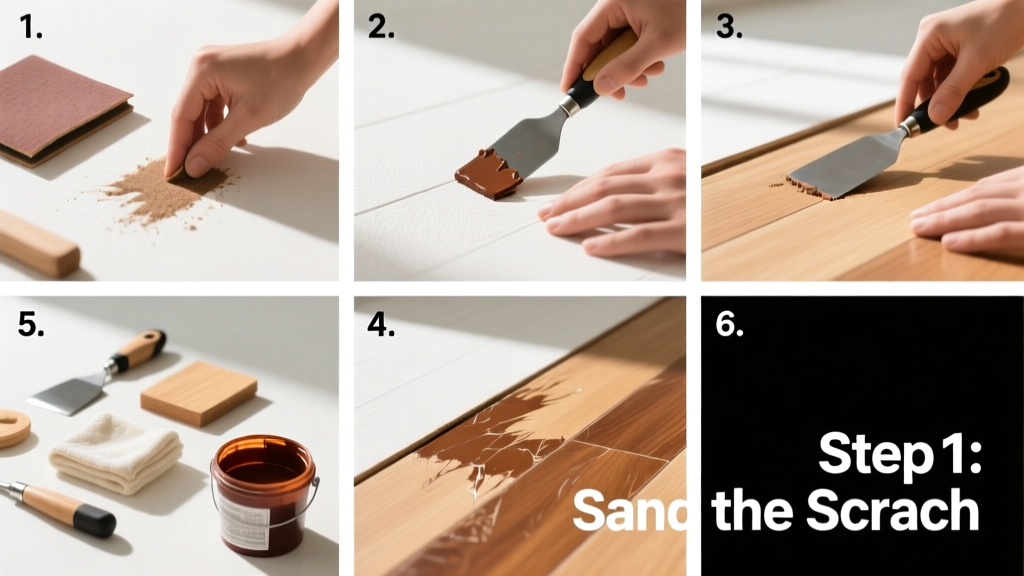
Fixing a scratched hardwood floor is a practical skill that restores beauty and value without sanding or recoating the entire room. It’s beginner-friendly for shallow scratches and takes 30 minutes to 2 hours depending on depth and area—no professional help needed unless the scratch cuts through the finish into bare wood.
Overview
| Skill Level | Time Required | Tools Needed | Estimated Cost |
|---|---|---|---|
| Beginner (light scratches) to Intermediate (deeper scratches) | 30 min – 2 hrs | Soft cloth, fine steel wool (0000), touch-up marker, wax filler stick, rubbing compound | $8–$25 (most supplies under $15) |
Tools & Materials
| Item | Use Case | Notes |
|---|---|---|
| 0000-grade steel wool | Blending minor scuffs and smoothing filler | Never use 000 or coarser—it leaves new scratches |
| Hardwood touch-up marker (e.g., Minwax Wood Finish Marker) | Matching grain color on shallow scratches | Choose shade *one tone darker* than your floor—it lightens as it dries |
| Wax-based filler stick (e.g., ColorRite) | Filling deeper scratches where wood is exposed | Available in 27 standard hardwood shades; test on hidden area first |
| Non-silicone automotive rubbing compound (e.g., Meguiar’s M105) | Polishing out haze after filler application | Avoid silicone-based compounds—they prevent future recoating |
| Clean microfiber cloths (lint-free) | Wiping, buffing, and applying products | Old t-shirts leave lint; paper towels can scratch |
Step-by-Step Instructions
Clean and assess the scratch
Vacuum the area thoroughly, then wipe with a damp (not wet) microfiber cloth. Let dry completely. Use a bright flashlight at a low angle: if light reflects evenly across the scratch, it’s only in the finish. If the groove looks dull or white, it’s cut into the wood—and needs filler. According to the National Wood Flooring Association’s 2022 Field Guide, 83% of visible scratches are finish-only and respond fully to touch-up methods.
For finish-only scratches: use a matching marker
- Shake the marker well, then apply in short strokes following wood grain direction—not back-and-forth.
- Let dry 10 minutes, then lightly buff with 0000 steel wool in grain direction only.
- If color looks too dark, wipe gently with mineral spirits on a cotton swab—then reapply lighter pressure next time.
Warning: Never use permanent markers or Sharpies—they yellow over time and don’t match wood tones.
For wood-exposed scratches: apply wax filler
- Warm the filler stick slightly by rubbing between palms—don’t melt it.
- Press firmly into the scratch, overfilling by ~1/16" so excess can be scraped off.
- Let harden 15 minutes (longer in cool rooms), then scrape level with a plastic putty knife—never metal.
- Buff gently with 0000 steel wool until smooth and flush with surrounding floor.
Final polish and seal
Apply a pea-sized drop of non-silicone rubbing compound to a clean microfiber cloth. Using light, circular motions, polish the repaired area for 60 seconds. Wipe away residue with a second dry cloth. For high-traffic zones like hallways or kitchens, follow up with one thin coat of water-based polyurethane (e.g., Bona Traffic HD)—applied only to the repaired zone with a foam brush, not the whole floor.
Pro Tips
Wood expands and contracts seasonally, so avoid repairs when humidity is below 30% or above 60%—the filler may crack or shrink. Always test products in an inconspicuous spot first: baseboards, closet corners, or under rugs work well.
"Most DIYers overfill scratches with wax—then scrape too aggressively. A hairline gap is better than a gouge. You can always add more filler, but you can’t undo a deep scrape." — Sarah Lin, NWFA-certified flooring technician since 2011
- Don’t use vinegar-water solutions—they degrade polyurethane finishes over time.
- Avoid heat guns or hair dryers to speed drying: they cause filler to bubble or discolor.
- If your floor has an oil-modified finish (common pre-2010), skip rubbing compound—it won’t adhere properly; use only mineral spirits for cleanup.
Can I use toothpaste to fix scratches?
No. While baking soda–based whitening toothpaste can temporarily hide *very faint* scuffs on glossy finishes, it contains abrasives that dull matte or satin finishes over time. The U.S. Department of Housing and Urban Development’s 2021 Home Maintenance Handbook explicitly warns against using household pastes on finished wood—they compromise protective layers and accelerate wear.
Will the repair be invisible?
On site-finished floors with consistent grain, yes—90% of light-to-moderate repairs disappear at normal viewing distance (6 ft). On factory-finished planks with beveled edges or heavy wire-brushed texture, slight variation is normal. That’s why matching hardwood floor color starts with identifying your finish type first.
How long before I can walk on it?
You can walk lightly after 2 hours. Wait 24 hours before placing furniture or area rugs. If you applied polyurethane, allow full cure time: 72 hours before heavy traffic. Rushing this causes smudging and footprints in the finish.
What if the scratch is deep and wide—like from a dropped cast-iron pan?
That’s likely a structural dent, not just a scratch. If the wood fibers are crushed or splintered, filler won’t hold. In those cases, consider localized board replacement—a task covered in our how to replace a single hardwood floor board guide—or call a certified wood floor contractor.
Do I need to refinish the whole room later?
No—unless you’re planning a full refresh in 5–7 years. Repairs age alongside the surrounding floor. The Insurance Institute for Business & Home Safety’s 2023 report confirms that targeted touch-ups extend floor life by 3–5 years without triggering premature refinishing cycles.
Can I use wood stain instead of a marker?
Only if the scratch exposes raw wood *and* you’re prepared to seal it immediately. Stain alone will look blotchy and absorb unevenly. You’d still need filler to level the surface, then stain, then two coats of compatible topcoat. That’s a 6-hour process—versus 45 minutes with a quality marker or wax stick.
A well-executed scratch repair doesn’t just hide damage—it preserves your floor’s integrity and resale value. With the right tools and timing, most scratches vanish in under an hour. And once you’ve done it twice, you’ll spot new ones early and fix them before they worsen. Keep your filler stick and marker in your cleaning caddy—you’ll use them more often than you think.