Fixing a leaky faucet is one of the most practical DIY plumbing skills you can master—it’s low-risk, high-impact, and usually takes under 45 minutes. Whether it’s a drip from your kitchen sink or a steady stream under your bathroom vanity, the root cause is almost always a worn internal component, not a cracked pipe or faulty installation.
Overview
| Skill Level | Time Required | Tools Needed | Estimated Cost |
|---|---|---|---|
| Beginner (no prior plumbing experience needed) | 25–45 minutes | Adjustable wrench, screwdriver, pliers, rag | $3–$12 (for replacement cartridge or washer) |
Tools & Materials
| Item | Details | Notes |
|---|---|---|
| Adjustable wrench | 8–10 inch, with smooth jaws | Avoid scratching chrome finishes—wrap jaws with masking tape if needed |
| Phillips and flat-head screwdrivers | #1 and #2 Phillips; 1/8" and 1/4" flat | Many faucet handles use security screws—check for tiny hex or star-shaped heads |
| Replacement parts | Washer, O-ring, or cartridge (model-specific) | Take old parts to hardware store or match online using faucet brand/model (e.g., Moen 1225 cartridge) |
| Clean rags & white vinegar | Microfiber cloths + 1 cup distilled vinegar | Vinegar dissolves mineral buildup on aerators and valve seats—soak for 15 minutes |
Step-by-Step Instructions
1. Shut off water supply and relieve pressure
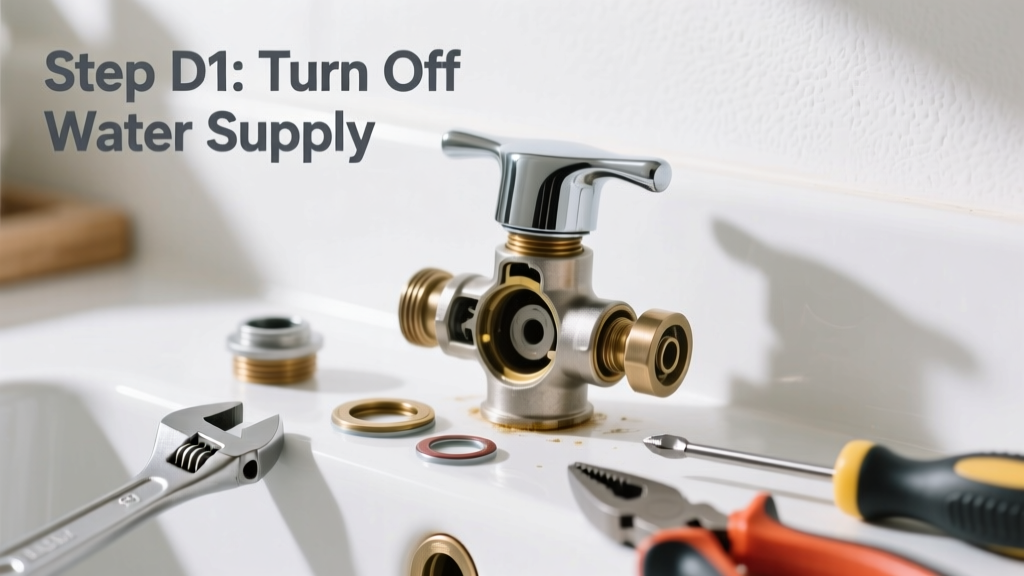
Locate the two shutoff valves under the sink (hot and cold). Turn both clockwise until snug—don’t force them. Then open the faucet fully to drain residual water and release line pressure. Place a folded rag in the sink drain to prevent small parts from vanishing.
2. Remove the handle and trim
Look for a decorative cap (often labeled "H" or "C") on the handle. Pry it gently with a utility knife or flat-head screwdriver. Underneath, you’ll find either a Phillips screw or a hex bolt. Unscrew it, then lift the handle straight up. If it sticks, don’t pry—tap the base lightly with a rubber mallet or soak the area in vinegar for 5 minutes to loosen corrosion.
3. Extract and inspect the valve assembly
For compression faucets: Use adjustable wrench to unscrew the packing nut, then pull out the stem. Check the rubber washer at the bottom—it should be flat, not flattened, cracked, or misshapen. For cartridge or ball-type faucets: Pull the cartridge straight out with needle-nose pliers (some require a special cartridge puller—check manufacturer instructions). Inspect O-rings for nicks or flattening; replace all rubber components, not just the damaged one.
4. Reassemble and test
Reinstall new parts in reverse order—tighten the packing nut to 15–20 ft-lbs (just snug; overtightening cracks brass threads). Hand-tighten first, then give a 1/8-turn with the wrench. Turn water back on slowly, checking for leaks at the base and handle. Run both hot and cold for 60 seconds to flush debris. If dripping continues, double-check washer seating or cartridge alignment—misaligned cartridges cause persistent leaks in Delta and Peerless models.
Pro Tips
According to the U.S. EPA, a faucet leaking one drop per second wastes over 3,000 gallons of water annually—that’s enough to wash 200 loads of laundry. Most leaks aren’t about age; they’re about sediment buildup and repeated thermal expansion stressing rubber seals.
"Replace all O-rings and washers at once—even if only one looks bad. They degrade at similar rates, and swapping just one invites repeat service within 3 months." — Plumbing Contractor Magazine, 2022
- Label hot/cold supply lines with painter’s tape before disconnecting—prevents cross-connection confusion
- Keep a digital photo of disassembled parts on your phone—helps with reassembly orientation
- If your faucet is older than 15 years and uses threaded stems, consider upgrading to a ceramic-disk model—it eliminates washer wear entirely
Why does my faucet drip only when the water is turned off?
This points to a failing cartridge or worn valve seat—not the handle seal. Water pressure pushes past compromised internal seals after shutoff. Replace the cartridge and resurface or replace the valve seat if pitted (use a valve seat wrench and 220-grit sandpaper).
Can I fix a leaky shower faucet the same way?
Yes—but shower valves often have deeper cartridges or pressure-balancing spools. Start by removing the temperature control knob and escutcheon plate. Many Moen Posi-Temp and Kohler K-22 series require a special retaining clip tool ($4.99 at Home Depot) to extract the cartridge without damage.
My faucet leaks around the base—not the spout. What’s wrong?
This is usually a failed O-ring on the spout’s swivel joint or a cracked lift rod collar. For pull-down kitchen faucets, check the weight-bearing O-ring where the hose meets the spout. Replacement kits like kitchen faucet O-ring replacement kits include six sizes and a removal tool.
Do I need to turn off the main water supply?
No—individual shutoff valves under the sink are sufficient for single-faucet repairs. But if those valves are corroded, seized, or missing, you’ll need to shut off the main (usually near the water meter or basement wall) and drain the system first. Test valve function annually—how to test shutoff valves takes 90 seconds.
Why does my repaired faucet make a knocking sound when I turn it on?
That’s water hammer caused by sudden valve closure or loose mounting straps. Tighten the faucet’s mounting nuts under the sink and wrap supply lines with foam insulation. If noise persists, install a water hammer arrestor on the hot and cold lines—costs $18 and takes 10 minutes.
Is it worth repairing a 20-year-old faucet?
Yes—if it’s a quality brand (Delta, Kohler, Pfister) with available parts. But if you’ve replaced washers three times in two years or notice visible corrosion on the body, it’s time to upgrade. Modern low-flow faucets use 30% less water and come with lifetime cartridge warranties—see our best kitchen faucets for hard water roundup for corrosion-resistant picks.
With the right parts and 30 focused minutes, you’ll stop that drip—and gain confidence to tackle other household leaks. Most repairs pay for themselves in water savings within three months. And next time you hear a faint *plink* in the night? You’ll know exactly what to reach for first.