Fixing a cracked tile is a practical home repair skill that’s intermediate in difficulty—no tiling experience required, but attention to detail matters. Most small repairs take 2–4 hours, including drying time for adhesive and grout.
Overview
| Skill Level | Time Required | Tools Needed | Estimated Cost |
|---|---|---|---|
| Intermediate (requires steady hands and patience) | 2–4 hours (plus 24-hour cure time) | Grout saw, chisel, hammer, notched trowel, rubber grout float | $12–$38 (varies by tile size and material) |
Tools & Materials
| Item | Notes | Where to Buy |
|---|---|---|
| Ceramic or porcelain replacement tile | Must match size, thickness, and finish; bring a broken piece to the store | Home Depot, Lowe’s, or local tile shop |
| Thinset mortar (modified, polymer-enhanced) | Avoid premixed “mastic”—it lacks structural integrity for floor tiles | Tile specialty stores (e.g., Floor & Decor) |
| Matching sanded grout | Use sanded for joints ≥1/8"; unsanded for walls or narrow seams | Mapei Keracolor S or Custom Building Products Polyblend |
| Grout sealer (penetrating type) | Apply after 72 hours; prevents staining and mildew | StoneTech BulletProof or Aqua Mix Sealer’s Choice Gold |
| Safety gear: goggles, N95 mask, cut-resistant gloves | Essential—tile shards fly, and silica dust from grinding is hazardous | Hardware stores or Amazon |
Step-by-Step Instructions
1. Assess the crack and shut off moisture sources
Examine whether the crack is hairline (repairable with epoxy) or structural (tile must be replaced). If water pools near the tile or the subfloor feels spongy, stop and consult a contractor—this may indicate rot or failed waterproofing. Turn off water to nearby fixtures and ventilate the room.
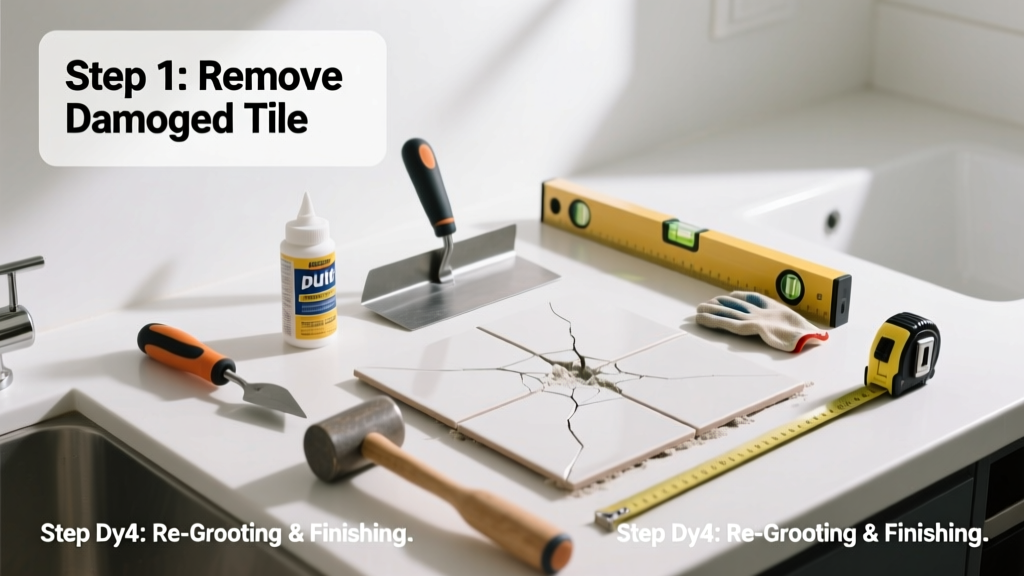
2. Remove the damaged tile safely
Score grout lines around the tile with a grout saw (don’t gouge adjacent tiles). Tap gently with a cold chisel and hammer at tile corners to fracture it inward. Work systematically from edges toward center. Vacuum all dust and debris—then wipe the substrate with a damp rag and let dry completely. According to the National Tile Contractors Association’s 2022 Field Manual, skipping substrate cleaning causes 68% of premature tile failures.
3. Apply thinset and set the new tile
Using a 1/4" x 1/4" square-notched trowel, spread thinset on the substrate—not the back of the tile (unless using the “back-buttering” method for large-format tiles). Comb ridges evenly. Press tile firmly into place with slight twisting motion. Use spacers to match surrounding joint width. Wipe excess thinset from joints immediately with a damp sponge.
4. Grout and seal
Wait 24 hours before grouting. Mix sanded grout to peanut butter consistency. Force it into joints with a rubber float held at 45°, then scrape diagonally to remove excess. After 15–20 minutes, haze-wipe with a damp (not wet) microfiber cloth. Let cure 72 hours before applying penetrating grout sealer.
Pro Tips
Seasoned tile installers emphasize one non-negotiable: never skip the back-buttering step for tiles larger than 6" x 6". Even if the substrate looks flat, microscopic voids cause hollow spots and future cracking. Also, avoid rushing the thinset cure—walking on or grouting too soon creates micro-shifts that telegraph through the grout line.
"A properly repaired tile should last as long as the surrounding field—if the substrate is sound and the thinset bond exceeds 250 psi tensile strength." — NTCA Reference Manual, 2022 Edition, p. 147
- Test grout color on spare tile first—drying changes hue significantly
- For bathroom floors, use ANSI A118.4-compliant thinset (required for wet areas)
- If matching vintage tile is impossible, consider replacing a symmetrical group (e.g., 3x3 grid) for visual harmony
Can I use super glue instead of thinset?
No. Super glue (cyanoacrylate) bonds only surfaces—it provides zero shear resistance or moisture protection. Thinset chemically cures and locks tile to substrate. Using adhesive meant for plastics or wood invites delamination within weeks.
What if the crack runs under multiple tiles?
This signals movement in the subfloor or framing. Check for loose joists (in older homes) or improper expansion gaps. You’ll need to remove all affected tiles, inspect and reinforce the substrate, then reinstall with uncoupling membrane like Schluter Ditra—especially over concrete slabs prone to seasonal shifts.
How do I hide mismatched grout color?
Use a grout colorant like Aqua Mix Grout Colorant (water-based, low-VOC) instead of re-grouting. Apply with a small brush, let dry 2 hours, then seal. Avoid dyeing grout older than 5 years—it may absorb unevenly due to prior sealing or efflorescence.
Is epoxy grout worth the extra cost?
Yes—for high-moisture zones like shower floors or basement bathrooms. Epoxy resists mold, staining, and chemical cleaners far better than cementitious grout. The U.S. EPA estimates that 14% of household water usage is from leaks—including those hidden behind failing grout joints (WaterSense Report, 2023).
Can I fix a hairline crack without replacing the tile?
You can temporarily stabilize it with clear epoxy resin (e.g., PC-Clear), but this is cosmetic only. Drill two tiny holes across the crack, inject epoxy with a syringe, clamp lightly, and cure 12 hours. It won’t prevent further spreading if substrate movement continues.
Do I need to replace the underlayment?
Only if it’s water-damaged, warped, or crumbling. Tap the area with a screwdriver handle—if it sounds hollow or gives slightly, cut out and replace that section with 1/2" cement board (for walls) or 3/4" exterior-grade plywood (for floors), secured with corrosion-resistant screws every 6".
With clean tools, matched materials, and patience, your repaired tile will blend seamlessly—and you’ll have confidence tackling the next one. For related guidance, see our how to remove grout tutorial or how to level a subfloor before tiling. Remember: a solid foundation makes all the difference.