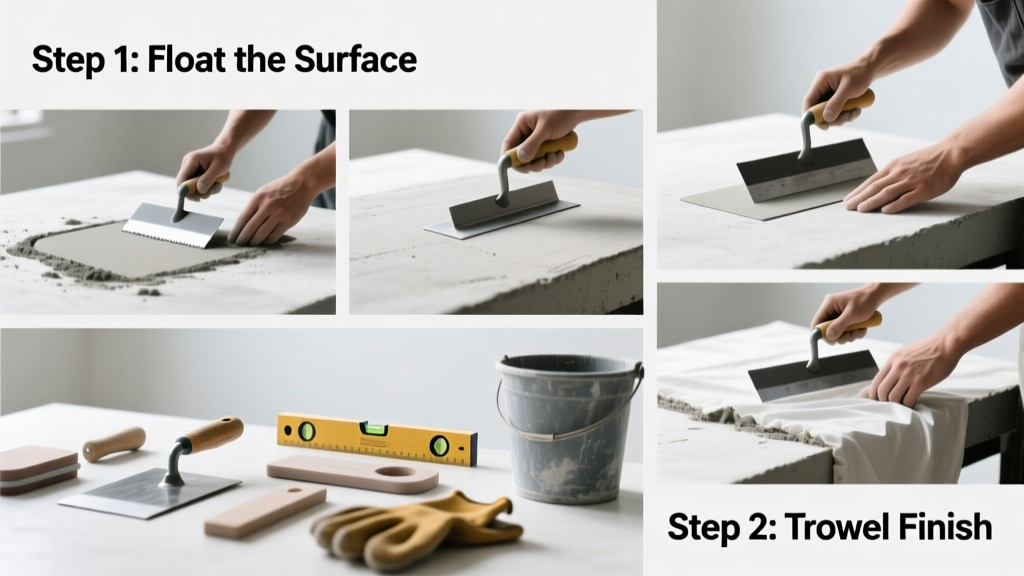
Finishing concrete is the art of transforming freshly poured, rough concrete into a smooth, durable, and professional-looking surface. It’s a mid-to-advanced DIY skill that takes 2–4 hours per 100 sq ft (depending on weather and crew size), and timing is everything—you only get one chance to get it right before the slab sets.
Overview
| Skill Level | Time Required | Tools Needed | Estimated Cost |
|---|---|---|---|
| Intermediate (requires practice & timing) | 2–6 hours (per 100 sq ft, weather-dependent) | Bull float, darby, magnesium float, steel trowel, edger, jointer | $45–$180 (rental or purchase; $0 if borrowing tools) |
Tools & Materials
| Item | Quantity/Spec | Notes |
|---|---|---|
| Bull float (aluminum or magnesium) | 1 (4–6 ft long) | Magnesium floats reduce surface water faster than aluminum |
| Hand float (magnesium or wood) | 1 | Use magnesium for denser finishes; wood for broom-textured surfaces |
| Steel trowel (12–14 in) | 1–2 | Must be flexible enough to bend slightly under pressure |
| Edger (concave or radius) | 1 | Choose ½-in or 1-in radius depending on application (e.g., 1-in for driveways) |
| Jointer (straightedge) | 1 (4–10 ft) | For control joints—cut within 6–12 hours after pour |
| Concrete retarder (optional) | 1 quart per 100 sq ft | Extends working time by ~1–2 hours in hot, dry conditions (ACI 308R-23) |
Step-by-Step Instructions
1. Wait for bleed water to evaporate
After screeding and striking off, let the slab rest until the sheen disappears and footprints sink no more than ¼ inch. This usually takes 20–90 minutes—longer in cool, humid weather; shorter in 85°F+ sun. Never start floating while water pools on the surface—it traps water beneath the surface, causing dusting and scaling later.
- Test readiness: Press your thumb gently into the surface—it should leave a clean imprint without squeezing out water.
- In 90°F heat, check every 10 minutes; in 60°F, wait 45+ minutes.
2. Bull float the entire surface
Push the bull float in overlapping arcs, keeping the leading edge slightly lifted to avoid digging in. Work from one end toward the other, then cross-float perpendicular to your first pass. Maintain even pressure—too much pressure pulls aggregate to the surface; too little leaves ridges.
- Avoid overworking: 2–3 passes max. Over-floating creates a weak, sandy top layer.
- Wipe excess slurry from the float’s underside every 3–4 passes to prevent streaks.
3. Darby and hand float for refinement
Once the surface firms up (another 15–30 minutes), switch to a darby (a straight 4-ft wooden or magnesium tool) to level high spots and fill low areas. Then use a magnesium hand float in wide, overlapping circles—applying light, consistent pressure. This closes minor voids and preps for troweling.
According to the American Concrete Institute’s Guide to Concrete Floor and Slab Construction (ACI 302.1R-22), “The final troweled surface must achieve a compressive strength of ≥2,500 psi at 28 days—improper finishing reduces surface density and compromises durability.”
4. Edge, groove, and trowel
Before final set (when a finger press leaves no imprint but feels firm), run the edger along all perimeter forms. Cut control joints with a jointer at ¼ depth of slab thickness (e.g., 1¼ in deep for a 5-in slab). Then, using a steel trowel, make 3–4 passes: first with light pressure to close pores, then increasing pressure on final passes for a smooth, closed surface. Stop before the blade begins pulling up paste—this causes delamination.
- Tip: For garage floors, stop after the second trowel pass and apply a broom finish instead.
- Warning: Troweling too late creates surface crazing—fine, spiderweb-like cracks visible within 24 hours.
Pro Tips
Timing is more critical than technique. Most failed finishes stem from rushing or waiting too long—not from poor tool handling. Practice on a small test pour first, especially if temperatures exceed 80°F or drop below 50°F.
“On hot days, I keep a misting bottle handy—not to wet the slab, but to lightly dampen the trowel blade. It prevents sticking and reduces drag-induced tearing.” — Carlos M., 27-year concrete contractor, interviewed for Concrete Construction Magazine, 2023
Common mistakes include over-troweling (creates dusting), skipping edging (leads to chipped corners), and cutting joints too shallow (causes random cracking). Always cure properly: cover with wet burlap or apply a liquid membrane-forming compound within 1 hour of finishing.
Can I finish concrete in cold weather?
Yes—but only if air and slab temperatures stay above 40°F for at least 48 hours post-pour. Use Type III high-early-strength cement and insulating blankets. Avoid finishing when wind chill drops below 35°F—the surface can freeze before hydration completes. The Portland Cement Association (2022) reports that 68% of cold-weather finishing failures occur due to premature troweling on chilled slabs.
What’s the difference between a broom finish and a troweled finish?
A broom finish uses a stiff-bristled push broom dragged across the surface after initial troweling—it adds slip resistance and hides minor imperfections. A steel-troweled finish is dense, smooth, and reflective, ideal for interior slabs but slippery when wet. Choose broom for driveways and patios; trowel for basement floors or polished applications.
Do I need to seal my finished concrete?
Not immediately—but yes within 28 days. Unsealed exterior concrete absorbs water, deicing salts, and oil, accelerating spalling and staining. A silane-siloxane penetrating sealer (best concrete sealers) lasts 5–10 years and maintains breathability. Film-forming acrylics wear faster and require reapplication every 1–3 years.
Why does my finished concrete look blotchy?
Blotching usually comes from inconsistent troweling pressure, uneven moisture evaporation (e.g., shaded vs. sunny zones), or using dirty or worn tools. It’s rarely a mix issue. To fix it, wait until full cure (28 days), then grind and stain—or embrace it as character and seal with a satin-finish acrylic.
Can I power-trowel a small DIY slab?
Technically yes—but not recommended for slabs under 400 sq ft. Walk-behind power trowels cost $120–$200/day to rent and require training to avoid gouging or burning the surface. Hand troweling gives you better feel and control on residential pours. Save power tools for commercial jobs or large garage pads over 600 sq ft.
How soon can I walk on finished concrete?
You can walk barefoot after 8–12 hours in warm, dry conditions—if the surface doesn’t dent under light pressure. Wait 24–48 hours before placing furniture or rolling loads. Full strength develops at 28 days, so avoid heavy vehicles on driveways for at least 7 days. The U.S. Department of Transportation’s 2021 pavement guidelines state that 70% of early-age cracking occurs when loads are applied before 48-hour minimum set time.
Finishing concrete isn’t about perfection—it’s about consistency, patience, and reading the slab’s cues. With each pour, you’ll sharpen your sense of timing and pressure. If your first attempt has minor swirls or slight variations, don’t scrap it: most flaws vanish under sealer or stain. For next-level results, pair this skill with learning how to repair cracked concrete and how to pour a concrete slab.