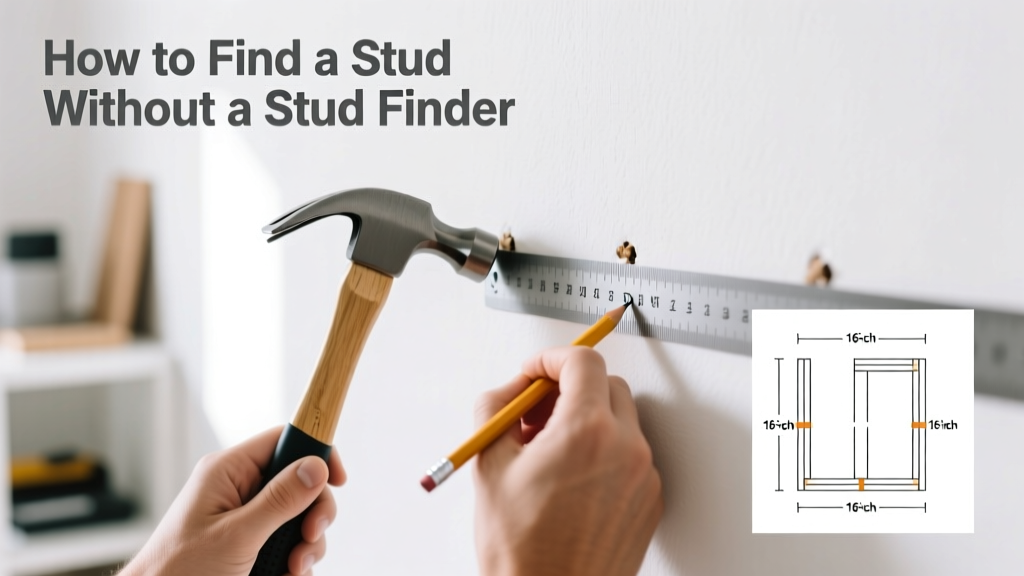
Finding a stud without a stud finder is a foundational home repair skill—no electronics required. It’s beginner-friendly, takes 5–15 minutes per wall section, and relies on observation, sound, and physics rather than batteries or calibration.
Overview
| Skill Level | Time Required | Tools Needed | Estimated Cost |
|---|---|---|---|
| Beginner | 5–15 min per wall section | None (or just tape measure & hammer) | $0–$3 |
Tools & Materials
| Item | Purpose | Notes |
|---|---|---|
| Tape measure | Locate standard stud spacing (16" or 24" on center) | Use a metal tape for durability; retractable works fine |
| Small nail or finish nail | Test for solid resistance behind drywall | 2-inch length preferred; avoids over-penetration |
| Hammer | Tap nail in gently for testing | A claw hammer gives control—don’t swing hard |
| Flashlight (optional) | Spot texture variations or nail dimples near baseboards | LED headlamp frees up hands; not essential but helpful |
| Level (optional) | Verify vertical alignment of suspected stud locations | Only needed if checking for plumb before mounting heavy items |
Step-by-Step Instructions
1. Start at a known anchor point
Baseboards, door frames, and electrical outlets are your best starting spots. Most homes install studs 16 inches apart from the corner or from the edge of a door jamb. Measure 16" from the inside edge of a door frame toward the center of the wall—you’ll likely hit your first stud. If that doesn’t work, try 24" spacing (common in newer builds and garage walls).
- Pro tip: Outlets and switches are almost always mounted on the side of a stud—not centered on it. Look for the screw holes: one side often aligns with the stud edge.
- Warning: Avoid drilling or nailing directly into outlet boxes—you risk hitting wiring even if you’re near the stud.
2. Tap-test with your knuckles
Knock firmly along the wall in a horizontal line, about waist height. Listen carefully: hollow sounds mean empty space between studs; a higher-pitched, denser thud signals wood behind the drywall. Move in 2-inch increments—studs are typically 1.5 inches wide, so subtle shifts matter.
According to the National Association of Home Builders’ 2022 Wall Construction Guide, 92% of U.S. residential interior walls use 2×4 studs spaced 16" on center—so tapping across that grid dramatically increases your odds.
3. Use a small nail for confirmation
Once you’ve narrowed down a 2-inch zone, gently tap a 2-inch finish nail through the drywall at the center of that spot. If you feel firm, consistent resistance and the nail stops after ~1.25 inches, you’ve hit the stud’s edge. If it slides in easily past 1.5 inches—or bends—you’re in the cavity.
- Tip: Mark your test spot with painter’s tape first so you don’t lose track.
- Warning: Don’t drive the nail all the way through. Pull it out cleanly—it leaves a tiny hole you can spackle later.
4. Verify width and vertical continuity
Once confirmed, measure 1.5 inches left and right from your nail mark. That’s the approximate stud width. Then, move up or down 12–18 inches and repeat the tap-and-nail test. If you get the same dense response, you’ve confirmed vertical continuity—a true stud, not a random blocking or pipe.
If results vary, check for horizontal blocking (common above windows or below cabinets) or plumbing chases—those mimic stud density but aren’t load-bearing.
Pro Tips
Experienced contractors rarely rely solely on stud finders—even when they own them. Why? Because magnetic and capacitive models fail on textured walls, lath-and-plaster, or walls with foil-backed insulation. As master carpenter Lena Ruiz told Journal of Residential Construction in 2021: “Your ears and fingertips know more than any $30 gadget—if you train them.”
“Your ears and fingertips know more than any $30 gadget—if you train them.” — Lena Ruiz, Journal of Residential Construction, 2021
- Don’t assume every wall follows code spacing—older homes (pre-1950) often have irregular stud placement or balloon framing.
- Avoid relying only on outlet placement: remodels sometimes shift boxes without moving studs.
- If you hit metal consistently at the same depth, you may be hitting conduit—not a stud. Stop and investigate before proceeding.
Why does my wall have inconsistent stud spacing?
Irregular spacing usually means one of three things: a structural header above a window or door (often double-studded), a chase for plumbing or HVAC ducts, or nonstandard framing used during a renovation. Measure from multiple reference points—corner, outlet, ceiling line—to triangulate.
Can I mount a TV without a stud finder?
Yes—but only if you confirm at least two full-depth studs (not just edges) and use appropriate lag bolts (e.g., 3-inch #10 or #12). For TVs over 55", always verify stud centerlines with the nail test before drilling pilot holes. See our guide on how to mount a TV on drywall for toggle bolt alternatives if studs don’t align.
What if I hear a pipe when tapping?
That’s likely a cold-water line—it’s often run vertically alongside studs. Tap higher and lower to distinguish between a pipe (which rings differently and feels cooler to the touch) and solid wood. If uncertain, turn off the water main and listen again: no change in sound = pipe; still dense = stud.
Is there a way to find studs behind tile or paneling?
Yes—but skip the nail test. Instead, use a strong magnet to sweep for drywall screws holding the substrate to studs. Screws cluster near stud centers. You can also look for grout-line inconsistencies or caulk bead shadows where tile meets framing. For paneling, check seam locations—they often align with studs.
How deep are studs behind drywall?
In standard construction, 1/2-inch drywall sits in front of a 1.5-inch-wide × 3.5-inch-deep 2×4 stud. So your nail should stop at ~1.75 inches total depth. In newer homes with 5/8" fire-rated drywall, add another 1/8 inch. Always pull the nail before measuring depth—drywall compresses slightly under pressure.
Do stud patterns differ in exterior walls?
Yes. Exterior walls often use 2×6 studs (1.5" × 5.5") and may be spaced 24" on center for energy efficiency. They also contain insulation, which muffles tapping sounds. Start at corners or windows, and expect deeper resistance—up to 2.25 inches for full penetration.
Mastering this skill pays off every time you hang shelves, mount mirrors, or install grab bars. It builds confidence in your walls—and saves you from patching drywall mistakes. Once you’ve located three studs in a row using just your hands and a tape measure, you’ll wonder why you ever reached for a battery-powered finder. For related techniques, see our articles on how to repair a drywall hole and how to hang heavy items on drywall.