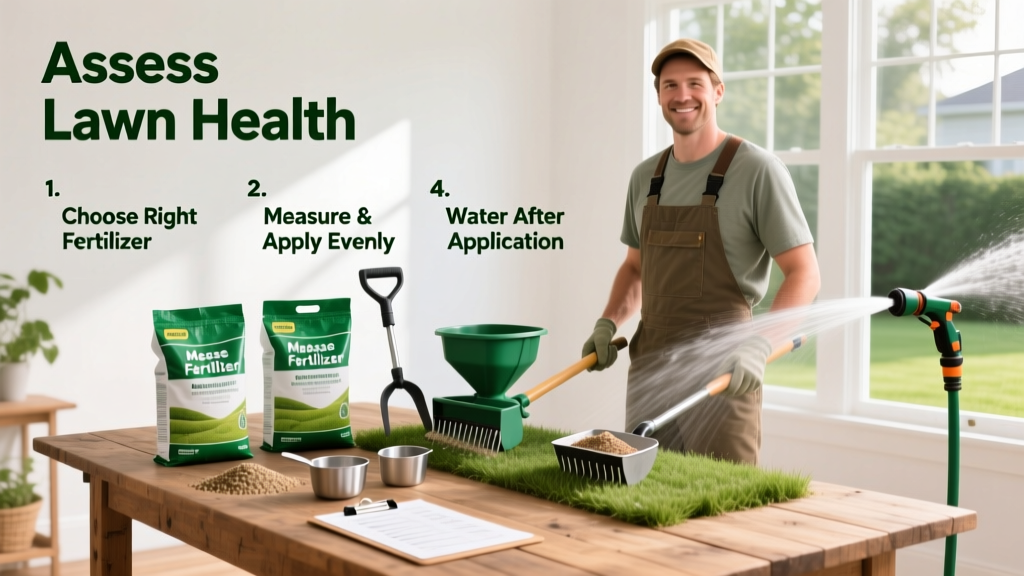
Fertilizing a lawn is a foundational skill for maintaining thick, green grass—and it’s far more science than guesswork. With moderate difficulty and about 45 minutes of active work (plus 24–48 hours of prep and rain-free weather), this task delivers outsized returns when done right. Mistakes like over-applying or skipping a soil test cost more in repairs than the fertilizer itself.
Overview
| Skill Level | Time Required | Tools Needed | Estimated Cost |
|---|---|---|---|
| Beginner to Intermediate | 45 minutes (plus 3–7 days for prep) | Spreader, gloves, rake, pH test kit | $25–$65 (fertilizer + test kit) |
Tools & Materials
| Item | Why It Matters | Notes |
|---|---|---|
| Soil test kit (e.g., Rapitest or lab-submitted) | Prevents over-fertilizing nitrogen/phosphorus; reveals pH imbalances | U.S. EPA estimates 30% of residential fertilizer applications are unnecessary due to lack of testing (EPA Nutrient Management Report, 2022) |
| Drop or broadcast spreader (calibrated) | Ensures even coverage—critical for avoiding streaks and burn | Calibrate using the bag’s recommended rate per 1,000 sq ft |
| Slow-release granular fertilizer (N-P-K ratio matched to your grass type) | Feeds roots steadily—not all at once—reducing runoff and leaching | For cool-season grasses (Kentucky bluegrass, fescue): 24-4-12 or 22-3-14; warm-season (Bermuda, zoysia): 16-4-8 |
| Work gloves, safety goggles, dust mask | Protects skin and lungs from urea dust and synthetic salts | Especially important when handling high-nitrogen formulas |
Step-by-Step Instructions
1. Test Your Soil (3–7 Days Before Fertilizing)
Collect 10–12 core samples from different areas of your lawn (6 inches deep), mix in a clean bucket, air-dry overnight, then submit or use a home kit. Wait for results before choosing fertilizer—skip this, and you risk feeding phosphorus to soil that already has excess (common in older suburban lawns).
2. Mow & Dethatch (1–2 Days Before)
Cut grass to its recommended height (e.g., 2.5–3 inches for tall fescue) and remove thick thatch (>½ inch) with a dethatcher or power rake. Thick thatch blocks fertilizer from reaching soil—University of Minnesota Extension found that >¾-inch thatch reduces nutrient absorption by up to 40%.
3. Calibrate & Fill Your Spreader
Set your spreader to the manufacturer’s setting for your fertilizer’s NPK label (e.g., “Setting 3.5 for 10,000 sq ft”). Pour fertilizer into the hopper on a tarp—not on pavement—to avoid staining and runoff. Always wear gloves and a dust mask during filling.
4. Apply in Two Overlapping Passes
Walk at a steady pace (≈2 mph), applying half the total amount in parallel north-south strips. Then apply the second half east-west—this crisscross pattern eliminates gaps and overlaps. Never apply in windy conditions (>10 mph) or before heavy rain (forecasted within 24 hours).
- Tip: Mark boundaries with garden flags so you don’t miss edges near driveways or foundations.
- Warning: Don’t let fertilizer pile up along sidewalks or driveways—sweep it back onto grass immediately to prevent runoff into storm drains.
5. Water Lightly (Same Day)
Apply ¼ inch of water (about 15–20 minutes with a sprinkler) to wash granules off blades and into the soil surface. Do not flood—excess water pushes nutrients past root zones. Skip watering only if light rain (0.1–0.2 inches) is expected within 12 hours.
Pro Tips
Timing beats volume every time. Most homeowners apply too much, too often—and skip the most impactful step: knowing their soil’s actual needs. According to Dr. Nick Christians, turfgrass scientist at Iowa State University, “Applying fertilizer without a recent soil test is like prescribing medicine without a diagnosis—it might help, but it’s just as likely to harm.”
“The biggest mistake I see? Applying quick-release nitrogen in midsummer to cool-season lawns. It forces growth when roots are stressed—then invites disease and drought dieback.” — Dr. Becky Griffin, UGA Cooperative Extension, 2023
- Never fertilize dormant grass (e.g., Bermuda in December or fescue in July heat stress)
- Store unused fertilizer in a dry, sealed container—moisture causes clumping and nutrient degradation
- Keep pets and kids off the lawn for 24 hours after application and watering
Can I fertilize right after seeding?
Yes—but only with a starter fertilizer (high in phosphorus, low in nitrogen) at time of seeding. Avoid standard lawn fertilizer for 6–8 weeks after, or you’ll promote weed competition over new seedlings. See our how to overseed a lawn guide for full timing details.
What’s the difference between organic and synthetic fertilizer?
Synthetic fertilizers deliver fast, predictable NPK in soluble forms—but they don’t improve soil biology. Organic options (e.g., corn gluten meal, composted poultry litter) feed microbes first, releasing nutrients slowly. The USDA Natural Resources Conservation Service reports organic applications increase soil carbon by 12–18% over 3 years—but require earlier spring application (4–6 weeks before green-up) to activate.
Do I need to fertilize every year?
Not necessarily. If your soil test shows adequate phosphorus and potassium, and your lawn stays dense and green with only one spring application, skip fall feeding. Many mature lawns in clay-rich soils thrive on a single annual feeding—especially when paired with regular mowing and compost topdressing.
Why did my grass turn yellow after fertilizing?
Most often, it’s either nitrogen burn (from over-application or hot, dry conditions) or iron deficiency triggered by high pH (>7.2). A soil test will confirm. If it’s burn, water deeply for 3 days and avoid further nitrogen for 6–8 weeks. For iron deficiency, apply chelated iron—not more NPK.
Is it safe to fertilize near trees or shrubs?
Yes—with caution. Keep granular fertilizer at least 18 inches from tree trunks and avoid applying under shallow-rooted species like maples or dogwoods. Tree roots absorb nitrogen rapidly, and excess can cause excessive leafy growth at the expense of flowers or fruit. For safer feeding, use a low-N, slow-release formula within root zones—and always water in.
Should I hire a pro or do it myself?
DIY saves $120–$280 annually and gives you control over product choice and timing. But pros bring calibrated commercial spreaders, GPS mapping for uneven terrain, and knowledge of local ordinances (e.g., nitrogen bans in Chesapeake Bay watershed counties). If your lawn exceeds 15,000 sq ft or has severe compaction/slope issues, consider hiring for the first application—then maintain with DIY follow-ups. Check out our how to aerate a lawn and best lawn fertilizer for summer guides for complementary steps.
Fertilizing well isn’t about frequency—it’s about reading your lawn’s signals and your soil’s language. Start with a test, match the formula to your grass and season, and apply with intention. That’s how green becomes resilient, not just cosmetic.