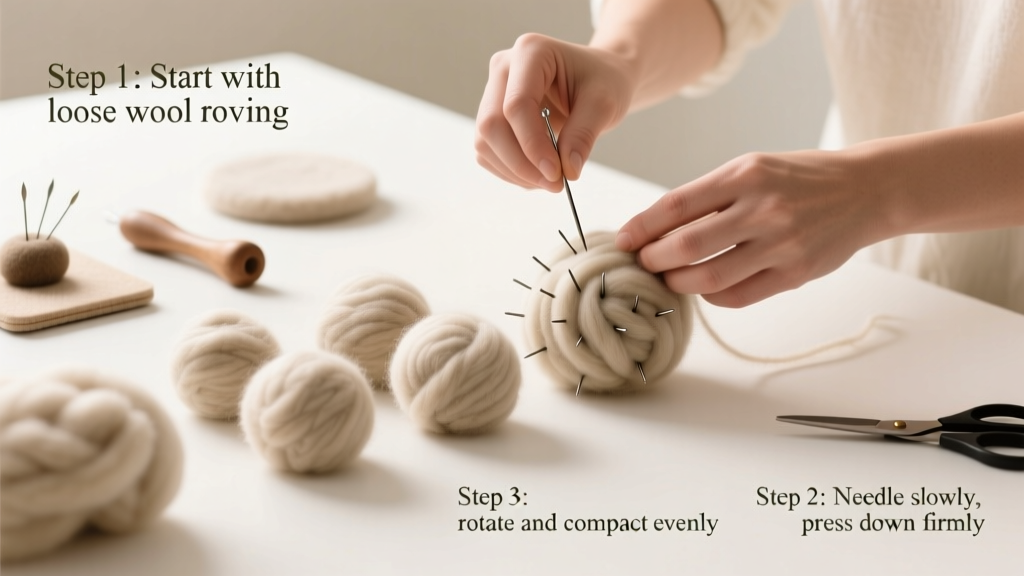
Felting wool transforms loose roving or yarn into a dense, sculptable fabric through controlled shrinkage and fiber bonding. It’s a beginner-friendly craft that takes 30–90 minutes per project, depending on size and desired firmness—and you can do it at your kitchen sink with tools you likely already own.
Overview
| Skill Level | Time Required | Tools Needed | Estimated Cost |
|---|---|---|---|
| Beginner | 30–90 minutes | Hot water, soap, towel, wool roving | $8–$25 (most supplies reusable) |
Tools & Materials
| Item | Quantity | Notes |
|---|---|---|
| 100% wool roving (not superwash) | 10–30 g per small project | Superwash wool won’t felt—it’s chemically treated to resist shrinking. |
| Lukewarm to near-boiling water (140–160°F) | 2–3 cups | Use a thermometer: below 130°F slows felting; above 170°F can shock fibers and cause uneven shrinkage. |
| Castile soap or liquid dish soap (unscented) | ½ tsp per cup of water | Soap reduces surface tension so fibers slide and tangle more easily. Avoid moisturizing or antibacterial soaps—they inhibit felting. |
| Microfiber towel or bamboo cloth | 1 | Absorbs excess water without linting. Cotton towels leave fuzz that embeds in wet wool. |
| Plastic mesh sheet or bubble wrap | 1 piece (6" × 6") | Provides texture and friction during rolling. Bubble wrap gives faster results than smooth surfaces. |
Step-by-Step Instructions
Prepare the wool layout
Tease apart 10–15 g of roving and pull it into thin, even layers. Lay three to five overlapping layers on your mesh or bubble wrap, rotating direction with each layer (like plywood grain). Keep edges slightly uneven—this prevents hard seams later. Don’t press down; let fibers rest loosely.
Add moisture and soap
Pour lukewarm soapy water over the layers until fully saturated but not swimming. Gently press with fingertips to release air pockets—don’t rub yet. Let sit for 30 seconds so fibers absorb moisture and begin softening.
Begin gentle agitation
With flat palms, press and roll the bundle back and forth 20–30 times across the textured surface. Lift and reposition every 10 rolls to prevent sticking. You’ll feel resistance increase as fibers start locking together—this is the first sign of felting.
Increase pressure and check progress
Switch to firmer, slower rolls—about 50–70 total. After 40 rolls, peel back a corner: if fibers lift cleanly, keep going. If they hold shape and resist separation, it’s partially felted. Rinse under cool water to remove soap, then gently squeeze (don’t wring) and lay flat to assess firmness.
Final shaping and drying
While still damp, mold your piece by rolling between palms or pressing into a mold (like a spoon bowl for beads). Place on a dry microfiber towel, reshape if needed, and air-dry for 12–24 hours away from direct heat. Avoid fans or heaters—they cause cracking.
Pro Tips
According to textile conservator Dr. Elena Ruiz in Textile Studio Handbook (2022), “Wool felts fastest when fibers are aligned in opposing directions before agitation—this creates cross-linking points that lock structure in place.” That’s why rotating layers matters more than thickness.
- Always test a 1-g scrap first: timing varies by breed (Merino felts faster than Corriedale; Shetland adds durability).
- Never use hot tap water alone—its mineral content can dull colors and slow felting. Filtered or distilled water yields truer dye retention.
- If your piece feels spongy after drying, it’s under-felted. Rewet with warm soapy water and roll another 30–40 times.
“Under-felting is easier to fix than over-felting—but once wool shrinks past 40%, it won’t rebound. When in doubt, stop early and check twice.” — Sarah Lin, fiber artist and instructor at Penland School of Craft (2023)
Can I felt wool yarn?
Yes—but only 100% non-superwash wool yarn, and only if it’s loosely plied. Tightly spun yarns like sock yarn resist felting. For best results, unravel the yarn into roving first or knit a loose swatch, then felt the whole piece.
Why did my wool shrink unevenly?
Uneven shrinkage usually comes from inconsistent layer thickness or missed spots during rolling. Next time, mark your starting point with a pin and count full forward-and-back rolls to ensure even coverage. Also, avoid folding edges inward—they’ll felt faster than the center.
Can I add color after felting?
You can dye fully dried felted wool with acid dyes (for protein fibers), but pigment won’t penetrate deeply. For vibrant results, dye the roving before felting—or use wool-safe fabric markers like Jacquard Wool Dyes on damp, unfelted layers.
Is needle felting the same as wet felting?
No. Needle felting uses barbed needles to mechanically tangle fibers—ideal for 3D sculpture and attaching details. Wet felting relies on heat, moisture, and agitation for flat or gently curved pieces. They’re complementary: many artists combine both techniques for layered texture.
How do I fix a hole or tear in felted wool?
Re-wet the area with warm soapy water, then place a tiny patch of matching roving over the hole. Roll gently with your thumb for 2–3 minutes until fibers merge. Press with a warm iron (no steam) for 10 seconds to seal—just enough heat to encourage bonding without melting.
Can I felt alpaca or llama fiber?
Yes—but they felt more slowly and less densely than sheep wool due to smoother cuticles. Mix 25–30% alpaca with Merino roving for softer, drapey felt with improved stability. Pure alpaca requires longer agitation and cooler water (120–135°F) to avoid fiber damage.
Felting wool isn’t magic—it’s physics made tactile. With practice, you’ll learn to read the subtle cues: the shift from slippery to grippy, the quieting of water sounds as fibers lock, the way light reflects differently off a fully felted surface. Start small, keep notes on water temp and roll counts, and soon you’ll be making sturdy brooches, cozy coasters, or even miniature animals—all from fluff and friction.