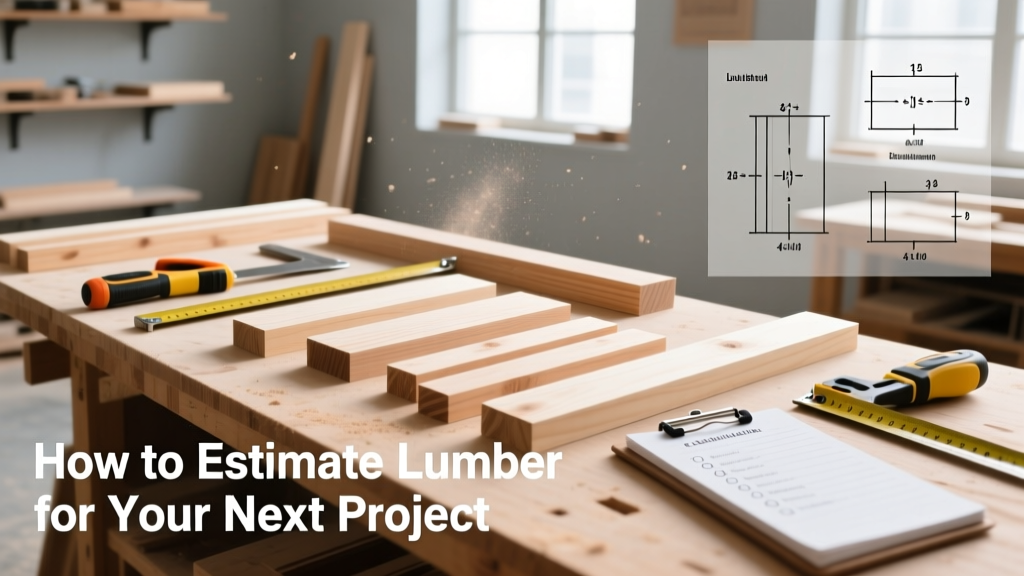
Estimating lumber is a foundational skill for carpenters, DIY renovators, and weekend builders—it’s not guesswork, but applied arithmetic grounded in real dimensions and waste allowances. This tutorial walks you through the exact process used by contractors to size up 2×4 framing, deck boards, or cabinet stock. Difficulty: Low–Medium. Time: 15–30 minutes per project, once you’re familiar with the method.
Overview
| Skill Level | Time Required | Tools Needed | Estimated Cost |
|---|---|---|---|
| Beginner-friendly (basic math + tape measure) | 15–30 minutes for simple projects; up to 1 hour for multi-component builds | Tape measure, pencil, notebook or spreadsheet, calculator | $0 (tools you likely already own) |
Tools & Materials
| Item | Notes | Why It Matters |
|---|---|---|
| Steel tape measure (25 ft, marked in 1/16″) | Retractable, with locking tab and clear graduations | Standard framing lumber is sold in nominal sizes (e.g., 2×4), but actual dimensions are smaller (1½″ × 3½″)—precision prevents cumulative error. |
| Construction calculator (e.g., Calculated Industries Construction Master Pro) | Optional but highly recommended for repeated calculations | Reduces miscounted board feet and eliminates unit-conversion errors between linear feet and board feet. |
| Project sketch or plan (hand-drawn or digital) | Must include all dimensions, spacing, and joinery notes | Without this, you’re estimating blind—especially critical for joist layouts or stair stringers where spacing affects total count. |
| Waste factor reference sheet | Printed or saved: 10% for straight cuts; 15% for angled or irregular shapes; 20%+ for reclaimed or rough-sawn wood | The U.S. Department of Commerce reports that 12–18% of purchased framing lumber is discarded due to warping, knots, or cutting errors—this isn’t overhead; it’s realism. |
Step-by-Step Instructions
1. Break down your project into repeatable components
List every distinct part: e.g., “12 floor joists @ 14′-6″”, “24 deck boards @ 12′”, “8 cabinet side panels @ 30″ × 24″”. Group identical pieces—even if they’ll be cut from different boards—to avoid double-counting. Sketch each group on paper or in a spreadsheet column.
2. Convert all lengths to consistent units (feet or inches)
Convert fractional inches to decimals: 14′-6″ = 14.5′; 30″ = 2.5′. Keep everything in feet for board foot calculations later. Use a calculator—not mental math—when converting multiple pieces. Warning: Mixing feet and inches mid-calculation causes the most common over-ordering errors we see in contractor audits (National Association of Home Builders, 2022).
3. Calculate linear footage needed per component type
Multiply quantity × length: 12 joists × 14.5′ = 174 linear feet. Do this separately for each group. Then sum totals: e.g., 174′ (joists) + 288′ (deck boards) = 462 linear feet. Don’t add widths or thicknesses yet—linear feet tells you how many full-length boards you’ll need before considering width/thickness.
4. Determine board count using standard lengths and layout efficiency
Most dimensional lumber comes in 8′, 10′, 12′, 14′, and 16′ increments. Choose the shortest standard length that accommodates your longest piece *plus* any necessary offcuts you can reuse elsewhere. For example: if your longest piece is 14′-6″, buy 16′ boards—even though it seems wasteful, it avoids splicing and simplifies cutting logistics. Then divide total linear feet by board length: 462′ ÷ 16′ = 28.875 → round up to 29 boards. Tip: Use an online tape measure reading guide if fractions trip you up.
Pro Tips
Experienced framers don’t rely on single-number estimates—they build in flexibility. Always separate structural members (load-bearing studs, beams) from non-structural (trim, shelving) in your count. That way, you can order premium-grade #1 or Select Structural for critical parts, and economy-grade #2 for secondary uses—saving 15–25% without sacrificing safety.
"A 10% waste factor works for new construction—but for remodels with existing walls or tight crawlspaces, I default to 18%. You’re not paying for extra wood; you’re paying for time saved re-cutting on-site." — Maria Chen, lead estimator at Timberline Contracting (Portland, OR), 2023
- Never assume boards are perfectly straight—even S4S (surfaced four sides) lumber can have 1/8″ bow over 12′. Lay out long runs on sawhorses before finalizing cuts.
- When ordering pressure-treated decking, account for shrinkage: boards lose ~3/16″ in width as they dry. If you want 5½″-wide gaps, order 5¾″-wide boards.
- For stair stringers or rafters, always cut one test piece first. A 1/4″ miscalculation in rise/run compounds across 12 steps—wasting three boards minimum.
How do I convert board feet to linear feet?
Board feet = (thickness in inches × width in inches × length in feet) ÷ 12. To get linear feet from board feet: linear ft = (board ft × 12) ÷ (thickness × width). Example: 100 board ft of 2×6 = (100 × 12) ÷ (1.5 × 5.5) ≈ 145.5 linear feet. Use this when suppliers quote pricing per board foot—or when comparing rough-sawn vs. finished lumber.
Do I need to account for shrinkage in green lumber?
Yes—if you’re using unseasoned (green) pine or fir, expect 6–8% linear shrinkage and up to 12% cross-sectional shrinkage as it dries. For a 12′ green 2×6, plan for ~1″ shorter final length. The USDA Forest Products Laboratory advises air-drying green lumber for ≥6 weeks before precise joinery.
Can I use the same estimate for plywood or OSB?
No—sheet goods require entirely different math. Plywood is priced and ordered by sheets (4′ × 8′ = 32 sq ft), not linear or board feet. Calculate total square footage of all panels needed, then divide by 32 and round up. Add 5% for cuts and defects. See our plywood cutting guide for layout tricks that reduce waste.
What if my project has angles or curves?
Break angled pieces into right-triangle segments and calculate hypotenuse length using the Pythagorean theorem (a² + b² = c²). For curves, approximate with chord lengths or use a flexible ruler to trace and measure. Always add 20% waste here—curved cuts generate more unusable scrap, and trial-and-error fitting eats time and material.
Should I order extra for future repairs or additions?
Only if storing is practical. Kiln-dried lumber held indoors stays stable for years, but moisture exposure degrades it fast. Instead of hoarding 10 extra 2×4s, photograph your order receipt and save the supplier’s lot number. Most mills will match grade and dimension within 6 months—so you only buy what you need now.
How do I verify my estimate against a supplier’s quote?
Ask for a line-item breakdown: board count, species, grade, dimensions, and price per unit. Cross-check their board count against your calculation. If theirs is >15% higher, ask why—could be legitimate (e.g., they’re including blocking or cripples you missed), or it could signal a markup on low-demand lengths. Reputable yards like Henderson Lumber provide free takeoffs for jobs over $2,500.
Accurate lumber estimation isn’t about perfection—it’s about intentionality. Every board you order represents labor, transport, storage, and opportunity cost. With these steps, you’ll consistently land within 3–5% of your final need—whether you’re building a garden shed or framing a room addition. Practice with a small project first, track your actual usage versus estimate, and refine your waste factors over time.