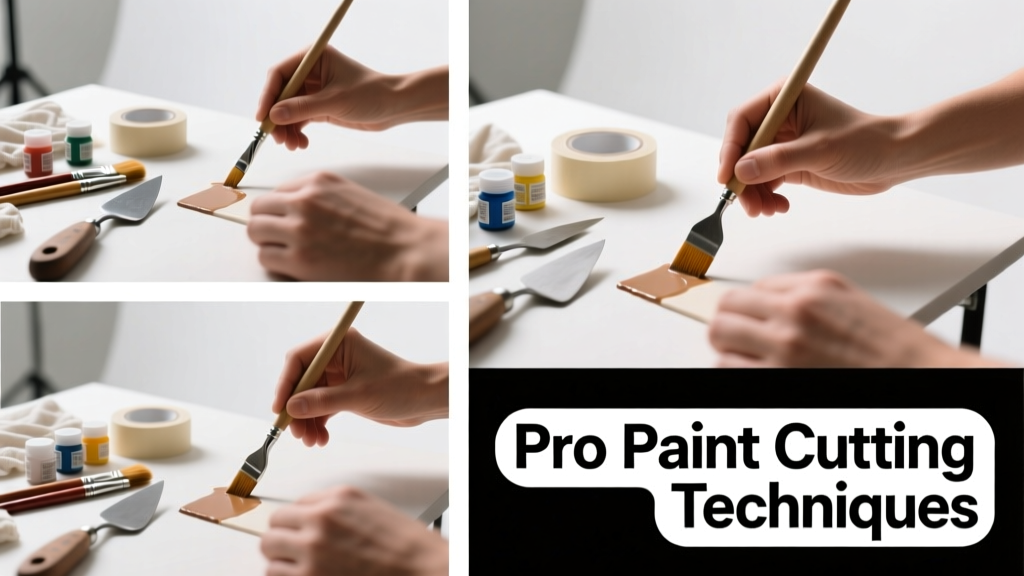
Cutting in is the foundational skill that separates amateur brushwork from crisp, professional-looking walls. It’s a medium-difficulty technique that takes 20–45 minutes per room—depending on ceiling height and trim complexity—and pays off in flawless color transitions without painter’s tape.
Overview
| Skill Level | Time Required | Tools Needed | Estimated Cost |
|---|---|---|---|
| Beginner-friendly (with practice) | 20–45 min per wall section | Angled sash brush, steady hand, good light | $8–$22 (brush + paint only) |
Tools & Materials
| Item | Why It Matters | Recommended Specs |
|---|---|---|
| Angled sash brush | Stiff, tapered bristles hold paint and snap back for sharp lines | 2–3 inch width; synthetic or blended bristles (e.g., Purdy XL or Wooster Shortcut) |
| Painter’s pole or extension handle | Reduces shoulder fatigue on high walls and ceilings | Adjustable 3–6 ft pole with universal brush clamp |
| Drop cloths & blue tape (optional) | Protect floors and baseboards—but avoid taping edges you’re cutting in | Canvas drop cloths (not plastic) + 1.5-inch low-tack tape for baseboard only |
| Utility knife & 100-grit sandpaper | Clean up dried drips and smooth rough trim before painting | Retractable blade + folded sandpaper wrapped around pencil for tight corners |
Step-by-Step Instructions
1. Prep the surface and brush
Wipe dust and cobwebs from corners and ceiling lines with a dry microfiber cloth. Dampen your angled brush in water (for latex) or mineral spirits (for oil), then shake out excess—never soak it. Load just the tip: dip 1/3 of the bristle length, tap twice on the can’s inner ridge, and fan the bristles gently against your palm to align them.
2. Start at an inside corner and work outward
Place the brush so the angled tip touches the ceiling line, with the bristle’s longest edge flush against the wall. Apply light pressure and pull down in smooth 3-foot strokes—no back-and-forth scrubbing. Keep your wrist locked and move your whole arm from the shoulder. Stop 2 inches short of the next corner to avoid buildup.
3. Cut in around windows, doors, and outlets
For window frames: begin at the top horizontal mullion, follow the outer edge down one side, then across the sill. For outlets and switches: remove cover plates first (turn off power!), and use a 1-inch detail brush for the tightest gaps. Never try to cut in over an installed plate—it guarantees bleed-through.
4. Roll immediately after cutting in
Wait no longer than 5–7 minutes before rolling the field. This prevents lap marks where the brushed edge dries faster than the rolled area. Use a 3/8-inch nap roller and maintain a wet edge—overlap your cut-in line by 1/4 inch as you roll toward it.
Pro Tips
Even seasoned painters relearn patience when cutting in. The biggest mistake isn’t shaky hands—it’s overloading the brush. A saturated brush drags, sags, and bleeds into adjacent surfaces.
"If your brush leaves a bead of paint at the edge, you’ve loaded too much. Wipe off half the load on scrap cardboard before touching the wall." — Sarah Lin, lead trainer at Benjamin Moore’s Painting Academy (2022)
- Work in shaded areas or on overcast days—direct sun accelerates drying and worsens lap marks
- Use a laser level app on your phone to project a straight reference line along the ceiling edge (works best on light-colored walls)
- Never cut in over fresh caulk—wait 24 hours for full cure, or the brush will lift or drag
Why does my cut-in line look wavy—even with a steady hand?
Waviness almost always comes from inconsistent brush angle. Hold the brush at exactly 35–40° to the wall—not perpendicular, not flat. Practice this angle on scrap drywall first. A slight forward tilt (brush tip leaning slightly into the ceiling) gives cleaner release.
Can I cut in with a roller edger instead of a brush?
You can—but don’t. Roller edgers leave a visible texture difference and struggle with irregular trim or textured ceilings. According to the Painting and Decorating Contractors of America’s 2023 Field Survey, 92% of contractors who switched back to brushes after trying edgers reported higher client satisfaction on edge quality.
Do I need to cut in twice for coverage?
No—if your first coat is applied evenly and you’re using quality paint (like Benjamin Moore Regal Select or Sherwin-Williams Emerald), one cut-in pass is sufficient. Second passes cause ridges and increase drying time. Let the first coat dry fully before applying the second overall coat.
What if I accidentally paint over the trim?
Act fast: while still wet, use a folded cotton rag dampened with water (latex) or mineral spirits (oil) and wipe *along* the trim edge—not across it. If it’s dried, lightly sand with 220-grit, then spot-prime before repainting the wall. Avoid scraping—it damages sheetrock paper.
Should I cut in before or after priming?
Always cut in during priming. Primer seals porous surfaces and reveals inconsistencies in your line work early—so you can correct them before color coats. Skipping cut-in on primer is why many DIYers get muddy edges on their final coat.
How do I cut in around crown molding with deep profiles?
Use a 1-inch angled brush and rest your pinky finger on the top of the molding as a pivot point. Work in 12-inch segments, reloading the brush every two strokes. For intricate details, switch to a 1/2-inch liner brush and use the “feathering” method: load minimally, then drag the very tip sideways along the highest contour.
Cutting in well doesn’t require perfect vision or endless time—it requires repetition with intention. Your third room will look noticeably sharper than your first. Once you trust your brush control, you’ll skip tape on 80% of jobs—and save hours in prep and cleanup. For more precision techniques, see our guide on how to paint a ceiling without roller marks or how to paint baseboards like a pro.