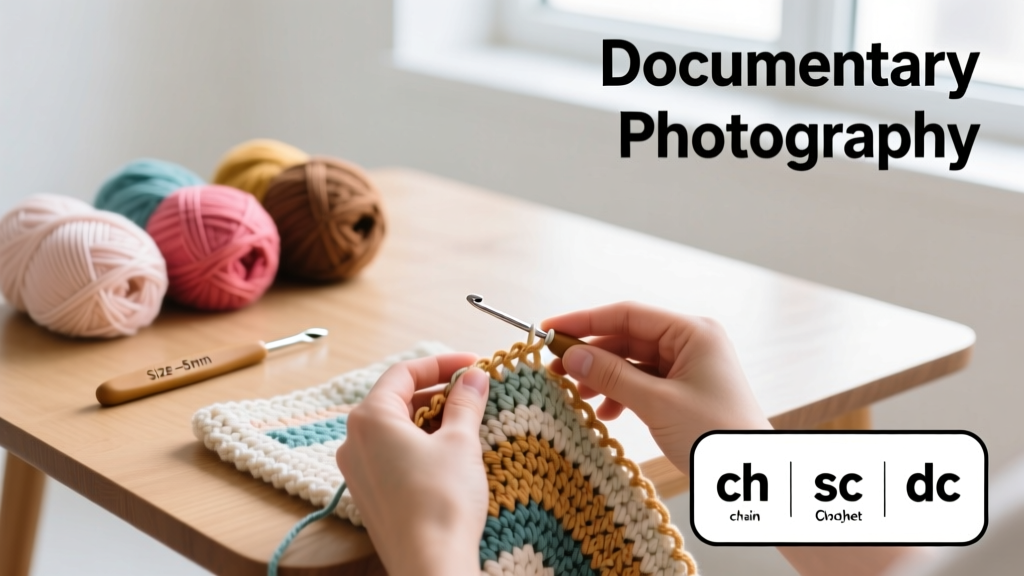
Crocheting a blanket is one of the most rewarding first projects for beginners—it’s rhythmic, forgiving, and delivers tangible warmth in just a few evenings. This tutorial walks you through every stage, from selecting yarn to binding off, using only the single crochet stitch (ideal for consistency and control). Most learners complete their first 36" × 48" throw in 15–20 hours across 5–7 sessions.
Overview
| Category | Details |
|---|---|
| Skill Level | Beginner (no prior crochet experience needed) |
| Time Required | 15–20 hours total (broken into 45–90 minute sessions) |
| Tools Needed | H-8 (5.0 mm) crochet hook, scissors, tapestry needle, stitch markers (optional) |
| Estimated Cost | $22–$38 (using mid-grade acrylic or cotton-blend yarn) |
Tools & Materials
You’ll need just a few reliable supplies—none require specialty shopping. Avoid ultra-thin yarn or steel hooks for your first blanket; they increase hand fatigue and tension errors.
| Item | Specifications | Why It Matters |
|---|---|---|
| Yarn | 4 skeins (approx. 1,200 yards) of worsted-weight (#4) acrylic or cotton-acrylic blend (e.g., Red Heart Super Saver or Lion Brand Basic Stitch) | Acrylic holds stitch definition well, resists splitting, and washes easily—critical for a beginner’s first large project. |
| Hooks | One 5.0 mm (H-8) aluminum or ergonomic hook (e.g., Clover Amour or Boye Ergo) | A smooth, medium-size hook reduces drag and helps maintain even tension—key for consistent rows. |
| Scissors & Needle | Sharp, small-blade fabric scissors + blunt-tipped tapestry needle (size 16–18) | Precise cutting prevents fraying; a blunt needle glides through stitches without splitting yarn. |
| Extras | Stitch markers (plastic rings or locking clips), 36" ruler or flexible tape measure | Markers prevent accidental row miscounts; measuring ensures width stays uniform as you grow. |
Step-by-Step Instructions
1. Make a foundation chain
Start with a slip knot on your hook, then chain 120 stitches (for a 36" wide blanket at standard gauge). Keep your tension relaxed—not tight enough to strain your wrist, not loose enough to drop loops. Count every 10 chains aloud and place a marker at 50, 100, and 120 to verify accuracy. If your chain curls or feels stiff, loosen your grip and try again—this is normal on attempt #1 or #2.
2. Work the first row of single crochet
Insert hook into the second chain from hook (skip the first), yarn over, pull up a loop (2 loops on hook), yarn over again, pull through both loops. That’s one single crochet. Repeat across—119 stitches total. At the end, chain 1 and turn your work. Warning: Don’t count the turning chain as a stitch—it’s just a lift, not a working stitch.
3. Continue even rows
For each new row: insert hook into the top of the first stitch (not the chain-1 space), work single crochet across, chain 1, turn. Keep your yarn tail secured at the side—not tucked in yet—and check row height every 5 rows with your ruler. According to the Craft Yarn Council’s Standard Yarn Weight System (2022), worsted-weight single crochet should measure ~16 stitches × 18 rows per 4" square—if yours is tighter, go up half a hook size.
4. Finish and weave in ends
When your blanket reaches 48" long (about 85–90 rows), cut yarn leaving a 6" tail. Pull tail through the final loop to secure. Use your tapestry needle to weave ends horizontally through the backs of stitches for 3–4 inches—never knot them. Trim excess flush with fabric. Wash gently in cold water, roll in a towel to remove moisture, then lay flat to dry (never hang).
Pro Tips
Even experienced crocheters revisit these fundamentals when teaching newcomers. They’re simple—but skipping any one causes frustration down the line.
- Always count your stitches at the end of rows 1, 5, and every 10th row after that. A missed stitch compounds quickly.
- Rest your hook-hand wrist on the edge of a table or cushion—don’t hover it in air. Fatigue distorts tension.
- If edges curl inward, your foundation chain is too tight. Loosen slightly next time—or add a border later to stabilize.
“Most ‘wonky’ blankets aren’t from poor technique—they’re from inconsistent starting-chain tension. Practice chaining 20 stitches, pulling gently to test drape, then re-chaining until it lies flat without twisting.” — Sarah S., lead instructor at The Crochet School, 2023
How many stitches should my foundation chain be?
For a standard lap blanket (36" × 48"), start with 120 chains using worsted yarn and a 5.0 mm hook. But always swatch first: chain 20, work 10 rows, measure width. Multiply your stitches-per-inch by desired width (e.g., 4.2 st/in × 36" = 151). Round to nearest even number for symmetry.
Can I use chunky yarn instead?
Yes—but adjust accordingly. Chunky (#5) yarn with an I-9 (5.5 mm) hook cuts project time nearly in half (8–12 hours), but increases risk of uneven tension. You’ll need only 2–3 skeins (~800 yards), and your foundation chain drops to ~85 stitches. Just remember: larger yarn shows mistakes more clearly, so practice 20 rows first.
Why does my blanket get wider as I go?
Almost always, you’re accidentally adding stitches—usually by crocheting into the turning chain or working two stitches into one space. Use stitch markers every 20 stitches to catch drift early. Also confirm you’re inserting into the top of each stitch’s V—not the horizontal bar below it.
Do I need to block my finished blanket?
Not required for acrylic, but highly recommended for cotton or wool blends. Wet-block (soak in cool water, gently squeeze, pin to dimensions on foam mats) evens out minor inconsistencies and softens fibers. Skip steam blocking—it can melt acrylic.
What’s the fastest way to fix a dropped stitch?
Stop immediately. Insert a locking stitch marker or safety pin into the live loop above the error. Use a smaller hook (E-4 or F-5) to ladder back up: catch the horizontal bar of each row below, pull yarn through, and re-seat on main hook. Don’t rip out rows unless >5 rows are affected—you’ll lose hours.
Can I add a border later?
Absolutely—and you should. A simple single-crochet border (1 sc in each stitch + 3 sc in each corner) stabilizes edges, hides slight width variations, and adds polish. Work it after washing and drying, when the fabric has relaxed.
Your first blanket won’t be perfect—and that’s part of its charm. Every slight variation tells a story of focus, patience, and hands learning new language. Once you’ve mastered this, try branching into how to read crochet patterns or experimenting with colorwork using our guide to changing yarn colors. And if you hit a snag mid-project, revisit our troubleshooting guide for dropped stitches and curling edges.