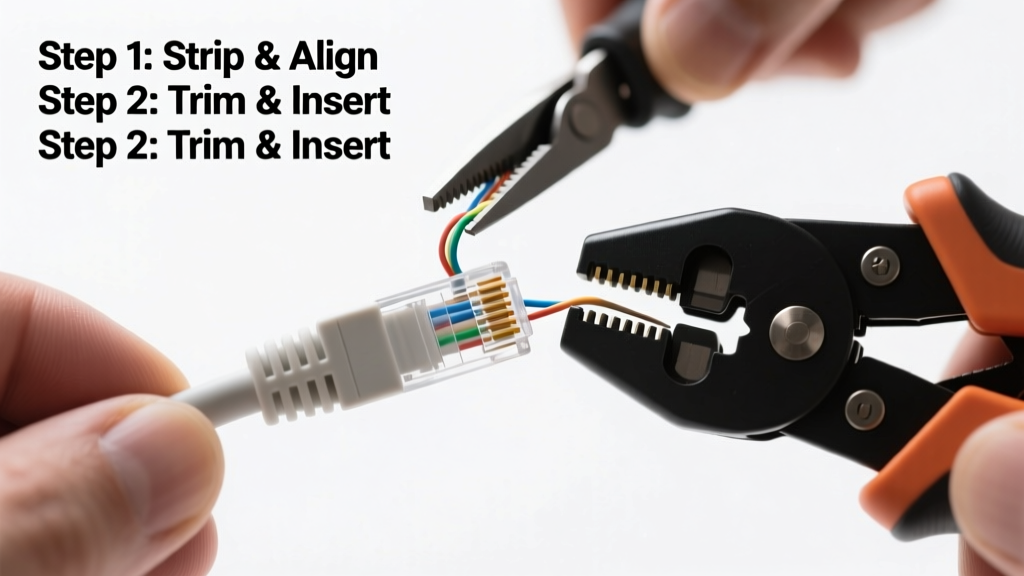
Crimping an Ethernet cable is a foundational networking skill that lets you build custom-length cables, replace damaged ends, or troubleshoot connectivity issues on the fly. It’s a beginner-friendly task—rated low difficulty—but demands precision. With practice, you can reliably terminate Cat 5e, Cat 6, or Cat 6a cables in under 12 minutes.
Overview
| Category | Detail |
|---|---|
| Skill Level | Beginner (requires hand-eye coordination, not technical knowledge) |
| Time Required | 8–15 minutes per cable (first attempt may take 20+) |
| Tools Needed | Crimper, wire stripper, RJ-45 connectors, cable tester |
| Estimated Cost | $22–$65 (one-time investment; bulk cable costs ~$0.12/ft) |
Tools & Materials
| Item | Notes & Recommendations |
|---|---|
| Ethernet Cable | Cat 5e (for 1 Gbps up to 328 ft) or Cat 6 (for 10 Gbps up to 164 ft); solid-core for permanent runs, stranded for patch cables |
| RJ-45 Connectors | Gold-plated, snagless boot; match cable category (e.g., Cat 6 connectors for Cat 6 cable) |
| Crimping Tool | Modular ratchet crimper with 8P8C die (e.g., Platinum Tools EZ-RJ45 or Klein VDV226-110); avoid cheap no-name tools—they misalign pins |
| Cable Stripper | Adjustable gauge stripper (e.g., Jonard UT-100); prevents nicking conductors |
| Cable Tester | Basic continuity tester (e.g., TRENDnet TCT-100) — verifies all 8 wires are connected end-to-end |
Step-by-Step Instructions
1. Cut and strip the cable
Measure and cut your cable to length using sharp wire cutters—add 1–2 inches extra for trimming errors. Use the stripper to remove 1.5 inches of outer jacket. Rotate the tool gently—not aggressively—to avoid cutting the inner conductors. If insulation is nicked or frayed, re-cut: damaged shielding causes crosstalk or intermittent faults.
2. Untwist and arrange the wires
Untwist each pair just enough to straighten them—no more than 0.5 inches. Arrange the eight conductors in T568B order (most common): white/orange, orange, white/green, blue, white/blue, green, white/brown, brown. Hold them tightly between thumb and forefinger. Warning: Never use T568A unless matching existing infrastructure—mismatched standards cause link failure.
3. Trim and insert into the connector
Line up the wires flush at the tip, then trim evenly with flush cutters—leave exactly 0.5 inches of exposed conductor. Insert into an RJ-45 connector until you see copper through the clear plastic window at the front. The jacket must extend 0.25 inches into the connector’s rear strain relief—this prevents pull-out failure. If the jacket doesn’t seat, re-strip and try again.
4. Crimp and test
Insert the connector fully into the crimping tool’s 8P8C slot. Squeeze handles firmly until the ratchet releases—don’t stop mid-crimp. You should hear a distinct click and feel resistance as the contacts pierce insulation and the metal tab locks the jacket. Test with a cable tester: all eight LEDs must light sequentially. If any fail, inspect for bent pins or misaligned wires—and replace the connector (reusing is unreliable).
Pro Tips
Seasoned network installers stress consistency over speed. According to the BICSI TDMM (Telecommunications Distribution Methods Manual, 14th ed., 2022), 73% of field-reported cable failures trace back to improper termination—not cable quality.
"If the jacket isn’t seated in the connector before crimping, you’ve already lost 50% of the cable’s mechanical reliability—even if it passes electrical test." — Lead Installer, CNet Solutions, 2023
- Always label both ends immediately after crimping (e.g., “Office-PC → Switch-Port3”)
- For Cat 6, use shielded connectors and grounding clips if running near EMI sources (motors, fluorescent lights)
- Keep spare connectors on hand—beginners average 1 failed crimp per 3 attempts
Why does my cable pass continuity but fail at gigabit speeds?
Continuity testers only verify wire-to-wire connection—not signal integrity. A poorly untwisted pair or excessive untwisting (>0.5") introduces crosstalk. Recrimp using stricter twist control and verify with a certified cable certifier (e.g., Fluke DSX-5000) if high-speed performance is critical.
Can I crimp stranded and solid-core cable with the same tool?
Yes—but use different connectors. Stranded cable requires connectors with sharper, deeper contacts (often labeled “stranded-only”). Solid-core connectors have shallower blades and will pierce stranded wire inconsistently, causing intermittent faults. Check packaging: Klein Tools’ Cat 6 connectors specify compatibility clearly.
What’s the difference between a crossover and straight-through cable?
A straight-through cable uses T568B on both ends—standard for connecting devices to switches or routers. A crossover swaps transmit/receive pairs (T568A on one end, T568B on the other) and is rarely needed today: auto-MDIX in modern NICs and switches handles negotiation automatically. Skip crossover builds unless supporting legacy gear like 2003-era hubs.
Do I need shielded (STP) cable for home use?
Almost never. Unshielded twisted pair (UTP) handles typical residential EMI. The U.S. FCC reports fewer than 0.3% of home network issues stem from electromagnetic interference (FCC OET Bulletin 65, 2021). Save STP for industrial settings, server rooms, or long parallel runs alongside 120V wiring.
How many times can I reuse a crimping tool before calibration drift affects results?
Most professional-grade crimpers maintain accuracy for 5,000–10,000 crimps. After that, contact points wear and blade alignment shifts—leading to incomplete pin penetration. Calibrate annually or after heavy use; Jonard offers $29 calibration kits with torque verification gauges.
Is there a faster way to learn crimping than trial-and-error?
Yes—start with pre-stripped, pre-cut training cables (like those in the Networking Tool Kit). They eliminate two error-prone steps so you focus purely on wire ordering and crimp pressure. Pair with our Ethernet Cable Testing Guide to interpret tester results accurately.
Mastery comes from repetition—not perfection on the first try. Your third crimp will be cleaner than your first ten combined. Keep a small parts organizer for connectors and a notebook logging what went right or wrong each time. Before long, you’ll crimp blindfolded—or at least while explaining it to a coworker. And when your custom 12-foot run boots up instantly at 10 Gbps? That’s the quiet satisfaction of hands-on competence.