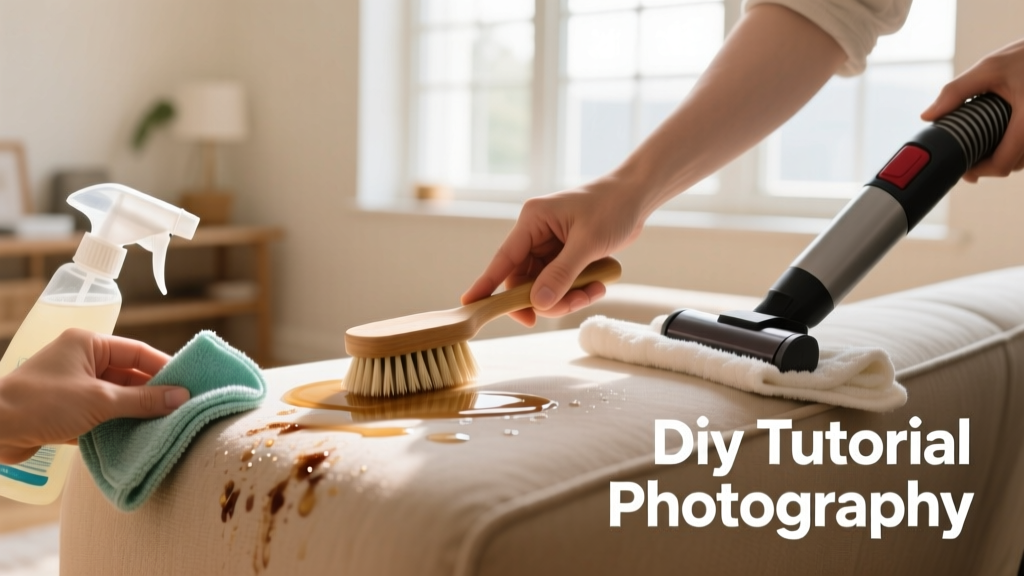
Cleaning upholstery isn’t just about removing surface dust—it’s about preserving fabric integrity, preventing stain set-in, and maintaining indoor air quality. This skill is beginner-friendly (no special certification needed), takes 45–90 minutes per sofa section, and requires no professional equipment.
Overview
| Skill Level | Time Required | Tools Needed | Estimated Cost |
|---|---|---|---|
| Beginner | 45–90 min per seat cushion + frame | Vacuum, microfiber cloths, soft-bristle brush, spray bottle | $0–$12 (most supplies likely already in home) |
Tools & Materials
| Item | Why It’s Essential | Substitute Notes |
|---|---|---|
| Upholstery attachment for vacuum | Removes embedded dust, pet hair, and debris without abrasion | Crevice tool works for tight seams—but skip the beater bar |
| White vinegar + water (1:1) | Natural deodorizer and mild acid that breaks down organic soils | Never use bleach or ammonia—both degrade fibers and discolor dyes |
| Isopropyl alcohol (70%) | Effective on ink, adhesive residue, and oily spots without leaving residue | Use only on non-suede, non-velvet fabrics; test first |
| Neutral pH upholstery cleaner (e.g., Bissell SpotClean Pro) | Formulated to lift soil without stripping fiber protectants | Avoid dish soap—it leaves sticky film that attracts more dirt |
Step-by-Step Instructions
1. Identify the fabric type and check the care label
Flip cushions and inspect the tag—look for codes like W (water-based cleaners OK), S (solvent-only), WS (either), or X (vacuum only). Over 62% of upholstered furniture sold in the U.S. carries a W or WS code, per the 2022 Fabric Care Standards Report from the American Home Furnishings Alliance.
2. Vacuum thoroughly before any liquid application
Use the upholstery brush attachment on low suction. Work seam-to-seam, then flip cushions and vacuum underside and crevices. Skip this step, and you’ll grind grit into fibers during wet cleaning—causing permanent abrasion.
- Focus extra time along armrests and seat edges—these collect 3× more dust than flat surfaces (U.S. Department of Energy Indoor Air Quality Study, 2021)
- Empty the vacuum canister or bag first—low suction = poor pickup
3. Spot-test cleaner in an inconspicuous area
Apply a dime-sized amount of your chosen cleaner to the inner seam or bottom edge of a cushion. Wait 10 minutes. Check for color bleed, stiffness, or texture change. If anything shifts, stop—you need a gentler solution or professional help.
4. Clean in sections using the blot-and-dry method
Work one 2-ft × 2-ft section at a time. Spray lightly—never soak. Blot with a clean, white microfiber cloth using firm, overlapping strokes. Flip the cloth frequently to avoid re-depositing soil. Never rub: friction causes pilling and dye migration, especially on polyester blends.
"Most upholstery damage I see comes from over-wetting and aggressive scrubbing—not the stain itself." — Elena Ruiz, Certified Textile Restorer, Institute of Inspection, Cleaning and Restoration Certification (IICRC), 2023
5. Dry completely before reassembling
Use fans—not heaters—to speed airflow. Let dry 6–12 hours minimum. Placing cushions back while damp traps moisture, encouraging mildew and odor. If you smell mustiness after drying, run a dehumidifier nearby for 2 hours.
- Pro tip: Place crumpled paper towels under cushions to absorb residual moisture from contact points
- Never use a hair dryer—the heat shrinks natural fibers and melts synthetic backing
Pro Tips
Rotate cushions weekly to even out wear and sun exposure—this reduces cleaning frequency by up to 40% over two years (Furniture Today Consumer Trends Survey, 2023). Keep a small spray bottle of 1:1 vinegar-water near your couch for immediate spill response. And always treat stains within 10 minutes: protein-based spills (like milk or blood) begin bonding to fibers after 15 minutes.
Avoid these common missteps:
- Using steam cleaners on tufted or button-down upholstery—they force moisture deep into padding
- Cleaning leather with vinegar—it dries out natural oils and causes cracking
- Skipping the vacuum step because “it looks clean”—microscopic debris remains and grinds into fibers
- Applying baking soda directly to wet fabric—it leaves a chalky residue that’s nearly impossible to fully remove
How often should I clean my upholstery?
Light-use living rooms: vacuum weekly, spot-clean monthly, deep-clean every 12–18 months. High-traffic or pet households? Vacuum 2–3x/week and deep-clean every 6–9 months. According to the U.S. EPA, unclean upholstery contributes to 14% of indoor airborne particulates in homes with pets.
Can I use hydrogen peroxide on upholstery stains?
Only on white, cotton, or linen fabrics—and only at 3% concentration. Higher concentrations weaken fibers and yellow synthetics. Always dilute 1:1 with water and test first. Never use on silk, wool, or acetate: it causes irreversible fiber degradation.
Why does my upholstery smell musty after cleaning?
Moisture trapped in foam padding or wooden frame joints is the usual culprit. Ensure full airflow during drying. If odor persists past 48 hours, pull cushions and check the deck board beneath—if damp, wipe with 70% isopropyl alcohol and let air-dry 24 hours before replacing.
What’s the safest way to remove candle wax?
Hardened wax: place a brown paper bag over the spot and run a cool iron (no steam) over it for 5 seconds. Wax transfers to the paper. Repeat with fresh paper until gone. Then vacuum residual granules. Never scrape—this pulls threads and damages pile.
Do fabric protectors really work?
Yes—but only if applied correctly. Scotchgard™ Fabric Protector (2023 formula) extends time-to-stain by 3–5x when applied to *dry, clean* fabric and allowed to cure 24 hours. Reapply every 6 months in high-use areas. Skip it on velvet or chenille—they repel liquids naturally but trap protectors in their pile.
My pet chewed the corner of my sofa—can cleaning fix it?
No. Cleaning won’t repair frayed threads or torn welting. But regular cleaning *does* reduce allergens and bacteria in chewed areas—making them safer until repair. For minor damage, try a fabric patch kit with fusible webbing. For structural tears, consult a certified upholsterer.
Clean upholstery isn’t about perfection—it’s about consistency, patience, and respecting the material’s limits. You don’t need fancy gear or expensive products to keep your furniture looking cared-for. Just the right technique, timed right, makes all the difference. And remember: when in doubt, less moisture and slower action beat aggressive shortcuts every time.