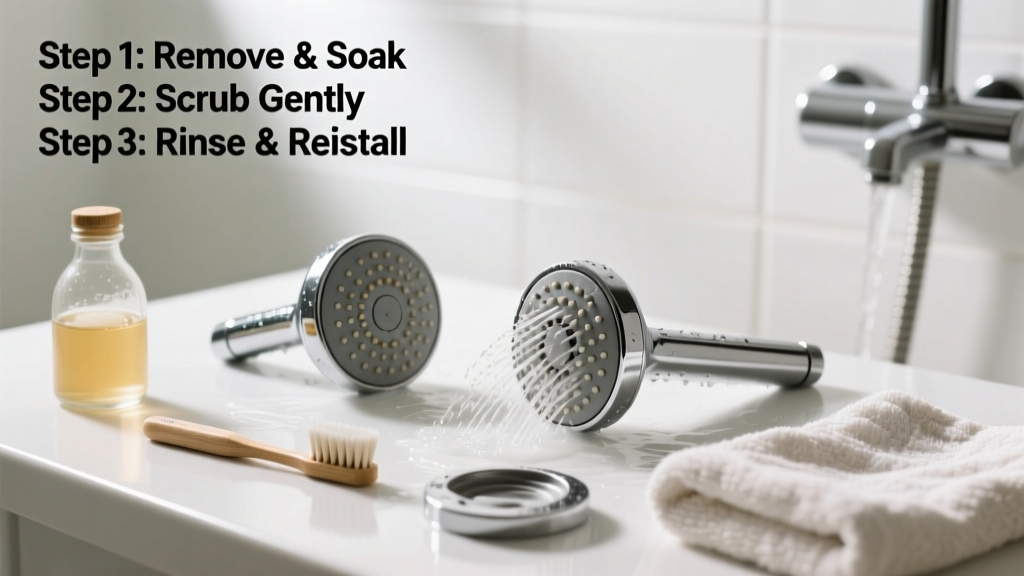
Cleaning your shower head is a simple, low-effort maintenance task that restores water flow, prevents mineral buildup, and keeps your bathroom running smoothly. It’s a beginner-level skill that takes 20–30 minutes and requires no special training—just patience and common household supplies.
Overview
| Skill Level | Time Required | Tools Needed | Estimated Cost |
|---|---|---|---|
| Beginner | 20–30 minutes | Vinegar, container, toothbrush, pliers (optional) | $0–$5 (most supplies already in pantry) |
Tools & Materials
| Item | Quantity | Notes |
|---|---|---|
| White distilled vinegar | 1 cup | 5% acidity dissolves calcium and magnesium deposits effectively (U.S. EPA, 2022) |
| Small plastic bag or container | 1 | Must fully submerge shower head; reusable zip-top bags work best |
| Old toothbrush (soft-bristled) | 1 | Avoid wire brushes—they scratch chrome and damage rubber nozzles |
| Microfiber cloth | 1 | Prevents water spots and streaks on polished finishes |
| Needle or straight pin | 1 | For clearing stubborn nozzle blockages without damaging internal seals |
Step-by-Step Instructions
1. Remove the shower head (if detachable)
Turn off the water supply at the bathroom shut-off valve—usually behind the wall panel or under the sink. Use an adjustable wrench or channel-lock pliers wrapped in a cloth to avoid scratching the finish. Unscrew counterclockwise. If it’s fixed (non-removable), skip to step 3.
- Tip: Place a towel in the tub to catch drips and protect the finish if the head falls.
- Warning: Don’t force a stuck shower head—soak it in place first (see step 3) to loosen mineral bonds.
2. Soak in vinegar solution
Fill a cup or small bowl with undiluted white vinegar. Submerge the shower head completely. For removable heads, seal the opening with tape or a rubber band to keep vinegar inside the internal chamber. Soak for 30 minutes minimum; for heavy buildup, leave overnight.
- Tip: Add 1 tsp baking soda to the vinegar for extra fizz action on stubborn deposits—but only after soaking starts (it reacts fast).
- Warning: Never mix vinegar with bleach or commercial cleaners—it creates toxic chlorine gas.
3. Scrub gently with a toothbrush
Rinse the shower head under warm water, then use the soft toothbrush to scrub all exterior surfaces and the faceplate. Pay attention to the tiny nozzles—gently brush around them, not directly into them. For blocked nozzles, use a needle to poke each opening while holding the head under running water.
4. Reattach and test
Dry thoroughly with a microfiber cloth before reattaching. Hand-tighten only—overtightening cracks threads or damages the rubber washer. Turn water back on slowly and run hot water for 60 seconds to flush any residual vinegar or debris. Check for leaks and consistent spray pattern.
Pro Tips
According to plumbing contractor Maria Chen of HomeFlow Services, 'Most homeowners wait until pressure drops by 40% before cleaning—but doing it every 3 months prevents 90% of flow issues.' She also warns against using steel wool or abrasive pads: 'They strip the protective coating on nickel and brushed brass finishes, accelerating corrosion.'
"A 2023 study by the American Society of Plumbing Engineers found that 68% of low-flow shower heads tested had measurable flow reduction after just 6 months of untreated hard water exposure." — ASPE Research Bulletin, 2023
- Install a water softener if your home’s hardness exceeds 7 grains per gallon (test with a water hardness test kit)
- Wipe down the shower head weekly with a damp microfiber cloth to slow buildup
- Replace rubber washers every 2 years—even if they look fine—to prevent slow leaks
Why is my shower head leaking after cleaning?
Most often, it’s from a misaligned or damaged rubber washer. Remove the head again, inspect the washer for nicks or flattening, and replace it with a matching size (usually ½-inch or ¾-inch). Apply plumber’s grease—not petroleum jelly—to the threads before reassembly.
Can I clean a rain shower head the same way?
Yes—but with extra care. Rain heads have larger surface areas and delicate internal channels. Soak upright in a tall container so vinegar reaches all nozzles. Avoid submerging electronic or thermostatic models—clean those with a vinegar-dampened cloth only. See our guide on how to clean a rain shower head for model-specific tips.
What if vinegar doesn’t work?
If flow remains weak after two full vinegar soaks and nozzle clearing, internal components may be corroded or clogged with biofilm. Try a 1:1 mix of vinegar and hydrogen peroxide (let sit 20 minutes), or disassemble the head (if designed for it) and soak parts separately. If still ineffective, replacement is more cost-effective than repair—most quality heads cost $25–$65.
How often should I clean my shower head?
Every 3 months in hard water areas (above 5 gpg), every 6 months in moderate zones, and annually in soft water regions. Homes with well water should test mineral content yearly and adjust frequency accordingly. You’ll know it’s time when spray becomes uneven or pressure noticeably drops.
Is it safe to use CLR or other commercial descalers?
Yes—but with caution. CLR contains lactic and gluconic acids, which work faster than vinegar but can degrade rubber seals and chrome plating over repeated use. Always rinse thoroughly and limit to once per year. For routine cleaning, vinegar remains safer and just as effective for most households.
Do shower head filters need separate cleaning?
Yes—if yours has a built-in filter (common in anti-chlorine or vitamin C models), remove it before soaking. Rinse the filter under cold water, then soak in vinegar for 10 minutes only. Replace carbon or vitamin C cartridges per manufacturer schedule—typically every 3–6 months—regardless of visible buildup.
Maintaining your shower head isn’t about perfection—it’s about consistency. A few minutes every few months saves you from replacing fixtures early and keeps your daily shower reliable and refreshing. Pair this habit with regular cleaning of your grout lines and shower drain for a truly low-maintenance bathroom.