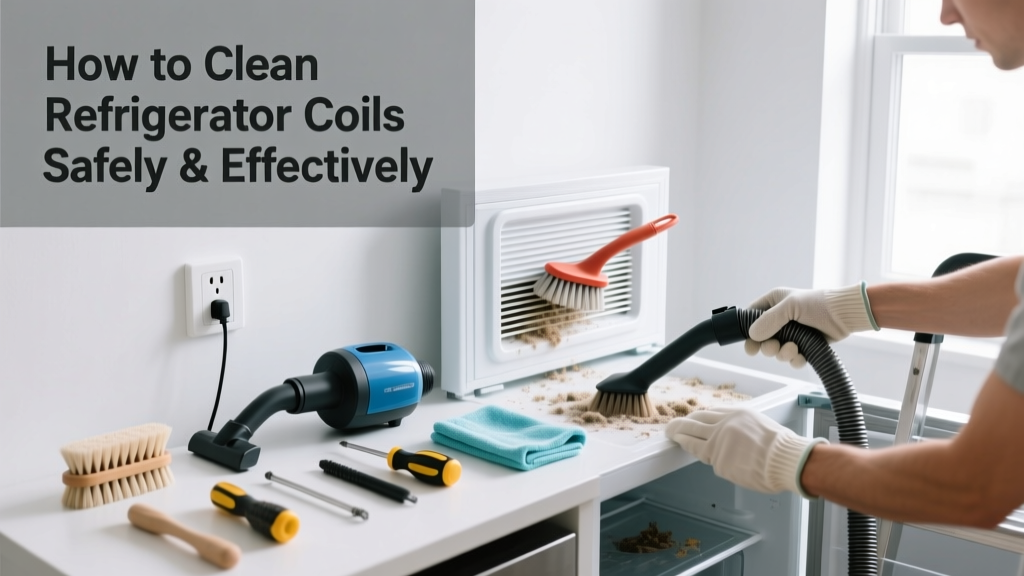
Cleaning refrigerator coils is a straightforward 20–30 minute maintenance task that anyone can do—no special skills required. It’s rated low difficulty but delivers high impact: dirty coils force your compressor to work 20–30% harder, shortening its lifespan and raising energy bills by up to $30 annually (U.S. Department of Energy, 2022).
Overview
| Skill Level | Time Required | Tools Needed | Estimated Cost |
|---|---|---|---|
| Beginner | 20–30 minutes | Vacuum, coil brush, screwdriver | $0–$12 (most tools likely already owned) |
Tools & Materials
| Item | Why It’s Essential | Notes |
|---|---|---|
| Soft-bristled coil brush (nylon or horsehair) | Reaches between narrow coil fins without bending them | Avoid wire brushes—they damage fins and reduce airflow |
| Shop vacuum or vacuum with crevice tool | Removes loosened dust and pet hair from tight spaces | Standard vacuums lack suction power for deep coil debris |
| Phillips-head screwdriver (if rear access panel required) | Unfastens most coil access panels on older or built-in models | Check your manual—some newer fridges have snap-off panels |
| Microfiber cloth & mild all-purpose cleaner | Wipes down surrounding cabinet surfaces and drip pan | Never spray cleaner directly near coils or electrical components |
Step-by-Step Instructions
1. Unplug the refrigerator and pull it away from the wall
Always disconnect power before touching internal components. Move the unit at least 4–6 inches out—more if accessing rear coils. Place folded towels under front rollers to prevent floor scratches.
2. Locate the condenser coils
Most modern bottom-freezer and French-door models house coils underneath, behind a front grille. Older top-freezers and some built-ins place them on the back. If unsure, consult your model’s manual or look for a metal grid or finned surface near the compressor (a humming, heat-emitting component).
3. Remove the access panel or grille
Use your screwdriver to remove screws holding the front kickplate or rear panel. Some grilles lift straight off; others slide sideways. Set screws aside in a small dish so they don’t get lost.
4. Vacuum loose debris, then brush carefully
Attach the crevice tool and vacuum along the length of the coils, moving slowly to capture dust bunnies and pet hair. Then use the coil brush—gently sweep vertically (not side-to-side) to dislodge embedded grime without bending fins. Warning: Never use water, compressed air, or a stiff brush. Moisture invites corrosion; air blows dust deeper into the system.
5. Wipe surrounding areas and reassemble
Dampen a microfiber cloth with diluted all-purpose cleaner and wipe the grille, kickplate, and nearby cabinet. Let surfaces dry fully before snapping panels back in place. Push the fridge flush against the wall—but leave 1–2 inches of clearance behind for airflow.
Pro Tips
According to appliance technician Maria Chen of Appliance Repair Pros (2023), “Coil cleaning isn’t just about efficiency—it’s the #1 preventable cause of premature compressor failure. I see three to five coil-related service calls per week during summer months.”
- Clean coils every 6 months if you have pets; every 12 months otherwise
- Mark your calendar or set a phone reminder—the average homeowner forgets for 2+ years
- If coils are greasy (common in kitchens near frying stations), mix 1 tsp dish soap with 1 cup warm water and lightly dab a cloth—never soak or spray
Avoid these common missteps: spraying degreaser directly onto coils, using a leaf blower (too much pressure), or skipping the vacuum step before brushing (you’ll just push dust deeper).
How often should I clean refrigerator coils?
Every 6–12 months. Homes with shedding pets, carpeted floors, or open-concept kitchens benefit from biannual cleaning. The U.S. EPA estimates that 14% of household water usage is from leaks—but energy waste from dirty coils is even more widespread and invisible.
Can I clean coils without moving the fridge?
Yes—if your model has front-access coils (most post-2015 Whirlpool, GE, and Samsung units). Look for a removable kickplate below the door. Rear-mounted coils always require pulling the unit out.
What happens if I never clean the coils?
The compressor overheats, cycles longer, and fails sooner. A study by the National Institute of Standards and Technology found refrigerators with neglected coils used 27% more electricity over 18 months—and failed 41% earlier than maintained units (NIST Appliance Efficiency Report, 2021).
Do portable or compact fridges need coil cleaning too?
Yes—but check the manual first. Many dorm-size units have sealed systems or no external coils. If yours has a visible metal grid at the back or bottom, treat it the same way—just use a smaller brush and lower-suction vacuum setting.
Is there a sign my coils are already too dirty?
Yes: warm exterior walls, louder-than-usual humming, longer cooling cycles, or frost buildup in the freezer despite normal door use. These indicate restricted airflow—not necessarily a failing compressor.
Can I hire someone to do this instead?
You can—but it typically costs $75–$120 for a service call. That’s enough to cover 6–10 years of DIY cleaning. For guidance on related tasks, see our guides on how to replace refrigerator water filter and how to defrost a frost-free refrigerator.
Keeping your refrigerator coils clean is one of the simplest, highest-return maintenance habits you’ll adopt. It takes less time than loading the dishwasher—and pays for itself in energy savings within a single year. Start today, and your fridge will run cooler, quieter, and longer.