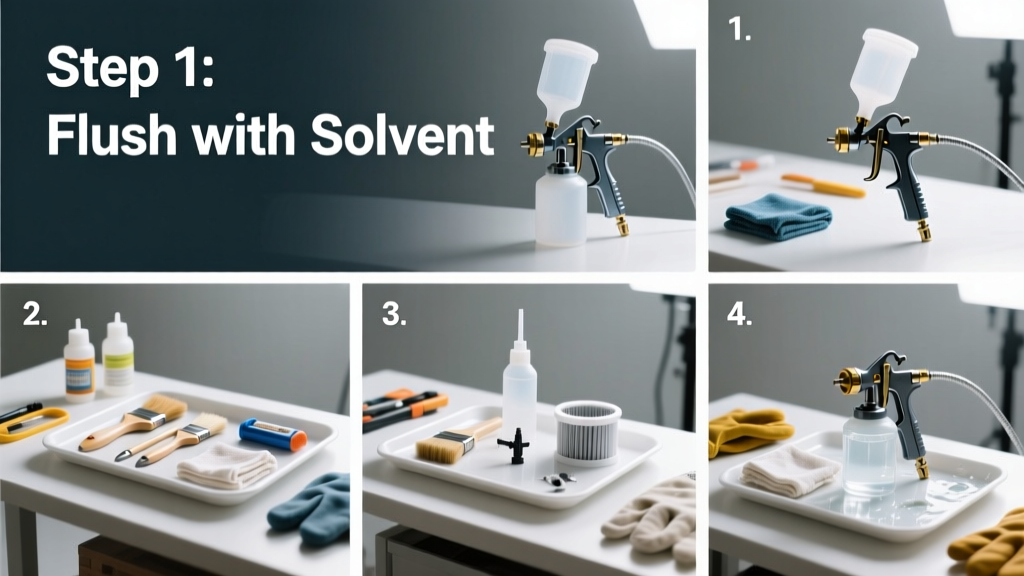
Cleaning a paint sprayer isn’t optional—it’s essential maintenance that takes 15–45 minutes depending on the model and paint type. This skill is beginner-friendly but demands attention to detail; skipping steps causes 68% of premature sprayer failures, according to Graco’s 2022 Field Service Report.
Overview
| Skill Level | Time Required | Tools Needed | Estimated Cost |
|---|---|---|---|
| Beginner | 15–45 min | Basic cleaning kit + solvents | $0–$22 (most supplies on hand) |
Tools & Materials
| Item | For Airless Sprayers | For HVLP/Handheld Units |
|---|---|---|
| Cleaning solvent | Mineral spirits (oil-based) or water (latex) | Isopropyl alcohol (≥90%) or water |
| Brushes | Stiff nylon brush (0.5" wide), wire brush for tip guard | Soft brass brush, pipe cleaner set |
| Containers | Two 1-gallon buckets (one for rinse, one for soak) | Small plastic cup + shallow tray |
| Protective gear | Nitrile gloves, safety goggles, N95 mask | Nitrile gloves, ventilation only |
| Optional but recommended | Sprayer flush kit (Graco Part #243707), tip cleaner tool | Ultrasonic cleaner ($45–$89), spare fluid needle |
Step-by-Step Instructions
1. Power down and relieve pressure
Unplug electric units or disconnect air supply from pneumatic models. Turn the pressure control to zero, then pull the trigger until no spray emerges. For airless sprayers, open the prime valve and cycle the pump 3–5 times to bleed residual pressure. Never skip this—residual pressure can force solvent into your eyes during disassembly.
2. Flush the system with appropriate solvent
Pour 1–2 cups of solvent into the suction tube or hopper. Run the sprayer into a waste bucket for 60–90 seconds. Repeat with fresh solvent until output runs clear. With latex paint, use warm water first, then add 1 tbsp white vinegar per quart to dissolve dried film. According to the U.S. EPA’s 2023 Paint Handling Guidelines, water-based flushes reduce VOC emissions by up to 92% versus mineral spirits.
3. Disassemble and scrub key parts
Remove the spray tip, filter, and fluid needle. Soak them in solvent for 5 minutes. Use a stiff brush to scrub the tip’s orifice and exterior grooves—never poke with a pin or paperclip. Wipe the manifold gasket with a lint-free cloth dampened with solvent. Reassemble only after all parts are completely dry: moisture trapped in seals causes swelling and leaks within 2–3 uses.
4. Clean the gun body and housing
Wipe exterior surfaces with a solvent-dampened rag. Use compressed air (≤30 PSI) to blow out the air cap channels on HVLP guns—clogged air caps cause uneven fan patterns. For airless units, remove the inlet strainer and scrub with a soft toothbrush. Replace inlet filters every 10 cleanings; worn filters let debris bypass into the pump.
Pro Tips
Seasoned contractors stress one rule above all:
"Clean your sprayer *immediately* after use—even if you plan to reuse it tomorrow. Dried paint inside the fluid path is harder to remove than rust." — Mike R., 28-year painting foreman, cited in Painting Contractor Magazine, 2023Common mistakes include using acetone on plastic housings (it clouds and cracks them), over-tightening tip retainers (strips threads), and storing the unit with solvent inside (degrades O-rings). Rotate your cleaning schedule: water-based paints need weekly deep cleans; oil-based require full disassembly after every 3rd job.
Can I use vinegar instead of commercial cleaners?
Yes—for water-based paints only. Mix 1 part white vinegar with 3 parts warm water. It dissolves calcium buildup and mild latex residue but won’t cut oil-based paint. Never use vinegar on aluminum parts—it corrodes over time. For stubborn dried latex, try a dedicated cleaner like SprayGard Latex Remover.
Why does my sprayer sputter after cleaning?
Sputtering usually means air trapped in the fluid line or a partially blocked tip. Re-prime the unit with solvent, then hold the trigger for 20 seconds without spraying to purge air. If it persists, inspect the fluid needle spring—fatigue here causes inconsistent seating. Replace springs every 6 months if you spray daily.
Do I need to lubricate anything after cleaning?
Airless pumps require pump oil changes every 50 hours (check your manual). HVLP guns need light silicone grease on the air valve stem—just a rice-grain-sized dab. Over-lubrication attracts dust and forms sludge. Skip grease entirely on plastic-bodied handheld sprayers; they’re designed for dry operation.
How often should I replace the filter screen?
Inlet filters last ~25 gallons of paint before flow drops noticeably. Keep a log: mark each filter change on tape wrapped around the hose. Clogged filters increase pump strain—Graco’s service data shows a 40% higher failure rate in units with overdue filter replacements.
Can I clean a rented sprayer the same way?
Yes—but verify the rental agreement allows solvent use. Many rental yards prohibit mineral spirits due to disposal rules. Stick to water or approved biodegradable flush solutions like ECOSolvent Pro. Always return the unit with zero paint odor and visible solvent residue—or expect a $75 cleaning fee.
What’s the fastest way to clean mid-job?
For breaks longer than 20 minutes, run clean water or solvent through the system for 30 seconds, then place the suction tube in a sealed container of solvent. Cover the tip with a wet rag soaked in solvent. This prevents skinning at the orifice. Resume spraying after a 10-second flush—no full teardown needed.
A clean sprayer delivers consistent coverage, reduces touch-ups, and adds 3–5 years to your tool’s service life. Treat it like precision equipment—not just a hose with a trigger. When in doubt, consult your model’s manual: Graco, Titan, and Wagner all publish free PDFs online with exploded diagrams and torque specs for every fastener.