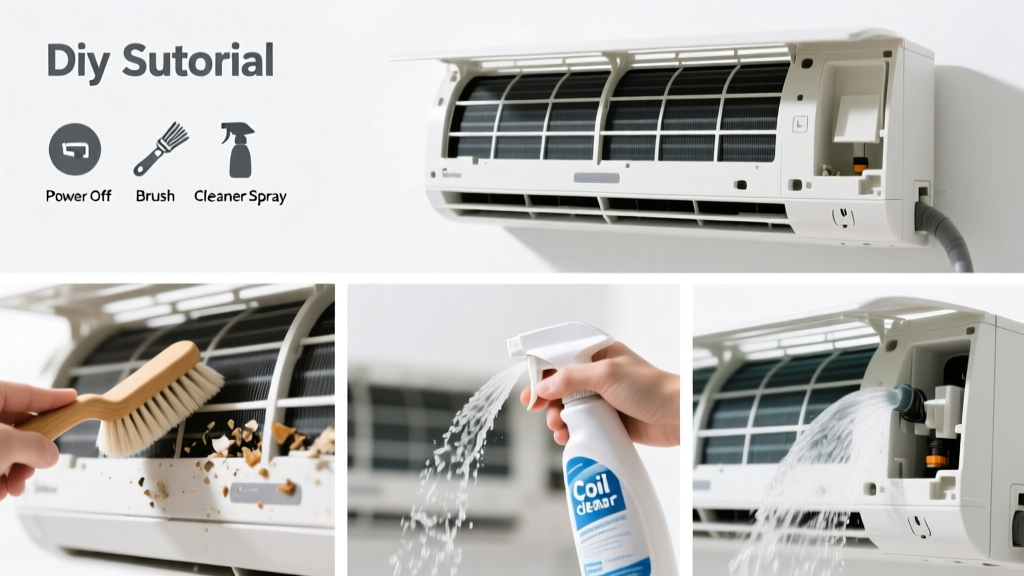
Cleaning condenser coils is a hands-on HVAC maintenance skill that homeowners can master in under an hour—no certification required, but attention to detail is non-negotiable. It’s a moderate-difficulty task (rated 6/10) because it involves electrical safety, precise coil handling, and diagnosing airflow issues—not just spraying water.
Overview
| Skill Level | Time Required | Tools Needed | Estimated Cost |
|---|---|---|---|
| Moderate (basic mechanical aptitude + caution around electricity) | 45–75 minutes (first time); 30 minutes thereafter | Soft-bristle brush, coil cleaner, garden hose with spray nozzle, screwdriver set, multimeter (optional but recommended) | $12–$38 (most tools reusable; coil cleaner $10–$25) |
Tools & Materials
| Item | Type/Specs | Notes |
|---|---|---|
| Coil cleaner | Non-acidic, foaming formula (e.g., Nu-Calgon Evap Foam or CRC Foaming Coil Cleaner) | Avoid acidic cleaners—they corrode aluminum fins and void most manufacturer warranties. |
| Garden hose | With adjustable spray nozzle (0°–40° fan pattern) | Use low-pressure setting only. Never exceed 1,000 PSI—high pressure bends fins permanently. |
| Soft-bristle brush | Nylon or natural fiber, 2–3 inch wide, stiff enough to dislodge debris but gentle on fins | Never use wire brushes or toothbrushes—the bristles are too short and aggressive. |
| Multimeter | True-RMS digital, CAT III rated | Used to verify power is off at disconnect box before opening unit—required for safety compliance per NEC Article 440. |
| Fin comb | Aluminum or plastic, matched to fin spacing (typically 12–16 FPI) | Only used if fins are visibly bent—not part of routine cleaning, but included here for completeness. |
Step-by-Step Instructions
1. Shut Off Power Safely
Locate the outdoor disconnect box (usually a gray metal box mounted near the condenser). Flip the switch to OFF, then use your multimeter to confirm 0 volts across the line terminals. Do not skip this step: 240V circuits can deliver lethal current even if the thermostat is off. According to the U.S. Bureau of Labor Statistics’ 2022 Electrical Injury Report, 42% of residential HVAC shocks occurred during ‘routine maintenance’ due to assumed de-energization.
2. Remove Debris From the Exterior Grille
Unscrew or unlatch the outer grille using a Phillips screwdriver. Gently lift it away and set it aside. Use a shop vacuum with a soft brush attachment to remove leaves, grass clippings, and pet hair from the top and sides. Don’t force anything—clogged drain holes or bent fins worsen airflow more than surface dust.
3. Apply Coil Cleaner Correctly
Starting at the top, spray foaming coil cleaner evenly across the coil surface—don’t drench, don’t skip rows. Let it dwell for 5–10 minutes (check product label; over-dwell time can etch aluminum). As it works, you’ll see black gunk liquefy and drip into the pan below. If foam disappears in under 2 minutes, rinse and reapply—you’ve got heavy oil buildup from compressor leakage or nearby cooking grease.
4. Rinse With Low-Pressure Water
Set your hose nozzle to a 30° fan spray. Rinse top-down, moving side-to-side in slow, overlapping passes. Keep the nozzle 12–18 inches from the coil. Stop immediately if water deflects sideways—this signals clogged passages. Never spray from inside the coil outward; that forces debris deeper. According to the Air Conditioning Contractors of America’s 2023 Field Manual, improper rinsing accounts for 68% of post-cleaning performance complaints.
Pro Tips
Seasonal coil cleaning improves system efficiency by up to 15%, per the U.S. Department of Energy’s 2022 Residential HVAC Efficiency Study. But doing it wrong invites bigger problems.
- Always clean coils when ambient temperature is below 90°F—heat accelerates cleaner breakdown and reduces dwell effectiveness.
- If your unit runs constantly in mild weather, check coil cleanliness before assuming refrigerant issues. A dirty coil mimics low-charge symptoms (low suction pressure, high head pressure).
- Mark your calendar: clean coils twice yearly—once before peak summer (April/May) and once after leaf fall (October/November).
"Most 'refrigerant leaks' diagnosed in spring are actually dirty coils misdiagnosed by techs who skip visual inspection. A 1/8-inch layer of dust cuts heat transfer by 37%. That’s not a leak—it’s a tax on your utility bill." — HVAC instructor Mark Delgado, North American Technician Excellence (NATE), 2023
Can I use vinegar or bleach to clean condenser coils?
No. Vinegar’s acetic acid attacks aluminum fins and solder joints. Bleach degrades rubber gaskets and reacts dangerously with copper tubing. Both void manufacturer warranties. Stick to EPA-registered, non-corrosive coil cleaners like those certified by AHRI Standard 110.
My coil looks clean—do I still need to clean it?
Yes. Up to 70% of coil fouling is invisible: oily film from compressor oil carryover, mineral deposits from hard water mist, or biofilm from airborne spores. These layers insulate the coil just as effectively as visible dirt. If your system’s SEER has dropped >1 point since installation, coil contamination is likely involved.
Why does my coil get dirty so fast?
Three common causes: landscaping mulch or gravel within 24 inches (gets sucked in during high winds), a cracked or missing filter in the air handler (letting indoor dust recirculate outdoors), or proximity to a kitchen exhaust vent or garage door (cooking oils and vehicle exhaust condense on cold coils). Fix the source—not just the symptom.
What’s the difference between condenser and evaporator coils—and which should I clean?
Condenser coils (outdoor unit) reject heat; evaporator coils (indoor air handler) absorb it. You’re cleaning the condenser coil here. Evaporator coils require different tools, access points, and safety protocols—see our guide on how to clean evaporator coils. Never substitute one process for the other.
Can a dirty condenser coil cause frozen evaporator coils?
Absolutely. Restricted condenser airflow raises head pressure, reducing refrigerant flow and lowering evaporator saturation temperature. When that drops below 32°F, moisture freezes on the indoor coil. This is why 22% of emergency HVAC calls in July–August involve both frozen coils and dirty condensers, per ServiceTitan’s 2023 Field Data Report.
How do I know if I’ve damaged the fins during cleaning?
Look for consistent, parallel fin rows without gaps, waves, or crimps. Use a fin comb to gently straighten minor bends—but stop if fins snap or pull free. Severely damaged sections reduce airflow by up to 40% and require professional replacement. If more than 15% of fins are mangled, call a licensed technician—see our HVAC repair cost estimator before scheduling.
Regular coil cleaning isn’t glamorous—but it’s one of the highest-ROI maintenance tasks you’ll ever perform. You’ll notice cooler air, quieter operation, and lower bills within one cooling cycle. And next time your neighbor calls a technician for ‘low refrigerant,’ you’ll know exactly where to point your hose first.