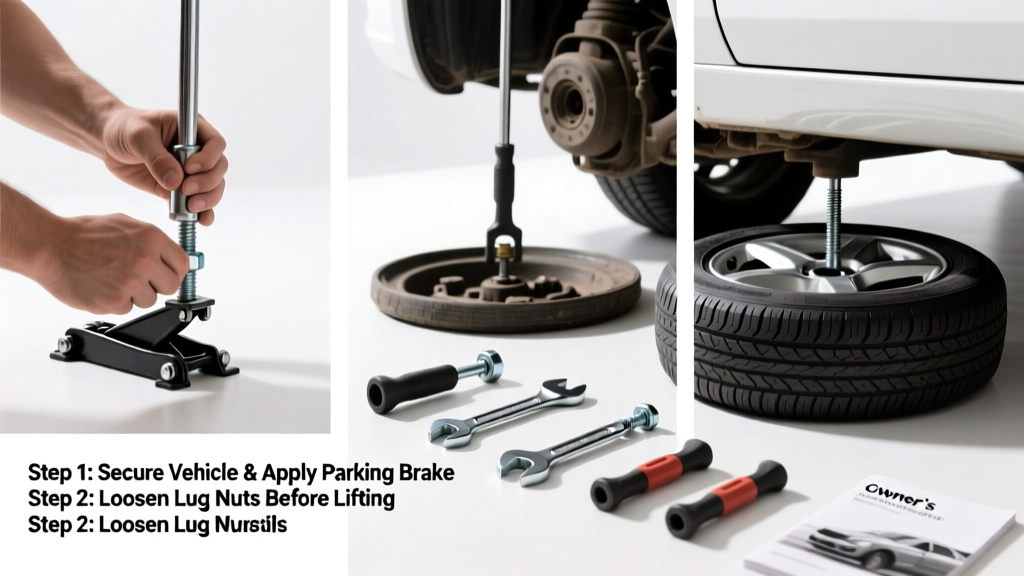
Changing a tire is a fundamental roadside skill every driver should master—no mechanic required. It’s rated beginner-friendly (with practice), takes 12–18 minutes when done carefully, and requires only tools most vehicles carry or store in the trunk.
Overview
| Skill Level | Time Required | Tools Needed | Estimated Cost |
|---|---|---|---|
| Beginner (no prior experience needed) | 12–18 minutes | Jack, lug wrench, spare tire, wheel chocks, flashlight (if low light) | $0 (if using factory tools) — up to $45 for upgraded jack or torque wrench |
Tools & Materials
| Item | Why It Matters | Notes |
|---|---|---|
| Vehicle-specific scissor or hydraulic jack | Lifts the car safely at designated jacking points | Never use bricks, cinder blocks, or unstable supports—only the jack designed for your make/model |
| Factory lug wrench (or 19mm/21mm socket + breaker bar) | Loosens and tightens lug nuts to proper torque | Most factory wrenches are weak—carry a 12-inch breaker bar if you have large or rusted lug nuts |
| Full-size or compact spare tire (donut) | Provides temporary mobility | Donuts are rated for max 50 miles and 50 mph—check sidewall for exact limits (NHTSA, 2022) |
| Wheel chocks (wood blocks or rubber wedges) | Prevents rolling while lifted | Use on the opposite axle—e.g., chock front wheels if rear tire is flat |
Step-by-Step Instructions
1. Pull over safely and activate hazard lights
Pull onto level, firm ground—never soft shoulders or gravel slopes. Turn on hazard lights immediately. Set parking brake and shift into Park (automatic) or first gear/reverse (manual). Place reflective triangle or flares 50–100 ft behind your vehicle if traffic permits.
2. Loosen lug nuts before lifting the vehicle
Using the lug wrench, turn nuts counterclockwise just enough to break resistance—do not remove them yet. Apply steady downward pressure with your body weight; avoid kicking or hammering the wrench. If nuts won’t budge, try stepping on the wrench handle while bracing your foot against the tire sidewall (not the rim).
- Tip: Mark one nut with chalk or tape so you know which direction loosens it (some vehicles have left-hand threads on the driver’s side—rare but possible)
- Warning: Never loosen nuts after lifting—the wheel will spin freely and may drop the jack
3. Position and operate the jack correctly
Consult your owner’s manual for the exact jacking point—usually a reinforced metal notch behind the front wheel or ahead of the rear wheel. Slide the jack fully under until its lift pad contacts the pinch weld or bracket. Pump steadily until the flat tire clears the ground by ~1 inch. Double-check jack stability before proceeding.
4. Remove the flat tire and mount the spare
Unscrew all lug nuts and set them aside in a hubcap or small container—don’t lay them on dirt or grass. Pull the flat tire straight toward you to dismount it. Align the spare’s valve stem with the wheel well opening, then slide it fully onto the studs. Hand-thread all lug nuts until snug—don’t force them crosswise.
- Tip: If studs are bent or stripped, gently tap the spare onto them with a rubber mallet—not your hand or a metal tool
- Warning: Never drive on a spare that’s visibly cracked, bulging, or has tread worn below 2/32″
5. Tighten lug nuts in star pattern and lower the vehicle
Once the spare is seated, tighten nuts in a star (crisscross) pattern: tighten one, then the one opposite, moving around the wheel. Use the wrench to snug each firmly—but don’t fully torque yet. Lower the vehicle completely, then retighten nuts with full body weight in the same star pattern. Final torque should be 80–100 ft-lbs for most passenger cars (check your manual).
Pro Tips
Seasoned mechanics emphasize preparation over speed. According to the National Highway Traffic Safety Administration’s 2023 roadside safety report, 62% of tire-change injuries occur due to improper jack placement or skipping wheel chocks.
"If you’ve never changed a tire, do it in your driveway first—on dry pavement, with your manual open. Muscle memory under stress saves time and prevents panic." — Maria Chen, ASE-certified technician and instructor at UTI, 2024
- Check your spare’s air pressure every 6 months—it loses ~1 psi per month even when unused (AAA, 2023)
- Store your lug wrench and jack in an easy-to-reach spot—not buried under cargo or folded in a trunk liner
- Replace compact spares every 10 years, even if unused—rubber degrades with age
What if my lug nuts are seized?
Apply penetrating oil like PB Blaster and wait 5 minutes before attempting again. Tap the wrench handle lightly with a mallet to shock the threads loose. If still stuck, call roadside assistance—forcing it risks breaking studs or bending the wrench.
Can I drive on a spare tire to work or the grocery store?
Only if it’s a full-size spare. Compact ‘donut’ spares are strictly for emergency transit to a repair shop—maximum 50 miles and 50 mph. Driving longer distances or faster risks blowout or suspension damage.
Why does my spare tire look smaller than my others?
It’s likely a temporary-use compact spare, designed to save weight and trunk space. These tires have shallower tread depth and stiffer sidewalls—intentionally limiting speed and distance. Always confirm type and limits in your owner’s manual.
Do I need to rebalance the spare after mounting?
No—spares aren’t balanced like regular tires, and balancing isn’t needed for short-term use. However, once you replace the flat, get the new tire balanced and aligned as part of the repair.
What if I don’t have a spare tire?
Many newer vehicles come with tire sealant and compressor kits instead. These work only for punctures ≤¼ inch in the tread area—not sidewall damage or gashes. Learn how to use yours before you need it. Also consider adding a portable 12V inflator to your kit—here’s how to pick a reliable one.
Should I replace all four tires if only one is damaged?
Not always—but if the other three tires have less than 4/32″ tread depth, replacing all four ensures even wear and optimal traction. Mismatched tread depths can affect ABS and stability control performance—especially in wet conditions (Tire Industry Association, 2022).
Now that you’ve practiced the steps and internalized the safety checks, you’re ready to handle a flat without calling for help. Keep your tools accessible, inspect your spare quarterly, and remember: calm, methodical action beats rushing every time. For related skills, see our guides on how to check tire pressure and how to rotate tires at home.