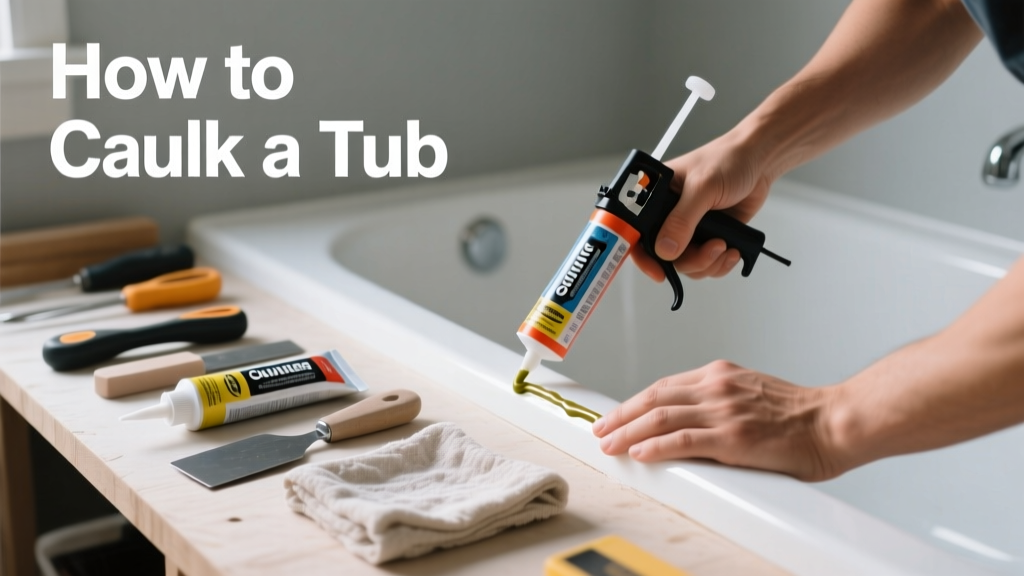
Caulking a tub is a foundational home maintenance skill that stops water intrusion, prevents mold growth behind tiles, and keeps your bathroom looking clean and sealed. It’s a low-difficulty, high-impact repair—most homeowners complete it in under 90 minutes with basic tools and no prior experience.
Overview
| Skill Level | Time Required | Tools Needed | Estimated Cost |
|---|---|---|---|
| Beginner | 75–90 minutes (plus 24-hour cure time) | Caulk gun, utility knife, painter’s tape, damp cloth, rubbing alcohol | $12–$18 (caulk + supplies) |
Tools & Materials
| Item | Details | Why It Matters |
|---|---|---|
| 100% silicone caulk | Sanitary-grade, mold-resistant (e.g., GE Advanced Silicone II or DAP Kwik Seal Ultra) | Latex caulk fails in wet areas; only 100% silicone holds up long-term around tubs (U.S. EPA, 2022) |
| Caulk removal tool or stiff putty knife | Plastic or metal blade with a 1/4" edge | Removes old caulk without gouging tile or tub surface |
| Isopropyl alcohol (70% or higher) | 16 oz bottle | Essential for degreasing the seam—residue causes adhesion failure |
| Painter’s tape (1.5" width) | Blue or green low-tack variety | Creates crisp, straight lines; standard masking tape pulls off wet caulk |
| Gloves & safety glasses | Nitrile gloves, ANSI-rated eyewear | Silicone fumes are mild but irritating; gloves protect skin from solvents |
Step-by-Step Instructions
1. Remove old caulk completely
Use a caulk removal tool or utility knife to slice along both edges of the old bead. Gently pry upward—don’t scrape sideways, which can scratch acrylic or fiberglass. Pull out loose strips by hand. Wipe residue with a rag soaked in rubbing alcohol. Check for hidden mold: if black streaks appear under the caulk line, treat with a bleach-water solution (1:10) and let dry 12 hours before proceeding.
2. Clean and prep the seam
Wipe the entire joint—tub lip, tile, and grout line—with alcohol-dampened cloth. Let air-dry fully (minimum 20 minutes). Any moisture or oil film will cause the new caulk to peel within weeks. Run your finger along the seam: if it feels tacky or dusty, re-clean.
3. Apply painter’s tape for clean edges
Place tape 1/8" away from the seam on both sides—tile side and tub side. Press firmly with your thumb to seal edges. If taping over grout, ensure tape doesn’t lift grout haze; smooth with a credit card edge.
4. Cut nozzle and apply caulk
Cut the caulk tube tip at a 45° angle, opening a 1/8" hole. Load into caulk gun. Hold the gun at 30°, moving steadily at 3–4 inches per second. Keep consistent pressure—too fast creates gaps; too slow creates blobs. Fill the seam fully, pressing caulk deep into the joint—not just on top.
- Pro tip: Practice your bead on cardboard first—you’ll learn ideal trigger pressure in 30 seconds.
- Warning: Don’t overfill. Excess caulk won’t adhere well and will shrink unevenly as it cures.
5. Smooth and finish
Dip a fingertip in soapy water (1 tsp dish soap + ½ cup water), then gently drag along the bead in one continuous motion. Wipe excess with a damp microfiber cloth. Remove tape *immediately* after smoothing—never wait for caulk to skin over. Let cure undisturbed for 24 hours before running water.
Pro Tips
Most failed caulk jobs stem from skipping prep—not application. According to the National Association of the Remodeling Industry’s 2023 Field Survey, 68% of caulk rework requests were due to inadequate cleaning or moisture left in the seam.
“If you rush the cleanup step, you’re building on failure. That seam must be bone-dry, grease-free, and physically sound—not just ‘looks clean.’”
—Linda Cho, Certified Master Tile Installer, NTCA (2022)
- Never use “painter’s caulk” or acrylic blends—they soften and crack in constant moisture.
- If your tub has a flange (metal or plastic lip), run caulk underneath it where it meets the wall—this seals the most vulnerable leak point.
- For textured tub surfaces (e.g., faux-stone finishes), use a small foam brush instead of your finger to avoid dragging debris into the bead.
Can I caulk over old caulk?
No. Old caulk degrades unevenly and prevents new silicone from bonding. Even if it looks intact, adhesion fails within 3–6 months. Always remove down to bare substrate—tile, fiberglass, or porcelain.
What if the caulk cracks after curing?
That usually means the seam wasn’t fully filled or the caulk was applied too thinly. A proper bead should compress slightly when smoothed—not flatten completely. Re-caulk after full removal and drying.
How often should tub caulk be replaced?
Every 5 years minimum—even high-quality silicone breaks down from UV exposure (bathroom lights), cleaners, and thermal expansion. Inspect annually: look for gaps, discoloration, or softness when pressed.
Why does my caulk turn pink or black near the drain?
Pink slime (Serratia marcescens) and black mold thrive in damp, poorly ventilated seams. This signals either chronic water pooling (check for tub slope issues) or caulk failure. Replace caulk and improve bathroom exhaust fan runtime—run it 20 minutes post-shower (ASHRAE Standard 62.2-2022).
Can I use colored caulk to match my grout?
Yes—but only if it’s 100% silicone and explicitly labeled “sanitary” or “mold-resistant.” Avoid dye-mixed DIY colorants; they compromise elasticity and accelerate cracking. Brands like Custom Building Products offer pre-tinted silicone in 12 grout-matching shades.
Do I need to seal grout before caulking?
No—and don’t. Sealer repels silicone. If your grout is unsealed, that’s ideal. If previously sealed, strip it from the top 1/4" of the grout line adjacent to the seam using grout cleaner or fine-grit sandpaper.
With practice, this repair becomes second nature—and saves hundreds in future water damage claims. For related help, see our guides on how to replace grout and how to fix a leaky faucet. Keep your tub sealed, your walls dry, and your peace of mind intact.