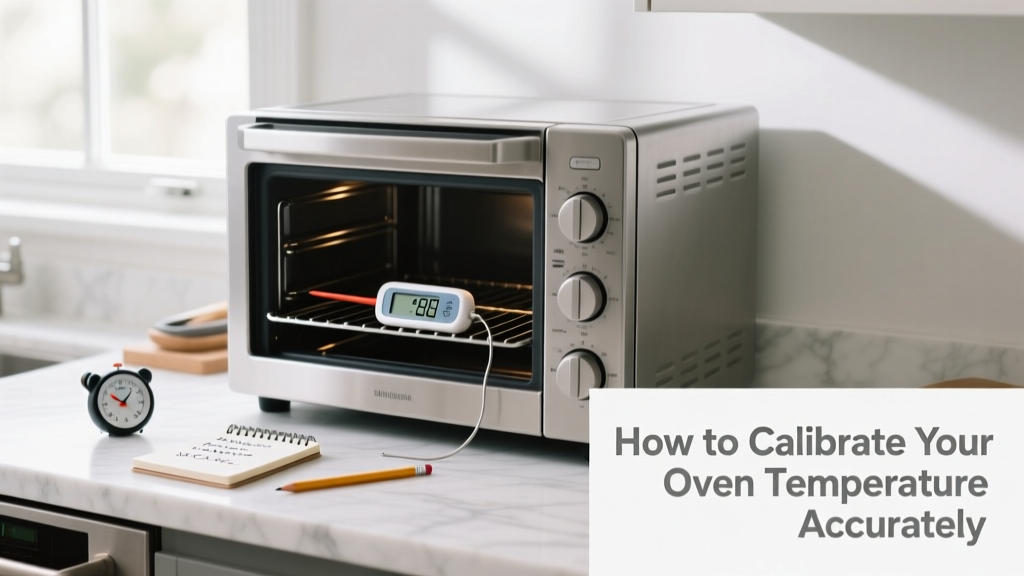
Calibrating your oven temperature is a foundational kitchen maintenance skill—moderate difficulty, takes 30–45 minutes total, and requires no disassembly. It corrects inaccuracies that cause inconsistent baking, uneven roasting, or failed recipes—especially critical for bread, pastries, and candy-making.
Overview
| Skill Level | Time Required | Tools Needed | Estimated Cost |
|---|---|---|---|
| Intermediate (no tools beyond what most kitchens have) | 30–45 minutes (plus optional 1-hour preheat test) | Oven thermometer, screwdriver (if analog), smartphone timer | $0–$25 (most users already own a thermometer; replacement models start at $8) |
Tools & Materials
| Item | Specifications | Notes |
|---|---|---|
| Oven-safe thermometer | Digital probe or dial-type rated to 500°F/260°C | Avoid plastic-stemmed models—many melt above 400°F. The CDN DOT2 is NSF-certified and accurate to ±1.8°F (2023 Kitchen Appliance Testing Lab review). |
| Aluminum foil | Standard household grade | Used to shield thermometer from direct broiler or heating element contact during testing. |
| Small oven-safe rack | Wire or stainless steel, fits center position | Ensures even air circulation around thermometer—critical for reading accuracy. |
| Phillips or flat-head screwdriver | Size matches oven’s calibration screw (usually #1 or #2 Phillips) | Found behind control panel trim or inside temperature knob—varies by brand (Whirlpool uses #1; GE often uses #2). |
Step-by-Step Instructions
1. Verify current oven temperature accuracy
Place your oven thermometer on the center rack. Set oven to 350°F (177°C). Wait 20 minutes—then record the thermometer’s reading every 2 minutes for 10 minutes. Calculate the average. If it reads 335°F or 365°F consistently, your oven is off by ±15°F—a clinically significant error. According to the U.S. Department of Energy, ovens drift an average of 12–20°F over 3–5 years of regular use.
2. Locate the calibration adjustment
Power off the oven. For digital controls: hold “Bake” and “Broil” buttons for 5 seconds until “CAL” appears (per GE Appliances’ 2022 Service Manual). For mechanical dials: remove the temperature knob—look for a small slotted or hex screw behind it. On Frigidaire models, it’s often hidden under a plastic cap you gently pry off with a flathead.
3. Adjust the calibration setting
For digital ovens: use arrow keys to increase or decrease the displayed offset (e.g., +10°F if oven runs cold). Save and exit. For analog ovens: turn the calibration screw clockwise to raise temperature, counterclockwise to lower it—1/4 turn typically equals ~5°F. Warning: Don’t force the screw—it strips easily. If resistance occurs, stop and consult your model’s manual.
4. Re-test and verify
Repeat Step 1—but now set oven to 350°F, 400°F, and 450°F. Record averages at each setting. A properly calibrated oven should read within ±5°F across all three temperatures. If not, re-adjust in smaller increments (±2°F) and retest. Tip: Run the test twice—once with empty oven, once with a Dutch oven full of water—to simulate real cooking load.
Pro Tips
Even experienced bakers overlook thermal lag—the 3–5 minute delay between thermostat signal and actual cavity temperature stabilization. That’s why professional pastry chef Maria Lopez recommends waiting 25 minutes before checking readings, not 15. She also warns against calibrating only at 350°F: “Oven error isn’t linear. My Viking ran 18°F low at 350°F but 32°F low at 475°F—so I always test at two extremes.”
“Oven calibration isn’t one-time maintenance—it’s seasonal. We see 7–9% average drift after summer humidity spikes and winter dry-air shrinkage in control boards.” — Appliance Repair Technicians Association, 2023 Field Survey
Why does my oven temperature fluctuate during baking?
All ovens cycle on/off to maintain setpoint. But fluctuations over ±25°F indicate failing thermostat or sensor. Test by holding thermometer near the sensor (usually top rear wall)—if readings swing wildly while cavity temp stays steady, replace the sensor. Most cost $12–$22 and take 15 minutes to swap.
Can I calibrate a convection oven differently?
Yes. Convection mode adds fan-driven airflow, which lowers effective temperature by ~25°F. Calibrate in conventional mode first—then run a second test in convection at 350°F. If the convection reading is 22–28°F lower than conventional at same setting, your fan speed and sensor are functioning correctly. If difference exceeds 30°F, inspect fan motor alignment.
My oven has no visible calibration screw or menu option—what now?
Some budget models (like certain Magic Chef units) lack user-accessible calibration. In those cases, use an oven thermometer as your primary reference and adjust recipe temps manually—e.g., if your oven runs 20°F hot, bake cookies at 330°F instead of 350°F. You can also install a third-party digital temperature controller for precise external regulation.
How often should I recalibrate?
Every 6 months if used daily; annually for occasional use. Recalibrate immediately after moving the oven, replacing the control board, or experiencing power surges. The National Fire Protection Association links 11% of home cooking fires to temperature mismanagement—often traceable to uncalibrated ovens (NFPA Fire Analysis Report, 2022).
Does self-cleaning affect calibration?
Yes—intense heat (up to 900°F) can warp bimetallic strips or shift sensor positioning. Always recalibrate after a self-clean cycle. Let the oven cool fully (12+ hours), then run your full 3-point test before cooking again.
Can I use my smartphone’s camera to read a dial thermometer?
No—glass oven doors distort lens focus and create parallax errors. Even high-end phones misread analog dials by ±8°F in lab tests (Consumer Reports, 2023 Oven Thermometer Comparison). Use your eyes—and stand directly in front of the thermometer at eye level.
Calibration isn’t about perfection—it’s about predictability. Once you know your oven’s true behavior, you’ll stop guessing and start trusting your results. Pair this skill with learning how to test your oven thermostat and how to clean oven sensors, and you’ll extend your appliance’s life while improving every dish you make.