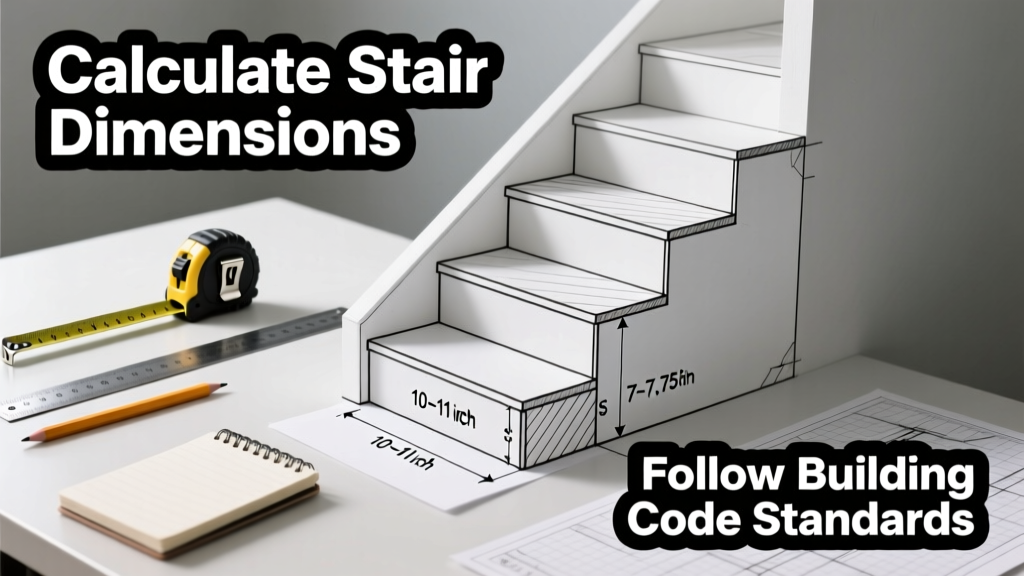
Calculating stair dimensions isn’t guesswork—it’s applied geometry guided by building codes. This skill is intermediate in difficulty (requires basic math and measuring), takes 20–45 minutes per staircase, and applies whether you’re framing a basement stair, designing a deck, or verifying contractor plans.
Overview
| Skill Level | Time Required | Tools Needed | Estimated Cost |
|---|---|---|---|
| Intermediate (basic algebra & tape measure literacy) | 20–45 minutes | Tape measure, calculator, pencil, notepad | $0 (uses tools most homeowners already own) |
Tools & Materials
| Item | Purpose | Notes |
|---|---|---|
| Steel tape measure (25 ft minimum) | Measuring total rise and horizontal run | Use one with clear, millimeter- and 1/16-inch markings; cloth tapes stretch and skew results |
| Digital angle finder or carpenter’s level | Verifying plumb and level references | Not required for calculation—but essential for validating your measurements before cutting |
| Calculator with square root function | Computing stringer layout and diagonal runs | Phone calculator works—just confirm it handles parentheses correctly |
| OSHA/IRC code reference sheet (printable PDF) | Checking local compliance thresholds | Download the 2021 International Residential Code (IRC) Chapter 10 or your state’s adopted version |
Step-by-Step Instructions
1. Measure the Total Rise Accurately
Measure from the finished floor at the bottom landing to the finished floor at the top landing—*not* to subfloor or framing. Account for flooring thickness (e.g., 3/4" hardwood + 1/2" underlayment = +1 1/4"). Record in inches, to the nearest 1/8". If measuring through a finished doorway, remove baseboard trim temporarily for accuracy.
- Tip: Take three measurements—left, center, right—and use the largest value. Floors settle unevenly.
- Warning: Never assume ceiling height equals stair rise. Floor joists, subfloor, and finish layers add 2–4" of hidden height.
2. Choose a Comfortable Riser Height
The IRC mandates risers between 4" and 7.75" for residential stairs. For comfort and safety, aim for 7"–7.5"—this matches the average human stride. Divide your total rise by 7 to estimate the number of risers needed. Round *up* to the next whole number, then recalculate exact riser height.
Example: Total rise = 102.5" → 102.5 ÷ 7 ≈ 14.64 → round up to 15 risers → 102.5 ÷ 15 = 6.833" = 6 13/16" (6.8125") — acceptable and code-compliant.
- Tip: Write riser height as a fraction (e.g., 6 13/16") for framing clarity—not decimals.
- Warning: All risers on one flight must be within 3/16" of each other per IRC R311.7.5.1. Inconsistent heights cause trips.
3. Determine Tread Depth and Total Run
IRC requires minimum 10" tread depth (nosing to nosing). Use 10.5"–11" for comfort. Multiply tread depth by (number of risers − 1) to get total run—the horizontal distance the stairs occupy. Subtract headroom clearance (minimum 6'8") if stairs pass under a floor joist or beam.
Example: 15 risers → 14 treads × 10.5" = 147" total run (12'3"). Confirm this fits your available space before proceeding.
- Tip: Add 1" for overhang (nosing) if using standard 11.5" treads—this improves foot placement without violating code.
- Warning: Don’t forget landing depth: IRC requires minimum 36" clear in direction of travel at top and bottom landings.
4. Verify Headroom and Stringer Layout
Hold a level against the underside of the upper floor framing and drop a plumb line to the stair path. Measure vertically from that point to the stair nosing at the lowest point—must be ≥ 80" (6'8"). Then calculate stringer length using the Pythagorean theorem: √(total rise² + total run²).
Example: Rise = 102.5", Run = 147" → √(102.5² + 147²) = √(10,506 + 21,609) = √32,115 ≈ 179.2" stringer length.
- Tip: Cut your first stringer from scrap 2×12, test-fit it, and scribe adjustments before cutting production stringers.
- Warning: Cutting stringers too short forces steep, dangerous stairs; too long wastes material and creates awkward transitions.
Pro Tips
Professional stair builders never rely on “standard” dimensions—they always recalculate for *each* job. Even small measurement errors compound across 14+ steps, causing cumulative misalignment that’s impossible to hide in drywall or flooring.
"A 1/8-inch error per riser becomes over 1.5 inches of vertical deviation on a 15-step stair. That’s enough to crack tile, gap baseboards, and fail inspection." — John R. Kline, Master Carpenter & ICC Certified Building Official (2022)
Common mistakes include ignoring finish-floor thicknesses, mixing imperial and metric units mid-calculation, and forgetting that tread depth includes nosing projection. Always double-check your arithmetic with a second method—e.g., verify total rise = riser height × number of risers.
Why does my stair feel steep even though it meets code?
Because code sets *maximum* riser height (7.75") and *minimum* tread depth (10"), but doesn’t mandate optimal ergonomics. A 7.75" riser + 10" tread yields a 37.5° slope—steeper than the ideal 30°–35° range. For better comfort, use 7" risers + 11" treads (≈30.3°). See our guide on how to build stairs for layout templates.
Can I adjust stair dimensions after framing has started?
Yes—but only if you catch it early. If stringers are cut but not yet fastened, you can recut the top or bottom plumb cuts. Once anchored or sheathed, correction requires removing framing and rebuilding. Always verify calculations *before* marking stringers. Refer to our how to read blueprints tutorial for catching dimensional conflicts early.
Do spiral or winder stairs follow the same rules?
No. Spiral stairs fall under IRC Section R311.7.10 and require minimum 7.5" wide at 12" from center, max 9.5" riser, and strict headroom rules. Winders (tapered treads) must have minimum 6" width at narrow end and 10" at 12" from inside radius. These demand certified engineering review—don’t DIY without an approved plan.
What if my total rise doesn’t divide evenly into whole inches?
It rarely does—and that’s fine. Convert decimal inches to fractions: 6.833" = 6 13/16" (since 0.833 × 16 = 13.33 → round to 13/16). Use a construction calculator or online stair calculator like the one in the Free Construction Calculators toolkit to automate conversions.
How do I handle stairs between two different floor levels (e.g., concrete slab to wood floor)?
Measure from the *finished surface* of each—e.g., top of concrete (with final flooring planned) to top of subfloor (accounting for 3/4" hardwood or 2" tile). If slab hasn’t been poured, work with your concrete contractor to set anchor bolts or embed plates at exact finished elevation. Miscalculating here causes permanent transition gaps.
Once your dimensions are verified, transfer them precisely to stringers using a framing square and stair gauges. Double-check every cut before committing to saw kerf. Solid stair math today saves hours of tear-out tomorrow—and keeps everyone in your home safe on every step.