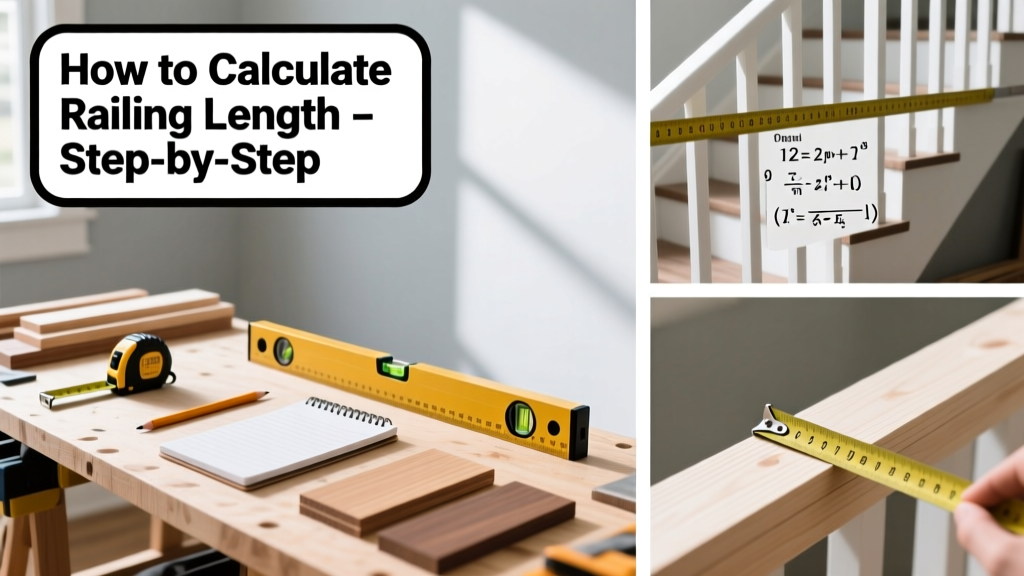
Calculating railing length isn’t just about measuring a straight line—it’s about matching building codes, accommodating structural transitions, and planning material purchases with precision. This is a beginner-to-intermediate skill that takes 15–30 minutes per section once you understand the geometry involved.
Overview
| Skill Level | Time Required | Tools Needed | Estimated Cost (DIY) |
|---|---|---|---|
| Beginner (with tape measure & calculator) | 15–45 minutes per railing segment | Tape measure, pencil, notepad, level | $0 (if measuring only); $2–$5 for layout string or chalk line |
Tools & Materials
| Item | Purpose | Notes |
|---|---|---|
| 25-ft fiberglass tape measure | Accurate linear measurement; avoids sag over long spans | Prefer locking blade and clear inch/foot markings (e.g., Stanley PowerLock) |
| Angle finder or smartphone app (e.g., Bubble Level Pro) | Determine stair pitch or landing angle | Must read in degrees—not just “level” or “plumb” |
| Graph paper or digital sketch tool | Sketch layout before calculating | Helps visualize returns, posts, and offsets—critical for multi-segment rails |
| IRC 2021 or local building code PDF | Verify height, post spacing, and graspability rules | Required: IRC R312.1.3 mandates max 4" sphere passage and 36" min height (34" for stairs) |
Step-by-Step Instructions
1. Identify and map all railing segments
Break the run into discrete sections: straight horizontal runs, stair flights, landings, and corners. Label each (e.g., “Front porch east side,” “Stair flight A,” “Landing B”). Don’t assume symmetry—even small grade changes matter. Measure each segment separately, noting start/end points relative to post centers, not edges.
2. Measure horizontal runs (flat surfaces)
Stretch tape from center of first post to center of last post. Record in feet and inches (e.g., 12' 7-3/8"). Subtract 1.5" per wood post (or 2" per metal post) if posts are included in your order—this accounts for post thickness where rail attaches. For a 3-post run (2 spans), subtract 3" total.
- Tip: Use a chalk line snapped between post centers to confirm alignment before final measurement.
- Warning: Never measure along the top edge of decking or fascia—always reference post centers or ledger bolts.
3. Measure stair runs using rise/run geometry
For stairs, you need total rise (vertical height) and total run (horizontal depth). Measure tread depth × number of treads = total run. Measure riser height × number of risers = total rise. Then use the Pythagorean Theorem: √(run² + rise²) = diagonal rail length. Example: 10 treads × 10" = 100" run; 11 risers × 7.25" = 79.75" rise → √(100² + 79.75²) = 127.9", or ~10' 8".
- Tip: Most stair railings follow the nosing line—not the stair stringer—so measure along tread edges, not framing.
- Warning: IRC requires handrails on stairs with ≥4 risers. If your stair has exactly 4, include it—even if it feels short.
4. Account for landings, returns, and transitions
Landing rails add complexity. Measure the landing perimeter minus corners where rails terminate into posts or walls. Add 6" per return (e.g., when rail bends 90° into a wall). For mitered corners, add 2" per joint for coping allowance. If rail wraps around a column, measure circumference plus 4" for overlap.
Pro Tips
Even experienced carpenters underestimate how much extra length railings need for fabrication tolerances and field adjustments. According to the National Association of Home Builders’ Deck Construction Handbook (2022), 92% of railing rework stems from underestimating transition allowances—not main-run errors.
“Always add 3% minimum to your total calculated length for cuts, coping, and field-fit adjustments. On jobs with curved or angled sections, increase to 5%. It’s cheaper to cut extra than to order a second shipment.” — Mike R., certified deck inspector (NAHB, 2023)
Common mistakes include measuring from outside post faces (instead of centers), ignoring stair nosing overhangs when calculating diagonal length, and forgetting that code-compliant graspable profiles require longer rail segments to meet continuous grip requirements.
How do I handle a railing that wraps around a corner?
Measure each leg separately from post center to corner point. Then add 6" per 90° return (for standard 2×4 or 2×6 top rail). For custom metal or cable systems, consult your fabricator—they often require radius templates and charge per degree of bend.
Do I include guardrail posts in my total length?
No—you calculate rail length *between* posts. Posts are separate components. However, your rail order must specify whether rails are “notched,” “bolt-through,” or “surface-mounted,” as each affects required rail end treatment and effective length.
What if my deck has an irregular shape—like a pentagon or curve?
Break the curve into 2–3 chord segments no longer than 48" each. Measure each chord’s straight-line distance, then add 1.5" per segment for curvature compensation. For true radius work, use a flexible ruler or laser distance meter with arc mode (e.g., Leica Disto E7500).
How does railing height affect length calculation?
Height doesn’t change linear length—but it affects post height and anchor hardware. A 42" guardrail (required for decks >30" above grade) needs taller posts, which may shift rail attachment points slightly. Always recalculate rail length after finalizing post heights.
Can I use the same calculation for cable, glass, or metal railings?
Yes—for overall span length. But material-specific factors apply: cable systems need 12" more per run for tension take-up; glass panels require exact panel widths (e.g., 47-1/4" to fit standard 48" openings); and metal rails often ship in fixed lengths (e.g., 10', 12', 16'), so round up to the nearest stock size.
What’s the fastest way to double-check my math?
Use the stair calculator for diagonal runs, cross-reference with a photo-sketched layout in our free deck planning checklist, and walk the site with a string line pinned at post centers. If the string sags more than 1/4" midspan, recheck for elevation shifts.
Accurate railing length saves time, money, and inspection callbacks. Whether you’re ordering pre-fab sections or cutting custom stock, measuring twice—and calculating once—ensures your rail meets both safety standards and aesthetic intent. For related help, see our guides on how to install deck railing and 2024 deck code checklist.