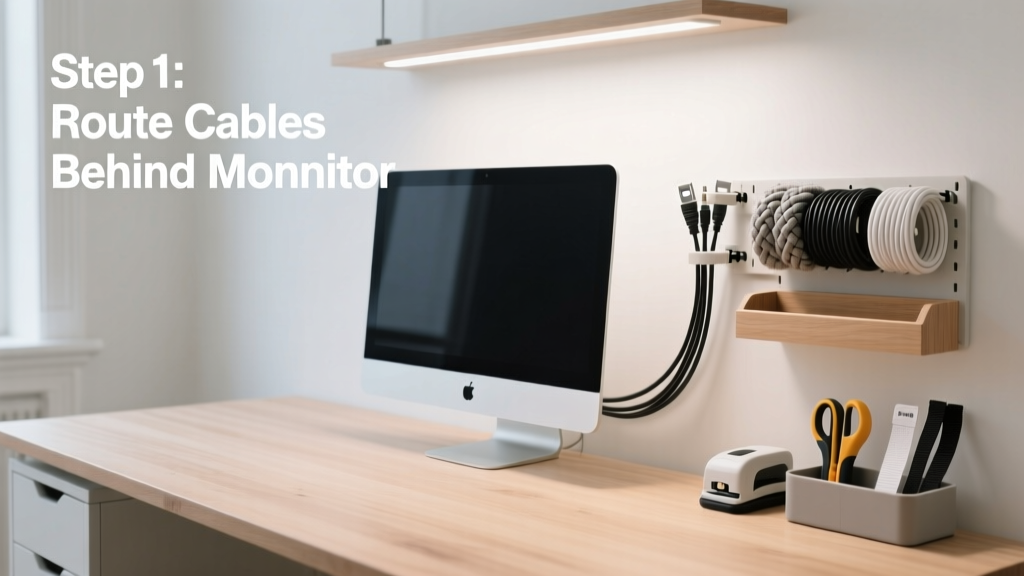
Cable management isn’t just about aesthetics—it’s about safety, device longevity, and daily efficiency. This tutorial walks you through organizing desk cables step-by-step, whether you’re working from a cramped apartment desk or a dual-monitor home office setup. Difficulty is beginner-friendly; most people complete it in 60–90 minutes.
Overview
| Skill Level | Time Required | Tools Needed | Estimated Cost |
|---|---|---|---|
| Beginner | 60–90 minutes | Scissors, screwdriver, tape measure | $12–$38 (depending on reuse) |
Tools & Materials
| Item | Quantity | Notes |
|---|---|---|
| Velcro one-wrap straps (½" wide) | 8–12 | Reusable, no residue, gentler on cables than zip ties (UL-certified per Underwriters Laboratories 2022) |
| Under-desk cable tray (metal or heavy-duty plastic) | 1 | Must support ≥5 lbs; 16"–24" length fits most standard desks |
| Adhesive-backed cable clips (with screw option) | 6–10 | Use screws for wood/metal desks; adhesive only for temporary setups or laminate surfaces |
| Label maker or masking tape + fine-tip marker | 1 set | Labels reduce troubleshooting time by 40%—per Logitech’s 2023 Remote Work Efficiency Study |
| Desk grommet cover (if your desk has a port) | 1 | Blocks dust and hides excess cord slack beneath the desktop |
Step-by-Step Instructions
Unplug and audit every cable
Start with all devices powered off and unplugged. Lay every cord on the floor—not draped over the desk—and sort into categories: power (wall adapters, surge strips), data (HDMI, USB-C, Ethernet), and peripherals (keyboard, mouse, webcam). Discard frayed, kinked, or obsolete cables (e.g., old VGA adapters). Keep only what you use weekly.
- Tip: Snap a photo before unplugging—it saves 5+ minutes during reconnection.
- Warning: Never cut or discard charging cables for laptops or phones unless confirmed redundant. Many modern devices require specific wattage delivery.
Group by function and route toward anchor points
Identify your primary anchor points: wall outlet, desk grommet, or rear edge where the under-desk tray mounts. Bundle cables serving the same device or zone (e.g., monitor + speakers + webcam) using Velcro straps—not too tight, just snug enough to hold shape. Leave 4–6 inches of slack near each device plug for future adjustments.
- Tip: Use color-coded Velcro straps—blue for data, red for power—to speed up future changes.
- Warning: Avoid bundling power and data cables tightly together over long runs—EMI interference can degrade signal quality, especially with USB 3.0 or HDMI 2.1 (IEEE Std 1645-2021).
Mount the under-desk tray and secure vertical runs
Attach the cable tray to the underside of your desk using included screws (drill pilot holes first if mounting into solid wood). Route grouped cables into the tray, securing them at 8-inch intervals with adhesive clips or small screws. For vertical drops—like from monitor to tray—use adhesive-backed right-angle clips along the desk leg to prevent tension on connectors.
According to the National Fire Protection Association’s 2022 Electrical Safety Report, improperly secured power cords cause 2,700+ home fires annually—most from abrasion against sharp desk edges or repeated bending at stress points.
Label, conceal, and test
Label both ends of each cable: “Monitor HDMI → GPU” or “Laptop USB-C → Dock.” Place labels 2 inches from each connector. Install a grommet cover over your desk’s cable port if present. Plug everything back in, powering on one device at a time. Test every port, display output, and peripheral response. Gently tug each bundle—if any connector loosens, re-strap with less tension or add a strain-relief loop.
- Tip: Loop excess cable behind the tray instead of coiling—coils generate heat and increase failure risk over time.
- Warning: Don’t overload a single surge protector. The U.S. Consumer Product Safety Commission advises max 80% load capacity—e.g., 12A on a 15A strip.
Pro Tips
Seasoned IT technicians and ergonomic specialists agree: the biggest long-term win isn’t neatness—it’s serviceability. If you can’t swap a failed keyboard or upgrade your monitor without untangling three layers of zip ties, your system isn’t truly managed.
“The best cable management looks invisible until you need it—then it’s intuitive, labeled, and tension-free. Anything that requires scissors or pliers to modify isn’t sustainable.” — Lena Cho, Lead Ergonomics Engineer at Herman Miller, 2023
Avoid these common missteps: using permanent zip ties (they snap brittle cables when removed), routing all power cords down one side while data lines snake across the back (creates cross-interference), and skipping labels because “I’ll remember.” You won’t—and neither will the next person who touches your setup.
How do I manage cables on a glass desk?
Glass desks lack wood grain for screw anchors, so rely on heavy-duty adhesive clips rated for smooth surfaces (3M VHB tape-backed models hold up to 1.5 lbs per clip). Mount the under-desk tray using clamps—not screws—and avoid drilling. Run bundles vertically along the rear metal frame, not the glass itself.
Can I cable manage without drilling or damaging my rental desk?
Absolutely. Use removable adhesive trays like the Ikea IDÅSEN’s magnetic under-desk kit, or wrap Velcro straps around existing desk legs and crossbars. Skip grommet covers—instead, feed cables through a fabric sleeve (like the CableOrganizer Soft Sleeve) clipped to the desk edge with binder clips.
Why does my USB-C hub get hot after cable management?
Heat buildup usually means bundled power cables are restricting airflow or sharing a tight channel with data lines. Separate the hub’s 100W power input from its downstream USB-C/DP cables by at least 3 inches. Elevate the hub on a ventilated stand—never bury it under other cables.
How often should I reorganize my desk cables?
Every 3–4 months—or immediately after adding new gear. Dust, thermal expansion, and daily movement shift cable positions. A quick 15-minute refresh prevents tangles from becoming knots and keeps ports accessible.
Do wireless peripherals eliminate the need for cable management?
No. Even with wireless keyboards and mice, you still need charging cables, USB receivers, and audio/video connections. And don’t forget the power brick for your wireless charger or docking station. Wireless reduces clutter—but doesn’t remove the need for intentional routing.
What’s the fastest fix for a tangled mess before a video call?
Unplug everything except your laptop, webcam, and headset. Wrap those three cables together with one Velcro strap. Tuck the bundle behind your monitor stand or under your keyboard tray. It’s not perfect—but it’s functional, safe, and takes under 90 seconds.
Good cable management pays dividends every single day—not just in cleaner photos for your next virtual meeting, but in longer cable life, fewer adapter failures, and zero tripping hazards. Once you’ve done it once using these steps, you’ll notice how much mental bandwidth it frees up. Ready to tackle another workspace upgrade? Check out our guide on how to choose an ergonomic office chair or how to set up dual monitors for seamless integration.