Building stairs is a foundational carpentry skill that blends math, precision, and structural awareness. It’s intermediate difficulty—requiring careful measurement and attention to building code—but entirely doable with basic power tools and a weekend. Most homeowners complete a standard 3- to 4-step exterior stair run in 12–16 hours across two days.
Overview
| Skill Level | Time Required | Tools Needed | Estimated Cost (Materials Only) |
|---|---|---|---|
| Intermediate | 12–16 hours | Framing square, circular saw, speed square, tape measure, level, drill, clamps | $180–$320 (for 3-step cedar or pressure-treated pine) |
Tools & Materials
| Category | Item | Quantity & Specs |
|---|---|---|
| Structural Lumber | Pressure-treated 2×12s (for stringers) | 3 boards, 12 ft long, #2 grade or better |
| Structural Lumber | Pressure-treated 2×6 treads | 4 boards, 36" long (one extra for waste) |
| Structural Lumber | Pressure-treated 2×4 risers | 3 boards, 36" long |
| Fasteners | Galvanized 3" deck screws | 60+ pieces (use Simpson Strong-Tie SDWS screws for critical joints) |
| Fasteners | 16d galvanized nails | For temporary bracing |
| Tools | Speed square with stair layout markings | 1 (e.g., Swanson S0101) |
| Tools | Circular saw with carbide-tipped blade | 1 (set depth to 1½" for clean stringer cuts) |
Step-by-Step Instructions
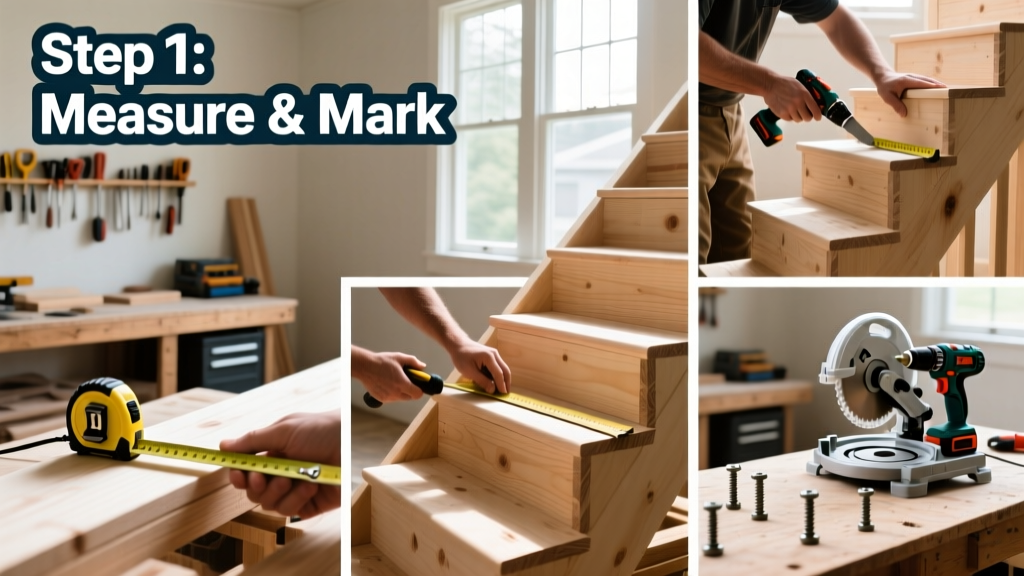
1. Measure Total Rise and Calculate Run
Measure the vertical distance from the finished landing surface (e.g., deck joist bottom) to the ground or concrete pad. Record this as total rise—in our test build, it was 27¾". Divide by desired riser height (standard is 7"–7½"). Round to nearest whole number: 27¾ ÷ 7¼ = 3.79 → use 4 risers. Then recalculate actual riser height: 27¾ ÷ 4 = 6 15/16" (6.9375"). That’s your exact riser height. Multiply number of treads (risers − 1 = 3) by desired tread depth (10"–11") to get total run: 3 × 10½" = 31½".
2. Lay Out Stringers Using a Framing Square
Mark the first stringer on a straight 2×12 using a framing square set to your calculated riser and tread dimensions. Lock the square so the 6 15/16" mark aligns with the board edge on the inside of the tongue, and the 10½" mark aligns on the body. Slide the square down the board, stepping off each rise-and-run pair. Double-check the final layout: after four rises, you should land exactly at the board’s end. Use a pencil—not a knife—to avoid weakening the grain. Cut along the lines with a circular saw, stopping ½" before each corner; finish cuts with a handsaw to prevent overcutting into the stringer’s structural web.
3. Cut and Attach Stringers
Cut three identical stringers (two outer + one center). Test-fit the first against the deck ledger and landing—check for plumb and level with a 4-ft level. Shim where needed. Anchor top plates with ½" lag bolts into the rim joist (not just blocking), and secure bottom ends to concrete with Simpson ABU26Z anchors or to soil with 12"-long helical piers. According to the International Residential Code (IRC R311.7.5, 2021), stringers must be spaced no more than 16" on center for 2×6 treads.
4. Install Treads and Risers
Start at the bottom. Fasten treads first—use 3" deck screws every 6" along each stringer edge and center. Pre-drill to prevent splitting, especially near ends. Then install risers: nail or screw them flush to the back of the tread above and tight against the stringer. Leave a ¼" gap between tread front and riser for drainage and expansion. Never attach treads with only adhesive—screws must bear the load. As the U.S. Department of Housing and Urban Development notes in its 2022 Residential Construction Guide, “Tread fasteners must resist both uplift and lateral shear—glue alone fails under cyclic loading.”
Pro Tips
Seasoned carpenters stress consistency over speed. A single mis-cut stringer ruins the entire flight. Always cut one test stringer from scrap lumber first—even if you’ve done this five times. Also, never rely on factory-labeled “stair stringer” lumber: it’s often warped or contains hidden knots. Inspect each board face-on and edge-on before marking.
“The biggest mistake I see? Skipping the dry-fit. People screw stringers in place before checking headroom, nosing overhang, or landing clearance—and then they’re stuck tearing it all out.” — Carlos Mendez, Master Carpenter & ICC-certified residential inspector (2023)
- Always wear ANSI-approved safety glasses and hearing protection when cutting lumber
- Use a story pole (a marked 2×4) to transfer riser heights vertically—eliminates cumulative measuring error
- If attaching to concrete, wait 24 hours after anchor installation before loading the stairs
What’s the minimum tread depth for exterior stairs?
The IRC mandates a minimum of 10" of usable tread depth (measured from nosing to nosing), with a maximum 1¼" nosing overhang. For decks in snowy climates, reduce overhang to ¾" to prevent ice damming.
Can I use composite decking for stair treads?
Yes—but only products rated for stair applications (e.g., Trex Enhance Naturals Stair Treads or Fiberon Horizons Stair Boards). Standard composite decking lacks the stiffness and traction needed. Secure with manufacturer-recommended concealed fasteners or corrosion-resistant screws driven at 45° into the stringer.
How do I handle uneven ground at the bottom landing?
Build a level concrete pad (minimum 4" thick, 3,000 psi mix) or use adjustable steel stair feet like the Titan Stair Base System. Avoid stacking bricks or cinder blocks—they shift and crack. If using gravel, compact thoroughly and lay geotextile fabric before 4" of crusher run.
Do I need a handrail for three steps?
Yes—if the top step is more than 30" above grade. The IRC requires handrails for any stairway with four or more risers—or if the vertical rise exceeds 30". Even for three steps, adding a 34"-high handrail improves safety and resale value. See our how to install deck handrails guide for mounting details.
How often should I inspect outdoor stairs?
Twice yearly: once in early spring (check for rot, rust, and loose connections after winter) and again in fall (before freeze-thaw cycles). Pay special attention to where stringers meet the ledger—this is the most common failure point. Replace any stringer with >10% cross-sectional loss due to decay. Learn more about identifying wood rot in our how to spot wood rot tutorial.
Can I build stairs without stringers?
Only for very short runs (1–2 steps) using solid-concrete or stone masonry. For wood, stringers are non-negotiable load-bearing members. “Floating” treads without side support violate IRC Section R507.10 and create serious liability in case of injury.
Building stairs isn’t about brute force—it’s about trusting your measurements, respecting material limits, and verifying every joint before moving on. When done right, your stairs will support decades of safe, confident use. Recheck slope, spacing, and fastener depth before the first guest steps up. And remember: if your local jurisdiction requires a permit (most do for stairs over 30" tall), file plans before cutting your first board. For related work, see our guides on how to build a deck frame and how to level a concrete slab.