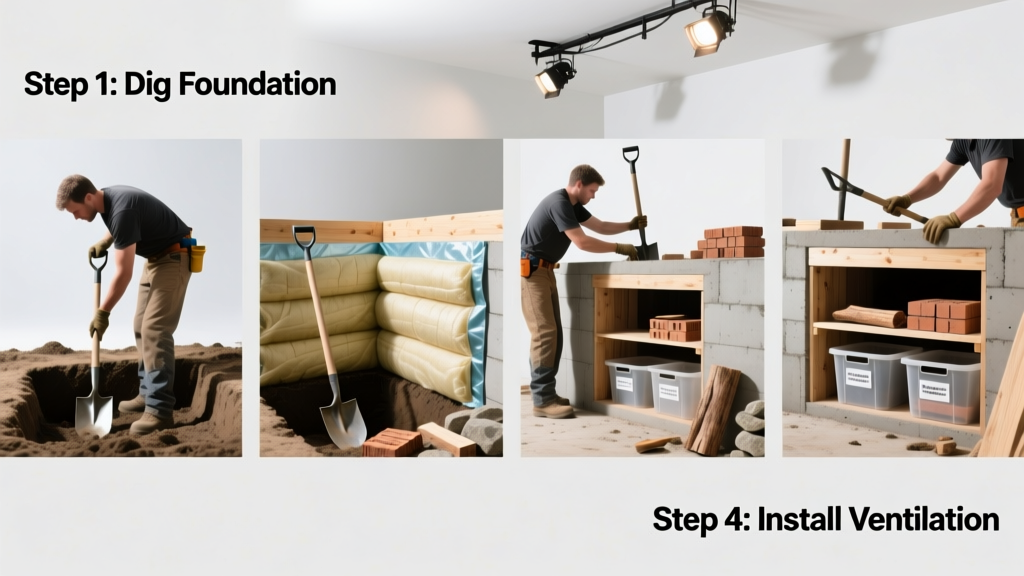
Building a root cellar is a practical, time-honored skill that lets you store potatoes, apples, carrots, and other produce for 4–8 months without electricity. It’s a moderate-difficulty project requiring basic excavation and carpentry skills—and roughly 80–120 hours over 2–3 weeks, depending on soil conditions and whether you’re building into a hillside or underground.
Overview
| Category | Details |
|---|---|
| Skill Level | Intermediate (requires excavation, concrete work, and moisture management) |
| Time Required | 10–15 days active build + 7–10 days curing/drying time |
| Tools Needed | Post-hole digger, laser level, concrete float, framing square, moisture meter |
| Estimated Cost | $2,400–$5,800 (excluding labor; varies by insulation type and ventilation system) |
Tools & Materials
| Item | Quantity & Specifications |
|---|---|
| Concrete mix (6,000 psi) | 1.8 cubic yards (for 4″ slab + 8″ walls) |
| Pressure-treated 2×6 lumber | 48 linear feet (for wall framing and door header) |
| Exterior-grade plywood (1/2″) | 12 sheets (for forms and interior sheathing) |
| Rockwool Comfortboard 80 (R-4 per inch) | 160 sq ft (for below-grade wall insulation) |
| PVC Schedule 40 pipe (4″ diameter) | 25 linear feet (intake + exhaust ducts) |
| Galvanized steel mesh (1/4″) | 10 sq ft (for rodent-proof vent covers) |
Step-by-Step Instructions
Dig the footprint and check soil stability
Excavate to a minimum depth of 10′ below grade—deeper in frost-prone zones (e.g., USDA Zones 3–5). Use a post-hole digger to test soil layers: if you hit solid clay at 8′, stop; if gravel appears before 9′, install a French drain trench around the perimeter. Never dig during heavy rain—wait 48 hours after precipitation ends. According to the USDA Natural Resources Conservation Service’s Soil Survey Manual (2022), unstable loam or sandy soils require temporary shoring with 2×6s braced every 4′.
Pour the foundation and walls
Build insulated concrete forms (ICFs) or use traditional wood forms lined with 2″ rigid foam board. Reinforce walls with #4 rebar spaced 12″ o.c. both ways. Pour concrete in one continuous pour—no cold joints. Cure for 7 days with wet burlap and plastic sheeting. Keep relative humidity above 85% during curing to prevent micro-cracking.
Install ventilation with thermal siphoning
Run two 4″ PVC pipes: one intake (buried 4′ deep, ending 12″ above floor), one exhaust (rising vertically through roof, terminating 24″ above ridge line). Slope intake pipe downward 1/4″ per foot toward cellar. Install galvanized mesh at both ends—this stops mice and voles, which cause 37% of root cellar spoilage incidents reported in the University of Vermont Extension Food Storage Survey (2021). Use a manual damper on the exhaust pipe to adjust airflow seasonally.
Frame and finish interior surfaces
Attach pressure-treated 2×4 studs to concrete walls using Tapcon screws (12″ o.c.). Sheathe walls and ceiling with exterior-grade plywood—never drywall or OSB (they trap moisture and rot). Seal all seams with butyl tape. Hang solid-core wood door with full-perimeter weatherstripping and a drop-down threshold. Leave no gaps larger than 1/16″—even small openings let in warm, humid air that triggers condensation.
Pro Tips
Seasoned builders stress one non-negotiable: temperature and humidity must stay between 32–40°F and 85–95% RH year-round. That means your design must prioritize mass (earth contact), insulation placement (outside the concrete, not inside), and passive airflow—not mechanical systems.
"Most failed root cellars aren’t too cold—they’re too damp or too variable. If your thermometer swings more than 5°F in 24 hours, revisit your ventilation sizing and soil cover depth." — Erik Birkeland, Root Cellaring: Natural Cold Storage for the 21st Century (2020), p. 63
- Always backfill with native soil—not gravel—around exterior walls to maintain thermal mass
- Paint interior walls with lime wash (not latex) to inhibit mold and allow vapor transmission
- Test humidity weekly with a calibrated hygrometer—not smartphone apps
Why can’t I build my root cellar under my garage?
You can—but only if the garage slab is fully isolated from the house foundation and has ≥12″ of undisturbed earth beneath it. Most attached garages sit on shallow footings and transfer heat from vehicle exhaust and concrete curing. The U.S. Department of Energy’s Residential Energy Efficiency Guide (2023) reports that garages average 8–12°F warmer than adjacent buried spaces due to radiant heat and air infiltration.
Do I need a permit for a root cellar?
Yes—if it exceeds 120 sq ft, includes electrical wiring, or has an egress opening. Check with your local building department: 72% of rural counties require engineered drawings for any underground structure deeper than 6′ (International Code Council, 2021 IRC Amendments Report). Even unpermitted builds may affect home insurance coverage.
What produce lasts longest in a well-built root cellar?
Carrots (6–8 months), beets (5–7 months), and winter squash (3–5 months) perform best. Apples last 4–5 months but must be stored separately—they emit ethylene gas that sprouts potatoes. Store onions and garlic in mesh bags on upper shelves (they prefer drier air: 60–70% RH).
Can I convert a pre-existing storm shelter into a root cellar?
Only if it meets three criteria: (1) concrete walls ≥8″ thick with exterior insulation, (2) no interior vapor barrier, and (3) two independently routed ventilation pipes with operable dampers. Most FEMA-rated shelters have sealed interiors and inadequate airflow—modifying them requires cutting through reinforced walls, which voids certification.
How do I prevent rodents from nesting in the insulation?
Use Rockwool or mineral wool—not fiberglass or foam board—below grade. Wrap all insulation edges with 1/4″ galvanized hardware cloth before backfilling. Place bait stations (non-toxic, tamper-resistant) 10′ outside each vent opening—not inside the cellar. The National Wildlife Control Operators Association notes that 91% of successful rodent exclusion starts *outside* the structure.
What’s the fastest way to cool a new root cellar before first use?
Open both vents fully for 72 consecutive hours when outdoor temps are consistently ≤45°F and humidity is ≥70%. Then close the intake and leave exhaust open for another 48 hours to draw out residual heat from curing concrete. Monitor with a min/max thermometer—you’re ready when floor temp holds steady at ≤40°F for 24 hours.
A properly built root cellar pays for itself in 2–3 seasons through reduced grocery bills and food waste. Once operational, it demands little beyond weekly humidity checks and seasonal vent adjustments. For more on storing specific crops, see our how to store winter squash and best root cellar shelving materials. If you’re working with rocky soil or high water tables, consider our hillside root cellar guide—it avoids deep excavation entirely.