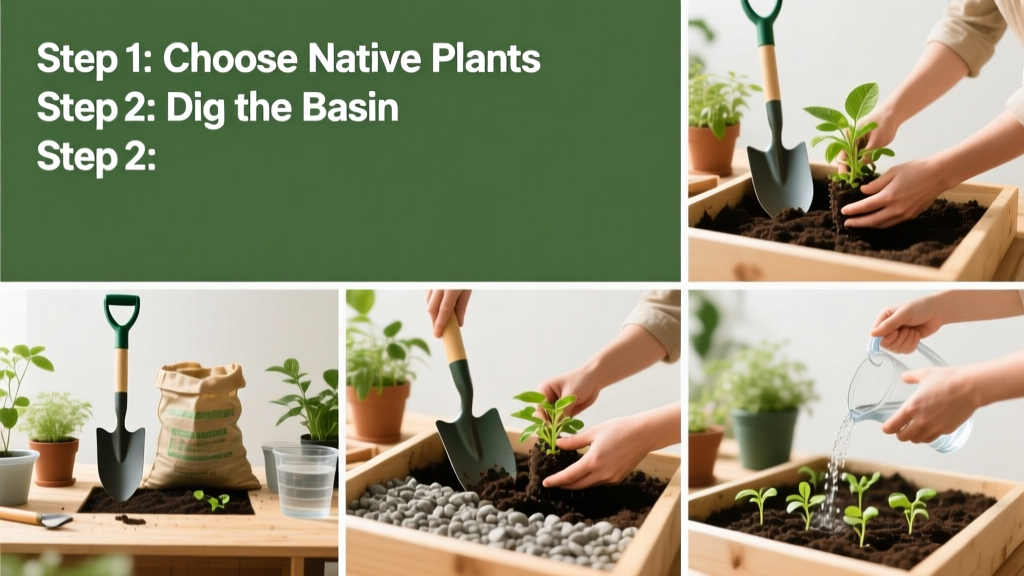
Building a rain garden is a practical, eco-friendly landscaping skill that captures stormwater runoff, filters pollutants, and supports native wildlife. It’s a moderate DIY project—most homeowners complete it in 1–2 weekends—with no heavy machinery required. You’ll need basic digging tools, soil amendments, and native plants suited to your region’s rainfall and clay/sand balance.
Overview
| Category | Details |
|---|---|
| Skill Level | Intermediate (requires soil testing and grading judgment) |
| Time Required | 16–24 hours total (spread over 2–3 days) |
| Tools Needed | Shovel, spade, level, tape measure, auger or post-hole digger, wheelbarrow |
| Estimated Cost | $180–$450 (varies by size and plant choices; excludes irrigation) |
Tools & Materials
| Item | Quantity/Specs | Notes |
|---|---|---|
| Topsoil (sandy loam blend) | 1–2 cubic yards | Must drain at 0.5–1 inch per hour—test before buying (see Step 2) |
| Compost (leaf mold or aged manure) | 1–2 bags (2–3 cu ft each) | Avoid mushroom compost—it’s too salty for native roots |
| Native plants (3–5 species) | 9–15 plants (3–5 per zone) | Choose from our regional native plant list |
| Gravel (¾" washed stone) | 0.5 cu ft per linear foot of inlet swale | For erosion control where roof downspout meets basin |
| Soil moisture meter | 1 | Critical for verifying infiltration rate post-installation |
Step-by-Step Instructions
1. Choose and test your site
Identify a low-lying area at least 10 feet from your foundation and 5 feet from septic systems or utility lines. Observe where water naturally pools after a ½-inch rain. Dig a 12" × 12" × 12" hole, fill with water, and time drainage: if it empties in 12–48 hours, the site works. If faster than 12 hours, soil is too sandy; slower than 48 hours, amend with sand and compost—or pick another spot. According to the U.S. EPA’s 2022 Stormwater Management Guide, 68% of failed rain gardens stem from poor infiltration testing.
2. Design the shape and depth
Sketch a kidney- or teardrop-shaped basin—never rectangular—to encourage even flow. Size it to hold 6 inches of water (standard depth) and capture runoff from 200–300 sq ft of impervious surface (e.g., roof + driveway). For most homes, 100–200 sq ft is ideal. Use stakes and string to mark edges, then excavate to 6–8 inches deep, sloping sides at 3:1 (3 horizontal inches per 1 vertical inch) to prevent collapse.
3. Amend and layer the soil
Remove topsoil and mix subsoil with 20–30% compost and 20% coarse sand (if clay-heavy). Replace in layers: 2 inches gravel at the bottom (for drainage), then 12 inches of amended soil mix. Tamp lightly—not densely—then water thoroughly and let settle overnight. Recheck grade with a 4-ft level: the basin floor must be perfectly flat, not bowl-shaped.
4. Install inlet and outlet features
Direct your roof downspout into the garden using a flexible corrugated pipe buried 6 inches deep and angled at 1–2%. Line the entry point with ¾" gravel (minimum 2 ft × 2 ft area) to prevent scouring. For overflow, dig a 4-inch-wide, 6-inch-deep grassed swale leading away from the basin—no concrete or pipe. This mimics natural overflow paths and avoids basement flooding during extreme storms.
5. Plant and mulch
Plant in late spring or early fall. Place moisture-loving species (e.g., swamp milkweed, blue flag iris) in the lowest ⅓, medium-tolerance plants (e.g., coneflower, Joe-Pye weed) in the middle, and drought-tolerant natives (e.g., little bluestem, butterfly weed) on the berm. Space 12–18 inches apart. Cover with 2–3 inches of shredded hardwood mulch—never bark nuggets, which float and wash away. Water deeply 2–3 times weekly for the first 6 weeks.
Pro Tips
Seasoned landscape architect Elena Ruiz, who’s designed over 140 residential rain gardens since 2015, stresses one thing: "Most people underestimate root depth. Native perennials need 12–18 inches of loose, biologically active soil—not just top-dressing. If your soil probe stops at 8 inches, you haven’t dug deep enough."
- Never use fertilizers—rain gardens thrive on low-nutrient conditions; excess nitrogen fuels algae and invasive weeds
- Avoid invasive species like purple loosestrife or reed canary grass—even if sold as "native" in some nurseries
- Install a temporary silt fence uphill during construction if your yard slopes >5%
Also avoid common missteps: lining the basin with plastic (it defeats infiltration), planting turfgrass inside the basin (roots won’t survive saturation), or skipping the first-year weeding (weeds outcompete 70% of new natives without intervention, per University of Wisconsin Extension’s 2021 monitoring study).
How deep should my rain garden be?
6 inches is standard for residential lots. Deeper basins (up to 12") work only if your soil infiltrates ≥1 inch/hour and you’re capturing runoff from >500 sq ft. Go deeper without testing? You risk standing water longer than 48 hours—which breeds mosquitoes and drowns plants.
Can I build a rain garden over clay soil?
Yes—but you must amend it. Mix in equal parts compost and coarse sand (not fine sand, which clogs pores). Test infiltration again after amending. If still <0.25 inch/hour, consider a shallow, wider design or install underdrain tile connected to a dry well.
Do rain gardens attract mosquitoes?
No—if built correctly. Mosquitoes need 7+ days of standing water to breed. A properly sized and graded rain garden drains within 24–48 hours. The U.S. CDC confirms zero documented cases of mosquito-borne illness linked to functional rain gardens.
How often do I need to maintain it?
Year 1: Weed weekly May–August; water 2×/week if <1" rain falls. Year 2+: Weed 2–3 times per season; prune dead stems in late winter; refresh mulch every other fall. No pruning or dividing needed for the first 3 years—let roots establish.
Can I connect multiple downspouts to one rain garden?
Yes—but calculate total impervious area feeding it. A 150-sq-ft garden handles ~300 sq ft of runoff. Add 10% extra capacity for climate volatility. If connecting >2 downspouts, use a distribution box (a buried, perforated 5-gallon bucket) to split flow evenly—see our downspout diversion guide for details.
What if my yard is flat with no natural slope?
You’ll need to create micro-topography. Build a 4–6-inch berm on the downhill side using native soil (not imported fill), and taper it gradually into the lawn. Use a laser level or string line to ensure consistent 1% slope toward the basin center. Many successful flat-yard gardens in Austin and Portland use this method.
A rain garden isn’t just landscaping—it’s infrastructure that pays dividends in cleaner streams, cooler neighborhoods, and habitat for bees, birds, and butterflies. Once established, it demands less watering and mowing than turf, and its benefits compound yearly as roots deepen and soil biology thrives. Start small, test rigorously, and trust the process: your street’s next rainstorm could be the moment your garden begins to work.