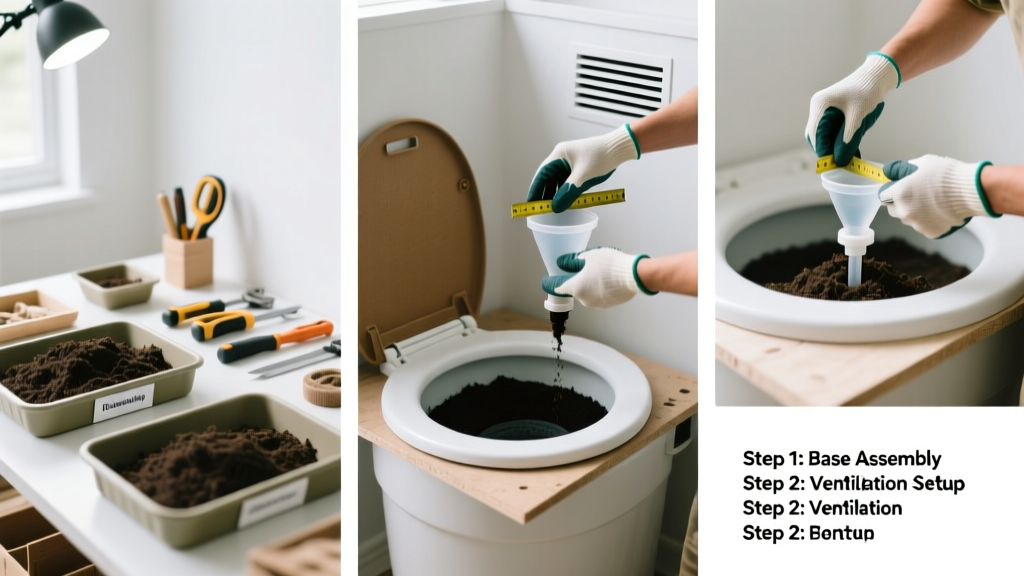
Building a compost toilet is a practical, low-cost skill for off-grid living, emergency preparedness, or sustainable home upgrades. It’s intermediate difficulty—requiring basic carpentry and understanding of moisture/air balance—but takes just one full weekend (12–16 hours) to assemble and test.
Overview
| Skill Level | Time Required | Tools Needed | Estimated Cost |
|---|---|---|---|
| Intermediate (basic framing & sealing experience) | 12–16 hours (plus 2 weeks curing before first use) | Drill, handsaw, level, caulk gun, measuring tape, safety glasses | $180–$320 (varies by lumber and venting options) |
Tools & Materials
| Category | Item | Details |
|---|---|---|
| Lumber | 1×10 cedar boards (or rot-resistant pine) | 4 pieces @ 36" long (box sides); 2 @ 18" (front/back); 1 @ 24" × 24" (floor panel) |
| Structural | ¾" plywood (exterior grade) | 1 sheet cut into 24" × 24" lid + 12" × 12" urine diverter platform |
| Ventilation | Rigid 3" PVC pipe + roof cap | Minimum 48" vertical run; include 90° elbow + insect screen (1/8" mesh) |
| Composting | Carbon-rich bulking agent | Unmilled coconut coir (preferred) or dry sawdust — 5 gallons minimum |
| Urine Management | 5-gallon food-grade bucket + funnel | Funnel must have 3" ID; seal rim with silicone + foam gasket |
| Finishing | Non-toxic polyurethane or linseed oil | 2 coats recommended for seat and lid; avoid VOC-heavy finishes |
Step-by-Step Instructions
1. Frame the main chamber
Cut four 1×10 cedar boards to 36" (sides), two to 18" (front/back), and notch corners for lap joints. Assemble into a rectangular box (24" W × 18" D × 16" H interior). Pre-drill and screw with stainless steel #10 × 2" screws. Line interior bottom with ½" plywood cut to fit snugly — this becomes the removable floor panel. Seal all seams with exterior-grade silicone.
2. Install the urine diverter system
Cut a 12" × 12" platform from plywood and mount it 6" above the floor inside the front third of the chamber. Attach a 3" PVC funnel (angled 15° forward) centered on the platform. Connect a 3" flexible hose to the funnel outlet, routing it downward into a sealed 5-gallon bucket placed outside the box (accessible via side hatch). Test flow with water before final sealing.
3. Build and mount the ventilation stack
Assemble a 48" vertical 3" PVC stack: start at the top of the chamber, extend through ceiling, add 90° elbow pointing away from prevailing winds, then install a roof cap with integrated 1/8" stainless steel mesh. Use PVC primer/cement on all joints. Mount securely with pipe straps every 18". Warning: Never use flex duct — it collapses and traps condensation, causing mold and odor.
4. Assemble seat, lid, and finishing touches
Cut a 24" × 24" lid from ¾" plywood. Route a 1" recessed seat opening (17" × 13") and attach a standard molded plastic toilet seat with stainless bolts. Sand all wood surfaces, apply two coats of boiled linseed oil (drying time: 48 hrs between coats), and install rubber bumpers on lid underside to prevent slamming. Label urine and solids compartments clearly.
- Tip: Drill two ¼" weep holes in the floor panel near the rear wall — they equalize air pressure and aid passive airflow.
- Tip: Place a 2" layer of dry coir in the chamber before first use — it absorbs initial moisture and jumpstarts microbial activity.
Pro Tips
Composting toilets fail most often from imbalance — too wet, too cold, or too little oxygen. The U.S. EPA estimates that properly managed composting toilets reduce pathogen levels by 99.9% within 6 months when maintained at >55°F and turned monthly (EPA Onsite Wastewater Treatment Systems Manual, 2022). Avoid common pitfalls like using grass clippings (they compact and sour) or adding toilet paper with dyes (opt for unbleached, septic-safe brands).
"A working compost toilet isn’t about containment — it’s about cultivating microbes. If you smell ammonia, you’re missing carbon. If it’s soggy, you’re missing airflow. If it’s cold in winter, insulate the chamber walls with rigid foam." — Dr. Lena Torres, Environmental Engineer, USDA Rural Development, 2021
How often do I need to empty the solids bin?
With two people using it daily, a 5-gallon solids container fills in 4–6 weeks. Always wait until material is crumbly, dark, and earthy-smelling before removing — never less than 6 months post-deposition per EPA guidelines. Store emptied compost in sealed bins for an additional 3 months before using on ornamental plants only.
Can I install this in a basement or interior room?
Yes — but only if you can route the vent stack vertically through the roof (not into an attic or soffit). Interior installations require a powered fan (10–15 CFM) mounted at the top of the stack. Without active exhaust, humidity builds and condensation drips back into the chamber, halting decomposition.
What’s the best bulking agent for cold climates?
Shredded hardwood bark mulch outperforms sawdust below 40°F because its larger particle size maintains air pockets longer. According to the University of Vermont Extension’s 2023 Cold-Climate Composting Study, bark mulch extends viable composting seasons by 8–10 weeks compared to fine sawdust.
Do I need a permit to install a compost toilet?
Permitting varies by county and state. In 22 states (including Vermont, Oregon, and Maine), compost toilets are explicitly allowed under alternative sanitation codes — but require site inspection and documentation of venting, containment, and maintenance plans. Check your local health department’s compost toilet permit requirements before building.
How do I keep fruit flies and gnats out?
Install a 1/8" stainless steel mesh screen behind the vent cap (not inside the pipe), and always cover fresh additions with 1" of bulking agent. If infestation occurs, wipe interior surfaces with diluted vinegar (1:3), then dust the top layer with food-grade diatomaceous earth — it dehydrates larvae without harming beneficial microbes. Avoid pesticides entirely.
Can I connect this to greywater systems?
No — urine diversion systems must discharge separately. Urine contains high nitrogen and salts that corrode pipes and overload soil absorption areas. Direct urine to a dedicated soakaway bed (minimum 4' × 4' × 2' gravel-filled trench lined with geotextile) or dilute 10:1 with water for drip irrigation of non-edible shrubs. For full integration guidance, see our urine diversion systems tutorial.
A well-built compost toilet quietly supports resilience — no pumps, no power, no plumbing bills. Once you’ve balanced airflow, moisture, and carbon, it becomes nearly self-regulating. Keep a small logbook tracking fill dates, bulking agent additions, and temperature checks; after six months, you’ll likely be harvesting rich compost while saving hundreds in septic maintenance. For ongoing troubleshooting, refer to our compost toilet troubleshooting guide.