Building a cob house is a hands-on, earth-based construction skill that combines ancient wisdom with modern sustainability goals. It’s rated intermediate in difficulty — not technically complex, but physically demanding and weather-dependent. Expect 3–6 months of active work for a 200–400 sq ft structure, spread across dry seasons over 1–2 years.
Overview
| Skill Level | Time Required | Tools Needed | Estimated Cost (USD) |
|---|---|---|---|
| Intermediate (no prior masonry needed) | 3–6 months active build time + curing | Shovels, buckets, tarp, mixing area, plaster tools | $1,200–$4,500 (excluding land & roof) |
Tools & Materials
| Category | Item | Notes |
|---|---|---|
| Clay-rich soil | 12–15 cubic yards | Test first: 25–30% clay, 65–70% sand, <5% silt |
| Aggregate | Coarse sand (screened) | Must be sharp, angular — avoid beach or rounded sand |
| Fiber | Straw (wheat or oat) | Unbale and chop to 6–12” lengths; store under cover |
| Tools | Large mixing tarp (20' x 20'), kneading boards, plaster hawk, float | Wooden floats preferred over metal for final finish |
| Foundation | Stone or rubble trench foundation | Minimum 12” below frost line; must be well-drained |
Step-by-Step Instructions
1. Site Prep & Foundation
Clear vegetation and level the site. Dig a rubble trench foundation 24” wide and 12–36” deep (per local frost depth). Fill with compacted gravel and drain rock; cap with a 6” stone course laid in clay slip. Let cure 7–10 days before walling begins. Warning: Never build cob directly on concrete or impermeable membranes — moisture must wick upward and escape.
2. Soil Testing & Mix Design
Run a jar test: fill a quart mason jar ⅓ full with subsoil, add water, shake 2 minutes, then let settle 24 hours. Measure layers — ideal ratio is 1 part clay to 2–3 parts sand by volume, plus 1–2 handfuls of chopped straw per shovelful. Adjust with sifted sand or clay slip until the mix holds a 4” coil without cracking when bent into a ring.
3. Mixing & Wall Building
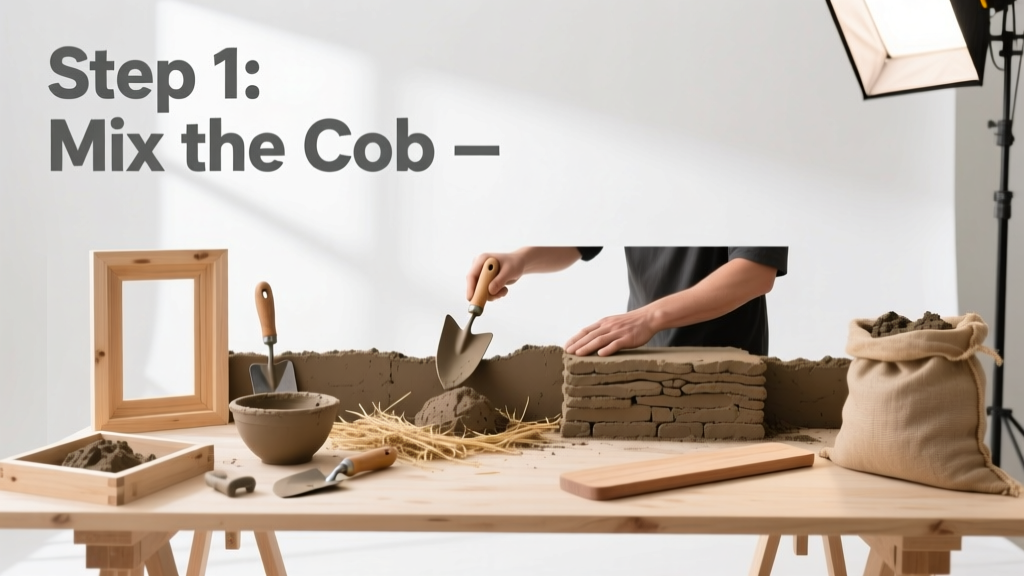
Spread your tarp on firm, flat ground. Layer sand, clay soil, and straw. Add water gradually while stomping or “cob dancing” barefoot (or use a tractor tire if scaling up). Mix until uniform and plastic — it should stick to your hand but not drip. Apply in 12–18” tall lifts (courses), pressing each layer firmly into the one below. Allow 3–7 days between lifts to dry and shrink slightly — this prevents cracking and slumping. Use a straight board as a guide for plumb and thickness.
4. Door & Window Framing
Set rough openings with reclaimed timber or cedar posts before lifting walls past opening height. Embed lintels (minimum 4” x 6” hardwood) 12” beyond each side of the opening. Wrap wood in burlap soaked in clay slip to allow vapor movement and prevent rot. Leave ½” gap around frames for later cob expansion and plaster keying.
Pro Tips
Cob isn’t just mud — it’s a living material that breathes, flexes, and responds to climate. According to the Natural Building Network’s 2022 Field Survey, 89% of cob homes built with proper foundations and roof overhangs show zero structural failure after 25+ years.
"The biggest mistake I see? Skipping the soil test and assuming 'dirt is dirt.' One builder used riverbank silt — walls cracked within weeks. Test every load. Every time." — Sarah S., cob educator and author of Earth Building Basics (2021)
- Work only in dry weather — cob loses integrity if rained on before curing
- Use lime plaster for exterior finish in high-rain zones (e.g., Pacific Northwest)
- Always slope window sills outward and add 24” roof overhangs minimum
How thick should cob walls be?
For a single-story dwelling in USDA Zone 5 or warmer, 18–24” is standard. Thicker walls (up to 36”) provide more thermal mass in colder climates but require longer drying times. Walls thinner than 16” risk cracking and lack sufficient insulation value (R-value ≈ 0.3–0.5 per inch).
Can cob houses withstand earthquakes?
Yes — when built with monolithic, tapered walls and integrated buttresses. Cob’s flexibility and mass dampen seismic energy better than rigid masonry. The 2010 Christchurch earthquake showed cob structures surviving where brick chimneys collapsed — provided foundations were anchored and roofs lightweight (natural-building-seismic-safety).
Do cob houses need a permit?
Permitting varies widely. In Oregon and New Mexico, cob is explicitly recognized in residential codes. Elsewhere, you’ll likely need engineering sign-off and third-party inspection. Start with your county planning department — many now offer ‘alternative materials’ pathways. Always submit full drawings and soil test reports.
How long does cob take to dry?
A 24” wall dries ~1 inch per week in warm, dry air with good airflow — so expect 4–6 months for full through-drying before interior plaster. You can speed it with passive solar heating and cross-ventilation, but never force-dry with heaters or fans. Trapped moisture causes spalling and mold.
What’s the lifespan of a cob house?
With a sound foundation, generous roof overhangs, and breathable plasters, cob walls last 100+ years. The oldest known cob structure in England dates to 1450. Modern longevity depends less on material and more on maintenance: reseal earthen plasters every 5–7 years in wet climates, and keep gutters clear (earthen-plaster-maintenance).
Can I add plumbing or electricity?
Absolutely — but embed conduit and pipes *before* wall lifts reach them. Use flexible PEX and armored NM-B cable. Drill chases only after full wall drying (never cut wet cob). For bathrooms, apply a clay-straw slip coat over pipe penetrations, then lime plaster for moisture resistance.
Building cob rewards slowness, observation, and collaboration. Your hands become the primary tool — feeling texture, testing cohesion, reading cracks like weather maps. It’s not faster than conventional builds, but it connects you to place, material, and craft in ways few other methods do. If you’ve mixed your first batch and felt that satisfying ‘thunk’ when a cob lump hits the wall — you’re already building.