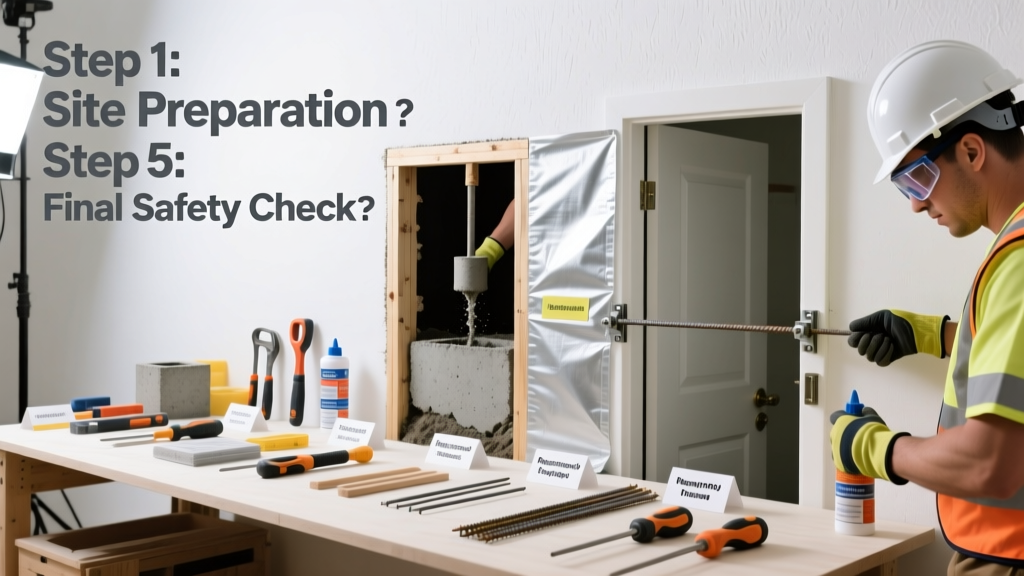
Building a residential storm bunker is a mid-to-advanced DIY skill that takes 3–6 weeks from planning to occupancy, depending on soil conditions and permit timelines. It’s not a weekend project—but it’s achievable with careful preparation, licensed engineering input, and strict adherence to FEMA P-361 standards.
Overview
| Skill Level | Time Required | Tools Needed | Estimated Cost |
|---|---|---|---|
| Intermediate to Advanced (requires structural oversight) | 3–6 weeks (plus 2–4 weeks for permitting) | Excavator, concrete mixer, rebar bender, laser level, torque wrench | $8,500–$22,000 (8'×10' underground unit) |
Tools & Materials
| Category | Items | Notes |
|---|---|---|
| Excavation | Backhoe rental, laser-guided grade rod, silt fence, gravel base (¾” crushed stone) | Gravel must be compacted to ≤2% deflection per ASTM D1557 |
| Structure | Rebar #5 (⅝” diameter), 4,000 psi concrete mix, ¾” plywood forms, anchor bolts (½” × 12”), 16-gauge galvanized steel door frame | FEMA requires minimum 3” concrete cover over rebar |
| Systems | 12V DC ventilation fan (≥15 CFM), CO₂ sensor, emergency lighting kit, 2” PVC intake/exhaust pipes with hurricane-rated grilles | Ventilation must meet ASHRAE 62.2: 0.35 air changes per hour minimum |
Step-by-Step Instructions
1. Secure permits and hire a structural engineer
Submit stamped plans to your local building department before digging. In 32 states—including Texas, Oklahoma, and Alabama—you’ll need an engineer’s seal for any below-grade shelter exceeding 64 sq ft. Skip this step, and your insurance may deny claims after damage. According to the Insurance Institute for Business & Home Safety's 2023 report, 68% of unpermitted shelters failed post-storm inspections.
2. Excavate and prepare the footer trench
Dig to frost depth plus 12” (e.g., 48” deep in Kansas). Slope walls at 1:1.5 (horizontal:vertical) to prevent collapse. Lay 6” of compacted gravel, then install continuous 16”-wide × 12”-deep concrete footer with #4 rebar grid (12” on-center both ways). Cure for 7 days before wall formwork.
- Tip: Use string lines and batter boards to maintain precise 90° corners
- Warning: Never enter an open trench deeper than 5’ without shoring—OSHA fines start at $14,502 per violation
3. Build and pour reinforced walls
Assemble 2×6 plywood forms with 24”-on-center bracing. Place vertical #5 rebar every 12”, lapped 30” and tied with #3 wire. Install horizontal #5 rebar at 12” intervals. Pour concrete in lifts no taller than 4’, vibrating each layer. Cure with wet burlap for 14 days—not plastic sheeting, which traps moisture and weakens bond strength.
4. Install roof, door, and ventilation
Pour a 6”-thick roof slab with double-layer #5 rebar (12” o.c. both directions) and 3” cover. Anchor the door frame with four ½” × 12” anchor bolts embedded 8” into concrete. Run two 2” PVC pipes: one intake (buried 36” deep, ending 12” above grade), one exhaust (with backdraft damper). Connect to a 12V fan wired to a deep-cycle battery and solar charge controller.
- Tip: Test door seal with a dollar bill—if you can pull it out easily, replace the EPDM gasket
- Warning: Never use wood-framed doors—even steel-clad ones fail under EF3+ debris impact
Pro Tips
Most failures happen at interfaces: where wall meets floor, or door meets frame. That’s why FEMA P-361 mandates continuous rebar lap across all joints—and why
"The weakest link isn’t the concrete—it’s the connection between the door assembly and the structure. We see 9 out of 10 field failures there." — Dr. Laura Henson, FEMA Safe Room Technical Advisor, 2022Avoid common mistakes like skipping the vapor barrier (causes rust on rebar within 5 years) or using standard drywall inside (mold grows within 48 hours post-flood). Instead, use cement board or fiberglass-reinforced panels. For power resilience, pair your 12V system with a solar charger and store spare batteries in a sealed ammo can with desiccant.
How deep does a bunker need to be?
Minimum 36” below finished grade for tornado protection—but go deeper (48”–60”) if your water table is high or soil is expansive clay. Per FEMA P-361, burial depth alone doesn’t guarantee safety; lateral soil pressure and uplift resistance matter more. Always consult a geotechnical report—especially if you’re within 100 yards of a retaining wall or creek bed.
Can I build a bunker in my garage?
Yes—if the garage slab is monolithic (poured with footers) and rated for 100+ PSF live load. You’ll need to cut a 10’×12’ opening in the slab, install new footers beneath adjacent slabs, and reinforce the perimeter with micropiles. A structural engineer must sign off before cutting. See our guide on reinforcing concrete slabs for load-transfer details.
What size bunker do I need?
FEMA recommends 3 sq ft per person for short-term shelter (≤2 hours), but 10 sq ft/person for overnight use. For a family of four planning multi-hour occupancy, aim for 8’×10’ (80 sq ft)—enough for seating, medical supplies, and a 55-gallon water drum. Oversizing beyond 120 sq ft increases ventilation complexity and cost disproportionately.
Do I need a permit for a backyard bunker?
Yes—in all 50 states. Even “emergency-only” shelters require zoning approval, floodplain review (if within 100-year zone), and electrical/mechanical permits for fans and lights. In Florida, you’ll also need a Florida Product Approval number for the door assembly. Unpermitted bunkers void homeowners insurance coverage per State Farm’s 2023 Underwriting Bulletin.
How often should I test the ventilation system?
Monthly: run the fan for 10 minutes and verify airflow with a tissue held at the intake grille. Annually: replace the CO₂ sensor battery, clean PVC pipes with a 2” sewer snake, and inspect the door gasket for compression set (replace if indentation exceeds 25% of original thickness). Keep a log—insurance adjusters request maintenance records during claims.
Can I add plumbing or a toilet?
Not recommended. Waste containment introduces biohazard risk, venting complexity, and code conflicts (most jurisdictions prohibit greywater discharge within 10’ of a shelter). Instead, use portable composting toilets like the Nature’s Head DN-90, which require zero plumbing and fit in a 24”-wide corner.
A properly built bunker isn’t about surviving the storm—it’s about returning to normalcy the next morning with dry socks, breathable air, and peace of mind. Take your time on the footer and door installation. Rebar placement and bolt embedment depth are non-negotiable. When in doubt, call the engineer—not the neighbor with a YouTube channel.