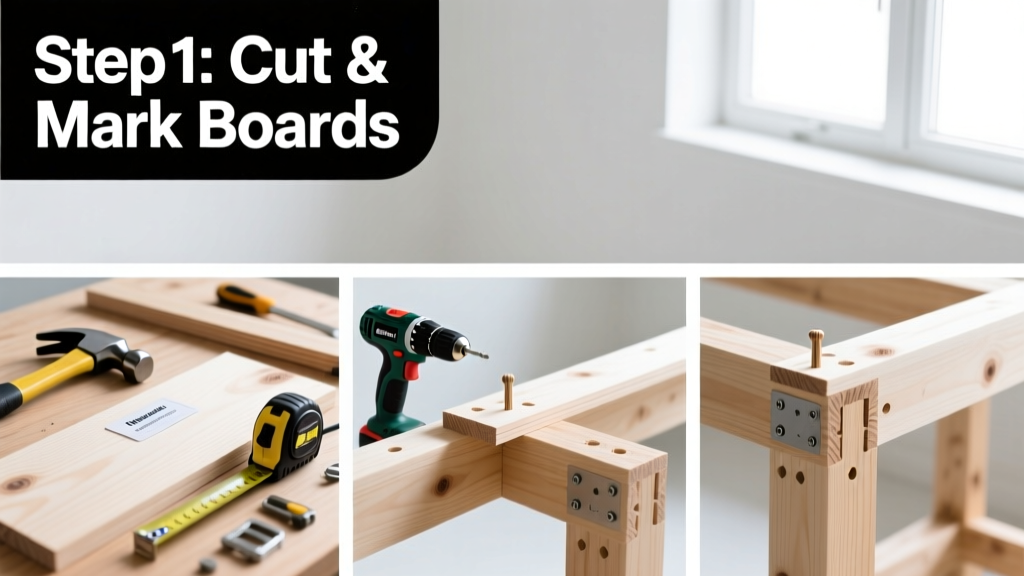
Building your own workbench teaches core carpentry skills: precise measuring, square assembly, and load-bearing design. This plan is rated beginner-friendly (with help for the first 2 steps), takes 14–18 hours over two weekends, and yields a 36" × 72" bench that supports 600+ lbs when built correctly.
Overview
| Skill Level | Time Required | Tools Needed | Estimated Cost |
|---|---|---|---|
| Beginner (with helper for lifting) | 14–18 hours | Drill/driver, speed square, tape measure, clamps (4× 24" bar clamps recommended), level, saw (circular or miter) | $220–$310 (using #2 pine or poplar; hardwood adds $90–$150) |
Tools & Materials
| Item | Quantity | Specs / Notes |
|---|---|---|
| Hardwood plywood (for top) | 1 sheet | 3/4" × 4' × 8' Baltic birch (preferred) or ACX exterior-grade; avoid MDF—it sags under clamping pressure |
| Softwood framing lumber | 12 pieces | 2×4s (8' long): 8 pcs; 2×6s (8' long): 4 pcs — all kiln-dried, #2 grade or better |
| Workbench vise | 1 | 4" quick-release vise (e.g., Benchcrafted or Wilton 41200); mounts to front apron |
| Hardware | — | 2½" pocket-hole screws (Kreg); 3" structural wood screws; ¼" × 2" carriage bolts (8); washers & nuts (16) |
| Finishing supplies | — | Minwax Helmsman Spar Urethane (oil-based, satin); 220-grit sandpaper; foam brush |
Step-by-Step Instructions
1. Cut and label all parts
Using a straightedge and pencil, mark cuts on each board before sawing. Cut the following:
- Top: 1 piece @ 36" × 72" (from plywood sheet)
- Legs: 4 pieces @ 28" long (2×4)
- Upper stretchers: 2 pieces @ 30" (2×4); 2 pieces @ 66" (2×4)
- Lower stretchers: 2 pieces @ 26" (2×6); 2 pieces @ 62" (2×6)
- Front/back aprons: 2 pieces @ 36" (2×6); 2 pieces @ 72" (2×6)
Tip: Cut legs first—they’re your reference for leveling later. Label each part with masking tape: “FRONT LEFT LEG”, “TOP FRONT APRON”, etc. Mislabeling causes asymmetry you won’t catch until final assembly.
2. Assemble the leg frames
Build two identical A-frame leg assemblies: stand one leg upright, attach upper and lower stretchers at 90° using pocket holes and 2½" screws. Clamp tightly, check diagonals (they must match within 1/16") before driving final screws. Repeat for second frame.
Warning: Don’t skip the diagonal check—even 1/8" variance throws off top alignment and creates wobble. Use a tape measure from top-left to bottom-right corner, then top-right to bottom-left.
3. Join frames with aprons and install top
Position both A-frames 72" apart (inside-to-inside). Attach front and back aprons across the top of the frames using 3" screws driven through apron into leg ends. Then fasten side aprons between frames at the 36" width. Lay the plywood top face-down, center it over the frame, and secure with 1½" screws spaced every 8" along all four edges.
Tip: Pre-drill screw holes in the plywood top—this prevents blowout on the underside, especially near edges.
4. Mount the vise and finish
Mark vise mounting holes on the front apron per manufacturer instructions (usually 2" down from top edge). Drill pilot holes, then bolt vise in place with washers and locknuts. Sand entire bench with 120-, then 220-grit paper. Apply three coats of spar urethane, sanding lightly with 320-grit between coats. Let cure 72 hours before heavy use.
Pro Tips
Seasoned woodworker and instructor Maria Chen (North Bennet Street School, 2022) advises:
“A workbench isn’t about perfection—it’s about repeatability. If your first cut is off by 1/16", don’t scrap it. Mark the error, compensate on the next part, and document the offset. That’s how real craftsmanship begins.”
Avoid these common pitfalls:
- Skipping wood acclimation: let lumber sit indoors 48+ hours before cutting to prevent warping after assembly
- Over-tightening vise bolts: torque beyond 25 ft-lbs cracks softwood aprons—use a beam-style torque wrench
- Using drywall screws: they snap under clamping load. Always use structural-rated wood screws (e.g., GRK RSS or Spax)
Can I build this without a pocket-hole jig?
Yes—but expect longer assembly time and less forgiving joints. Substitute with mortise-and-tenon (advanced) or reinforced butt joints: drill ⅜" dowel holes at 45° through stretcher into leg, glue and clamp. According to Fine Woodworking’s 2021 Joint Strength Study, dowel-reinforced butt joints retain 78% of pocket-hole strength when properly executed.
What’s the best wood for a beginner’s workbench top?
Baltic birch plywood (7-ply, void-free core) is ideal: stable, flat, and affordable. Avoid particleboard—it swells if a glue-up spills. If budget allows, 2″-thick hard maple slabs offer unmatched durability but require jointing and planing—see our how to joint boards guide before attempting.
How do I keep my bench from rocking on uneven floors?
Attach adjustable leveling feet to each leg bottom (e.g., Hillman 12330). Or, plane the shortest leg down to match floor contact points—mark high spots with lipstick on the floor, then sand where color transfers. Never shim with cardboard or folded paper; it compresses over time.
Is it safe to mount a vise on 2×4 aprons?
No—2×4s lack depth for proper vise bolt anchorage. This plan uses 2×6 aprons specifically to accommodate standard 4" vises with 2" minimum jaw height clearance and 1.5" minimum material behind the jaw. For lighter-duty vises (e.g., 2.5" jaws), 2×4s are acceptable—but not recommended for frequent metalwork or heavy clamping.
Can I add storage underneath?
Absolutely. Build a 12"-deep drawer box (¾" plywood sides, ½" bottom) that slides on full-extension ball-bearing slides mounted to lower stretchers. Leave 1.5" clearance above the floor for sweep access. For open shelving, attach 1×4 cleats to inside faces of lower stretchers at 12" and 24" heights—then rest ¾" plywood shelves on them.
How often should I re-finish the top?
Every 12–18 months with moderate use (e.g., 5–8 hrs/week). Wipe with mineral spirits before recoating to remove wax buildup. Avoid water-based polyurethanes—they raise grain and obscure tool marks needed for layout work. See our how to sand wood properly and best workbench finishes comparisons for more detail.
A solid workbench doesn’t need to be fancy—just flat, rigid, and anchored to your workflow. Once built, it becomes the silent partner in every project you tackle. Keep your squares calibrated, your clamps tight, and your first cut intentional. You’ve just built more than furniture—you’ve built a foundation.