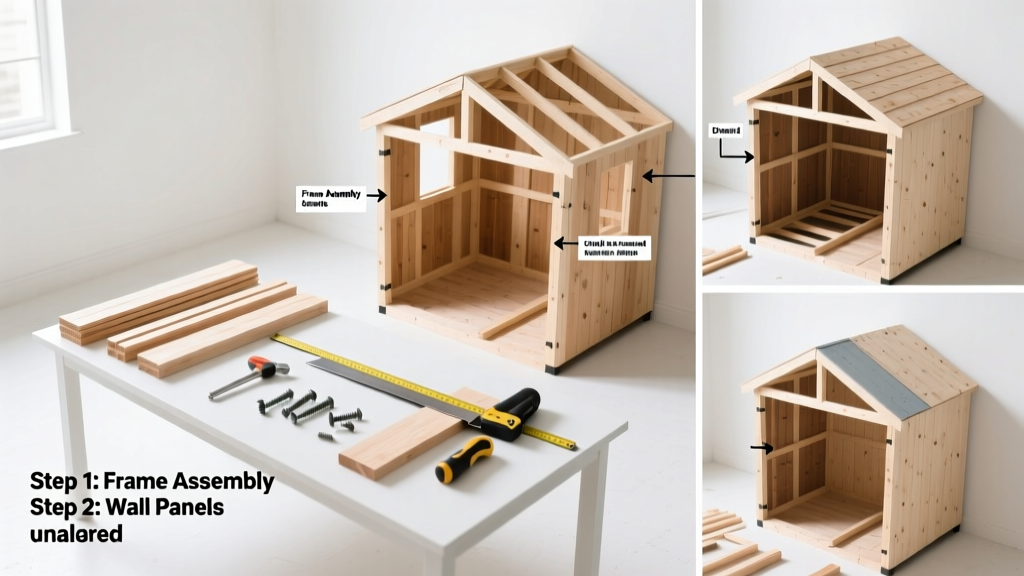
Building a shed is a rewarding DIY project that adds storage, workspace, or even a backyard studio. It’s moderately challenging—requiring basic framing, leveling, and roofing skills—but entirely doable in 5–8 days with two people and no prior shed-building experience.
Overview
| Skill Level | Time Required | Tools Needed | Estimated Cost (8'×10') |
|---|---|---|---|
| Intermediate (basic framing & power tool experience) | 5–8 days (not including concrete curing) | Level, tape measure, circular saw, drill/driver, post-hole digger, string line, speed square | $1,800–$3,200 (materials only) |
Tools & Materials
You’ll need both hand tools and structural components. Don’t skimp on pressure-treated lumber for the base or galvanized fasteners—they prevent rot and rust in outdoor conditions.
| Category | Items | Notes |
|---|---|---|
| Footing & Foundation | 6×6 pressure-treated skids OR 4×4 treated joists + 4″ gravel; 12 concrete piers (if using pier-and-beam) | Piers must extend below frost line—check local code (e.g., 42″ deep in Minnesota per MN DLI 2022) |
| Framing | 2×4s (walls), 2×6s (floor joists & roof rafters), 1/2″ CDX plywood (sheathing), 3″ exterior screws, 16d galvanized nails | Use kiln-dried lumber with ≤19% moisture content to minimize warping |
| Roofing & Siding | Corrugated metal panels OR architectural shingles, 1×4 furring strips, T1-11 or LP SmartSide siding, primer & exterior paint | Metal roofs last 40+ years; asphalt shingles average 15–20 years (NRCA 2021) |
| Door & Hardware | Pre-hung 36″ shed door OR DIY bifold kit, heavy-duty hinges, latch, weatherstripping | Install door before wall sheathing to avoid trimming later |
Step-by-Step Instructions
1. Choose location and prepare the site
Clear grass and topsoil down to mineral soil. Use a string line and batter boards to mark corners. Slope the site 1/4″ per foot away from the shed to shed water. Compact soil with a hand tamper—don’t skip this step. Loose fill causes uneven settling, especially under floor joists.
- Tip: Lay landscape fabric under gravel to suppress weeds and prevent mud migration.
- Warning: Call 811 before digging—underground utilities are often buried just 12″ deep.
2. Build and level the foundation
For a simple skid foundation: cut two 2×6 pressure-treated skids to match your shed width (e.g., 10′ long), then lay them parallel, spaced to match floor joist centers (16″ on-center). Shim with crushed stone until perfectly level in both directions. Anchor with 18″ rebar driven every 4′.
For pier-and-beam: dig holes to frost depth, set sonotubes, pour concrete, and embed galvanized anchor bolts. Let cure 7 days minimum before framing.
3. Frame walls and install sheathing
Build walls flat on the ground: lay out bottom and top plates, mark stud locations (16″ o.c.), nail studs with two 3″ screws each. Add sole plate blocking between studs where door frame will attach. Raise walls one at a time—use temporary braces and check plumb with a 4′ level before nailing to floor or adjacent walls.
- Tip: Pre-cut all studs to 81 1/4″ for an 8′ ceiling with 1/2″ subfloor and 1/2″ sheathing.
- Warning: Never omit corner blocking—it’s critical for attaching siding and resisting racking forces.
4. Install roof system and finish exterior
Set rafters at 24″ o.c. using birdsmouth cuts seated on top plates. Secure with hurricane ties at both ends. Sheathe with 1/2″ OSB, then apply synthetic underlayment before roofing. For metal roofing, start at the eave, overlapping panels 12″, and use color-matched screws with EPDM washers.
Apply siding starting at the bottom—leave 1/8″ gaps between panels for expansion. Prime and paint within 30 days of installation to seal end grain (LP Building Solutions recommends this for SmartSide).
Pro Tips
Avoid the most common rookie errors: skipping flashing over door headers, using interior-grade drywall screws for exterior work, and forgetting ventilation. Even small sheds need airflow—install 2×2 screened soffit vents at both gable ends or add a ridge vent if using shingles.
"Over 68% of premature shed failures trace back to inadequate drainage or untreated wood contact with soil," says Greg Lippincott, certified building inspector with the International Code Council (ICC, 2023).
Always use corrosion-resistant fasteners outdoors—and double-check local zoning rules. Many towns require permits for structures over 120 sq ft or taller than 8′.
Can I build a shed without a permit?
In most U.S. municipalities, sheds under 120 sq ft and under 8′ tall don’t require permits—but setbacks (distance from property lines) still apply. Always verify with your local building department. Some HOAs restrict size, color, or roof style regardless of municipal rules.
What’s the best foundation for clay soil?
A pier-and-beam foundation works best. Clay expands when wet and shrinks when dry, causing slab cracking. Piers transfer load deeper into stable strata. Use sonotubes filled with 3,000 psi concrete and embed 1/2″ rebar cages for lateral stability.
How do I keep rodents out?
Seal all gaps larger than 1/4″. Install 1/4″ galvanized hardware cloth under floor joists and behind base trim. Use steel wool and caulk around utility penetrations. Keep grass mowed and store feed or compost at least 30 feet away.
Can I insulate and heat a shed?
Yes—but only after meeting local energy code requirements. R-13 fiberglass batts in walls and R-30 in the ceiling are typical. Add vapor barrier on the warm side and hardwire a 15-amp GFCI circuit. See our guide on how to wire a shed for safe electrical setup.
What’s the fastest way to build a small shed?
A 6′×8′ prefab kit with pre-cut, labeled parts cuts build time to ~2 days. But you’ll trade customization and long-term durability—many kits use 1×3 framing and thin siding. For lasting value, stick with full-size dimensional lumber and field-assembled framing, as covered here.
How do I maintain my shed long-term?
Inspect annually: check for loose screws, cracked caulk, clogged gutters (if installed), and soft spots in flooring. Re-coat trim and doors every 3–4 years. Sweep debris off metal roofs twice yearly to prevent moisture trapping. For more seasonal care tips, see shed maintenance schedule.
A well-built shed pays for itself in protected gear, organized tools, and added property appeal. Take your time on layout and leveling—the rest flows smoothly once the foundation is true. And remember: measure twice, cut once, but check level three times.