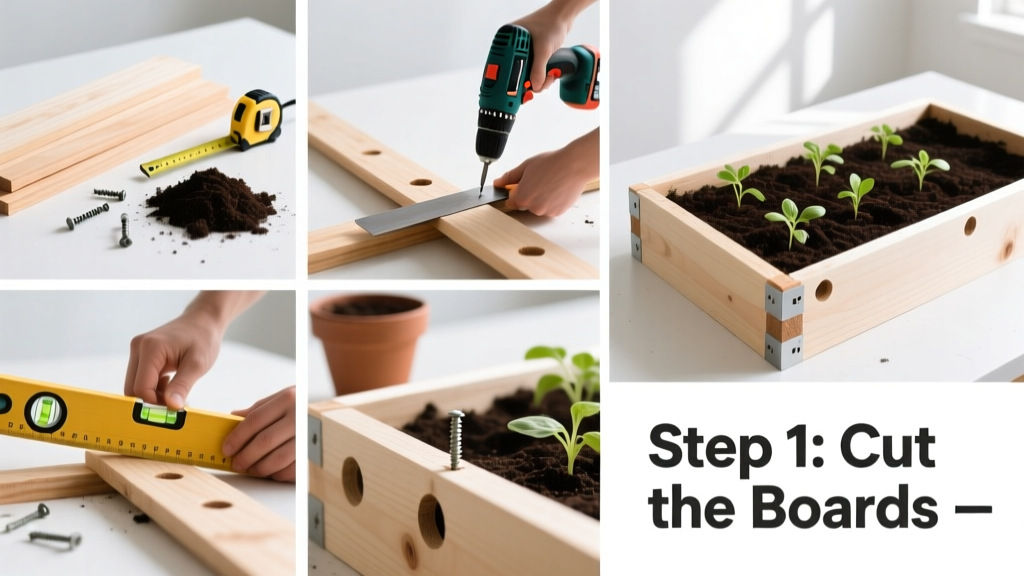
Building a raised garden bed is a foundational skill for home gardeners—especially if you’re working with poor soil, uneven ground, or limited mobility. It’s a beginner-friendly project that takes under one full day (6–8 hours), requires no power tools for basic builds, and delivers immediate planting benefits. Most first-timers finish their first 4' × 8' bed in under 5 hours once materials are on-site.
Overview
| Skill Level | Time Required | Tools Needed | Estimated Cost |
|---|---|---|---|
| Beginner | 6–8 hours (including soil fill) | Measuring tape, level, drill/driver, rubber mallet, safety glasses | $120–$280 (untreated cedar, 4' × 8' × 12") |
Tools & Materials
| Category | Item | Quantity | Notes |
|---|---|---|---|
| Lumber | 1×12 untreated cedar boards (or redwood) | Four: two 8-ft, two 4-ft pieces | Avoid pressure-treated lumber with arsenic or copper naphthenate for edible gardens (U.S. EPA, 2022) |
| Hardware | 3½" exterior-grade deck screws | 32 screws | Stainless steel or ceramic-coated recommended for longevity |
| Hardware | 4 corner posts: 4×4 × 18" pressure-treated pine | 4 | Only the bottom 6" will contact soil; safe for edibles per USDA Forest Service guidelines (2021) |
| Soil Mix | Topsoil + compost + coarse vermiculite or perlite | ~1 cubic yard (27 ft³) | Use 60/30/10 ratio — 60% topsoil, 30% compost, 10% aeration material |
| Optional | Landscape fabric (woven polypropylene) | 1 roll (3' × 25') | Line bottom only if installing over grass or weeds — never use plastic |
Step-by-Step Instructions
1. Choose and prepare your site
Find a flat, sunny spot (6+ hours of direct sun daily). Clear grass and weeds using a sharp spade — cut 2" deep and remove sod in strips. Level the area with a 4-ft level and rake. Do not till deeply: disturbing subsoil invites compaction and perennial weeds. If your yard slopes more than 1", build on a leveled gravel base or use adjustable post anchors.
2. Assemble the frame
Lay out boards on clean ground. Attach vertical 4×4 posts at each corner using two 3½" screws per side (pre-drill holes to prevent splitting). Then fasten the horizontal boards to the posts — start with the bottom course, ensuring corners are square (measure diagonals: both must match within ¼"). Use a rubber mallet to tap boards flush. Tip: Clamp boards together before screwing for tighter seams.
3. Level and anchor the bed
Move the assembled frame into position. Place a 4-ft level across the top in two directions. Shim under low corners with crushed gravel or cedar shims — never wood scraps (they rot). Once level, drive 12" rebar stakes through pre-drilled holes in the bottom of each 4×4, 8" into the ground. This prevents shifting during heavy rain or freeze-thaw cycles.
4. Line and fill with soil
If installing over lawn or invasive roots, lay woven landscape fabric across the bottom — overlap seams by 3" and staple edges to interior frame. Never use black plastic: it blocks drainage and creates anaerobic conditions. Fill in stages: add 4" of soil mix, tamp lightly with the back of a rake, then repeat until 2" below the top edge. Water thoroughly after filling — expect 15–20% settling. Wait 3–5 days before planting to let microbes reestablish.
Pro Tips
Seasoned builders stress one thing above all: height matters more than width. A 12" depth supports tomatoes, peppers, and carrots; go to 18" for deep-rooted perennials like asparagus. Shallow beds dry out fast and restrict root growth — 6" is only suitable for lettuce and radishes.
"Raised beds under 10" deep show 37% lower yields for fruiting vegetables compared to 12"+ beds — based on 3-year trials at the University of Vermont Extension (2023)."
Avoid these three rookie errors: (1) Using railroad ties (creosote leaches into soil), (2) Skipping corner bracing on beds over 4' long (they bow outward within one season), and (3) Filling with 100% compost (it shrinks, compacts, and burns seedlings).
- For wheelchair access: build to 28–34" height and add a 12" wide front shelf for tool storage
- In cold climates, orient the long side east-west to maximize sun exposure
- Add drip irrigation tubing beneath mulch before planting — saves 40% water vs. overhead watering (USDA NRCS, 2022)
Can I build a raised bed directly on concrete?
Yes — but you’ll need extra drainage. Drill eight ½" holes spaced evenly in the bottom board, then line the base with 1" of gravel before adding soil. Elevate the frame slightly with ½" rubber feet to prevent moisture trapping.
What’s the best wood for longevity and safety?
Untreated western red cedar or white cedar lasts 10–15 years naturally due to rot-resistant oils. Black locust is even more durable but harder to source. Avoid southern yellow pine unless sealed — it lasts only 3–5 years untreated. Skip composite lumber unless budget allows: most contain PVC or formaldehyde binders not ideal for food crops.
Do I need to replace soil every year?
No — but do replenish nutrients. Each fall, add 1–2 inches of finished compost and gently mix the top 4". Test pH and nutrients every other year using a kit from your local cooperative extension. Over time, organic matter builds structure; many beds improve for 5+ years without full replacement.
How do I keep rabbits and voles out?
Bury ¼" galvanized hardware cloth 6" down along the inside perimeter, then fold the top 2" over the bottom board edge and staple securely. For rabbits, add a 24" chicken wire fence stapled to the outer frame — bury the bottom 3" and bend it outward in an L-shape to foil digging.
Can I stack multiple levels for taller beds?
You can — but limit to two tiers (24" max) unless you add internal cross-bracing. For beds over 16", install 2×4 horizontal braces every 4 feet along the long sides, screwed into both the frame and corner posts. Without bracing, lateral pressure from saturated soil will bow or collapse the walls.
Is it okay to use old pallet wood?
Only if stamped “HT” (heat-treated), not “MB” (methyl bromide). Even then, inspect for nails, splinters, and chemical residue. Most pallets are rough-sawn and warp quickly — better suited for compost bins than food-growing beds. Save them for pathways or trellis supports instead.
A well-built raised bed pays for itself in just two growing seasons through reduced weeding time, higher yields, and fewer pest issues. Once yours is filled and planted, you’ll notice how much easier it is to monitor moisture, spot pests early, and harvest without bending. For seasonal upkeep tips, see our how to prepare raised beds for winter guide — and pair your new bed with our best cold-hardy vegetables list to extend your harvest into November.