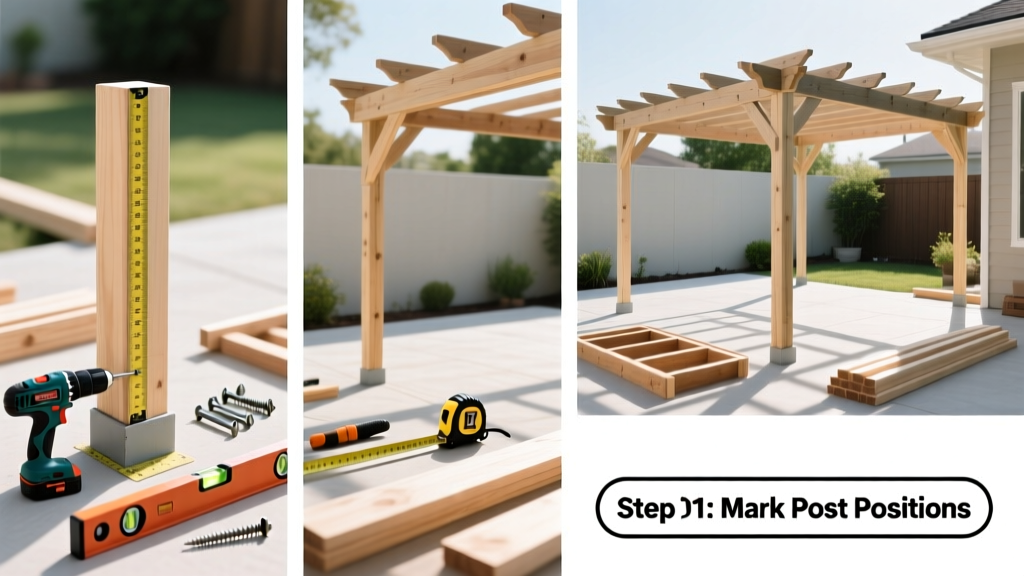
Building a pergola is a rewarding weekend project that adds shade, structure, and curb appeal to your patio or deck. It’s rated intermediate—ideal if you’ve built a simple deck or installed fence posts—but doesn’t require advanced joinery or power-tool mastery. Plan for 2–3 full days of work, plus drying or curing time if using concrete footings.
Overview
| Category | Details |
|---|---|
| Skill Level | Intermediate (comfort with level, drill, post-hole digger, and framing square) |
| Time Required | 16–24 hours of active work across 2–3 days |
| Tools Needed | Post-hole digger, circular saw, drill/driver, 4-ft level, string line, speed square, tape measure, clamps |
| Estimated Cost | $850–$1,400 (cedar or pressure-treated pine; excludes optional lighting or climbing plants) |
Tools & Materials
| Item | Quantity & Specs | Notes |
|---|---|---|
| 4×4 or 6×6 posts | 4 pieces × 10 ft (for 8-ft height + 2 ft below grade) | Use pressure-treated #2 or better for ground contact; cedar for above-grade only |
| 2×8 beams | 2 pieces × 12 ft (spanning width) | Glue-and-screw laminated for stiffness; avoid single 2×12s—they sag over 10 ft |
| 2×6 rafters | 7–9 pieces × 10 ft (spaced 16" on center) | Leave 2" gap between for light/drainage; notch ends for beam fit if desired |
| Concrete mix | 8–10 60-lb bags (for four 12"-diameter × 24"-deep footings) | Follow ICC-ES AC232 standards for frost-depth compliance |
| Galvanized hardware | 16 Simpson BC6 post caps, 8 LCE2Z ledger connectors, 32 3" structural screws | Avoid drywall screws—they snap under load |
Step-by-Step Instructions
1. Layout & Mark Post Locations
Use batter boards and mason’s string to mark a perfect rectangle—measure corner-to-corner diagonals; they must match within 1/8". Drive 2×2 stakes at each corner, then mark exact post centers with spray paint. Double-check square with the 3-4-5 triangle method: from one corner, measure 3 ft along one side and 4 ft along the adjacent side—the diagonal must be exactly 5 ft.
2. Dig Footings & Set Posts
Dig four holes 24" deep and 12" in diameter—below local frost line (check your frost depth map). Tamp bottom, add 2" gravel, set post upright, brace with 2×4s, and pour concrete. Keep posts plumb in two planes using a 4-ft level while concrete sets. Let cure 48 hours before loading. Warning: Never backfill around posts instead of pouring concrete—soil shifts cause wobble and rot.
3. Attach Beams & Ledger
Once posts are solid, cut two 2×8 beams to span between outer posts (e.g., 10 ft). Clamp them flush to inside faces, then secure with two LCE2Z connectors per end and six 3" structural screws each. If attaching to a house wall, use a 2×10 ledger bolted into rim joist studs—not siding or brick veneer. Proper ledger attachment prevents collapse.
4. Install Rafters & Add Bracing
Mark rafter layout every 16" on top of beams. Cut 2×6 rafters to length (e.g., 10 ft), notch 1.5" deep × 3.5" wide at ends to sit flat on beams, then fasten with two 3" screws per connection. Add diagonal bracing—two 2×6s per side, cut to 45°—between posts and beams. This prevents racking in wind gusts over 30 mph.
Pro Tips
Seasoned builders stress precision in the first 30 minutes—it saves hours later. A misaligned post throws off rafter spacing, beam level, and roofline symmetry. Also, skip pre-drilling pilot holes for structural screws in pressure-treated lumber: modern coated screws drive cleanly and grip tighter without them.
"Over 62% of pergola failures we inspect stem from undersized footings or unbraced posts—not wood rot or screw failure." — International Code Council Residential Compliance Guide, 2022 Edition
Common mistakes include skipping post caps (traps moisture at the top of the post), using untreated lumber below grade, and spacing rafters too far apart (>24" OC), which causes visible sag in cedar after one season.
Can I build a pergola on a concrete patio?
Yes—but you’ll need core drilling and epoxy anchoring. Drill ½" holes 4" deep into slab, clean thoroughly with wire brush and air compressor, then set ½" × 6" galvanized anchor bolts with Simpson SET-3G epoxy. Allow 24 hours cure before attaching post bases. Avoid surface-mount brackets—they peel under lateral load.
Do I need a permit to build a pergola?
In most U.S. municipalities, freestanding pergolas under 200 sq ft and ≤12 ft tall don’t require permits—but check your local zoning office. Attached pergolas almost always do, especially if tied into roof framing or load-bearing walls.
What wood species lasts longest outdoors?
Cedar and redwood resist decay naturally but dent easily. Pressure-treated southern yellow pine (UC4B rating) lasts 25+ years when properly detailed—especially with end-cut preservative applied to all sawn surfaces. Avoid untreated spruce or fir: they show checking and fungal staining within 18 months.
How do I prevent vine damage to the structure?
Train vines like wisteria or trumpet vine on removable trellis panels—not directly on rafters. Use stainless steel eye bolts and nylon-coated cable for support. Never let roots or stems wrap tightly around posts: they constrict wood fibers and trap moisture. Trim annually in late winter before new growth emerges.
Can I add a retractable canopy later?
Absolutely—if you plan ahead. Install 2×10 beams (not 2×8) and reinforce post connections with Simpson CBC6Z braces. Leave 3" clearance above rafters for track mounting. Most motorized canopies require a dedicated 15-amp GFCI circuit run to the pergola location—add conduit during initial build.
A well-built pergola becomes the heart of your outdoor living space—not just shade, but a frame for memories, morning coffee, and evening light. Take your time on layout and anchoring, choose durable materials, and enjoy the quiet pride of building something that’ll stand strong for decades. For finishing tips, see our guide on sealing cedar pergolas and pergola lighting layouts.