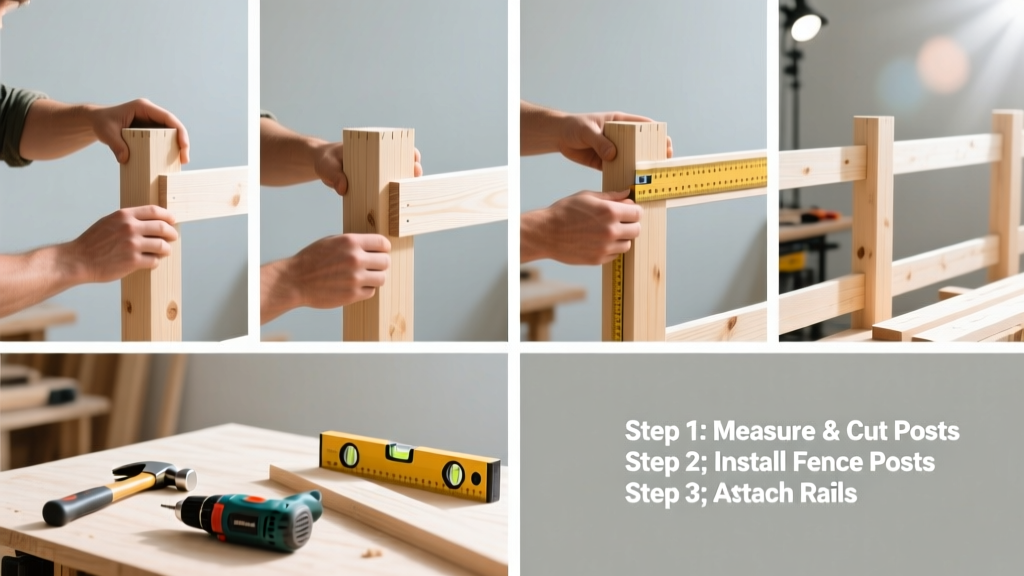
Building a fence is a foundational home improvement skill—moderately challenging but entirely achievable for a committed DIYer with basic carpentry experience. Expect to spend 3–5 full days on a standard 100-foot, 6-foot-tall privacy fence, depending on soil conditions and help available.
Overview
| Skill Level | Time Required | Tools Needed | Estimated Cost (100 ft) |
|---|---|---|---|
| Intermediate (requires digging, leveling, and framing) | 3–5 days (not including concrete cure time) | Post-hole digger, level, string line, drill, circular saw, tape measure | $1,200–$2,800 (cedar or pressure-treated pine) |
Tools & Materials
| Item | Quantity | Notes |
|---|---|---|
| 4×4 pressure-treated posts | 14 pcs | 10-ft long; 8-ft above ground, 2-ft below + 6-in concrete base |
| 2×4 horizontal rails | 28 pcs | 8-ft long; top and bottom rails per span |
| 1×6 cedar pickets | 320 pcs | 6-ft tall; spaced 3/8" apart for expansion |
| Concrete mix (50-lb bags) | 28 bags | Quikrete Fast-Setting; approx. 20 lbs per post hole |
| Galvanized screws (3") | 1,200+ | Use exterior-grade #9 or #10 screws—not nails |
| Post caps (optional) | 14 pcs | UV-resistant polymer or copper; prevents water intrusion |
Step-by-Step Instructions
1. Confirm property lines and obtain permits
Before breaking ground, call 811 to mark underground utilities—and verify your property survey. According to the American Fence Association’s 2022 compliance guide, 68% of fence disputes arise from encroachment on neighbor property or violation of local height setbacks (often 6 ft max in back yards, 4 ft in front).
2. Layout and mark post locations
Use batter boards and mason’s string to establish straight reference lines. Space posts 8 feet on center (not more than 8'2") to support standard 8-ft rails. Sink wood stakes every 25 feet to maintain alignment across uneven terrain. Double-check squareness using the 3-4-5 triangle method at corners.
3. Dig post holes and set posts
Dig holes 24 inches deep and 10–12 inches wide using a manual post-hole digger (avoid augers in rocky soil—they can twist and bind). Fill the bottom 2 inches with gravel for drainage. Set each post, brace temporarily with 2×4 braces, then use a 4-ft level on two adjacent faces. Pour 20 lbs of fast-setting concrete per hole, tamping as you go. Let cure 4 hours before removing braces.
4. Attach rails and install pickets
Once posts are solid, snap chalk lines for rail height: bottom rail 12" above grade, top rail 6" below top of posts. Secure rails with three 3" screws per post connection. Stagger rail joints over posts—never mid-span. Install pickets starting at one end, using a story pole marked at 3/8" intervals to maintain consistent gaps. Face grain should run upward to shed water.
Pro Tips
Seasoned contractors emphasize moisture management above all else. Rot starts at the base—not the top. That’s why
"Over 70% of premature fence failures trace back to untreated post bases sitting in standing water," says Chuck Lippert, lead inspector at the National Wood Preservation Council (2023 Field Audit).Always slope grade away from posts at 1/4" per foot. Use stainless-steel or hot-dipped galvanized fasteners—regular zinc-coated screws corrode in treated lumber within 2–3 years. And never skip pre-drilling: cedar and redwood split easily without it.
What’s the best wood for a long-lasting fence?
Pressure-treated southern yellow pine is cost-effective and code-approved for ground contact (UC4B rating). For aesthetics and longevity, western red cedar lasts 15–25 years untreated—but costs ~35% more. Avoid untreated spruce or fir: they rarely exceed 5 years in humid climates.
Can I build a fence on a slope?
Yes—with stepped or racked installation. Stepped (or stair-step) is simpler: keep panels level and drop each post height incrementally. Racked (or racked-panel) maintains a continuous top line by angling pickets—but requires precise angle cuts and limits panel width to 6 ft. Both methods need extra post depth on the downhill side.
How deep should fence posts be?
Minimum depth is 1/3 the above-ground height—or 24 inches, whichever is deeper. In frost-prone zones (e.g., Minnesota, upstate NY), extend below the local frost line—often 42–48 inches. The U.S. Department of Agriculture’s 2021 Frost Depth Map shows Anchorage, AK requiring 60-inch depth; Atlanta, GA only 5 inches.
Do I need concrete for fence posts?
Yes—for permanent, high-wind or snow-load areas. Gravel alone works only for temporary or lightweight picket fences under 4 ft. Concrete anchors lateral movement and resists heaving. Skip it only if installing temporary deer fencing or using helical screw anchors (which require torque testing).
How do I keep weeds from growing under the fence?
Install landscape fabric 6 inches below grade along the entire fence line before backfilling. Then add 2–3 inches of crushed gravel—not mulch—as the surface layer. Mulch holds moisture and invites rot; gravel sheds it and deters voles.
Should fence gates swing inward or outward?
Inward—especially for backyard gates. It prevents wind from slamming them against siding or decks, and allows full clearance when opened. Use heavy-duty 6" hinges and a gate sag kit (like the gate sag fix method) to counteract droop over time. Also see our guide on how to level a gate.
A well-built fence adds value, privacy, and curb appeal—but only if installed right the first time. Take your time on layout and post setting; everything else depends on that foundation. If your soil is clay-heavy or you’re tackling over 200 linear feet, consider renting a hydraulic post driver—it cuts setup time by 40%. And always document your property line markers before digging: a photo saves months of neighbor negotiation.