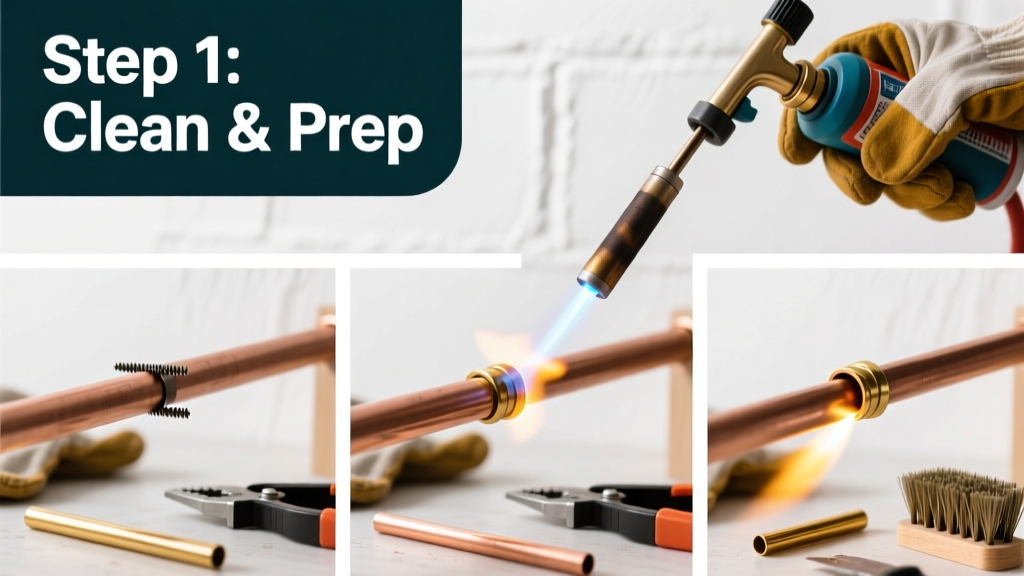
Brazing copper is a reliable, high-strength joining method used by professional plumbers and HVAC technicians to seal pipes carrying water, refrigerant, or gas. It’s more durable than soldering and suitable for systems under higher pressure or temperature—though it requires more heat and precision. Expect a moderate learning curve: 2–3 hours for your first joint, including prep and cleanup.
Overview
| Skill Level | Time Required | Tools Needed | Estimated Cost |
|---|---|---|---|
| Moderate (requires flame control & metal cleanliness) | 1.5–3 hours per joint (first-time) | Torch, flux, filler rod, wire brush, emery cloth | $45–$85 (reusable tools + consumables) |
Tools & Materials
| Item | Specifications | Notes |
|---|---|---|
| Oxy-propane or oxy-acetylene torch | Minimum 15,000 BTU output; adjustable flame | Propane-only torches often lack sufficient heat for consistent brazing on 3/4" pipe |
| Copper phosphorus brazing rod (BCuP-5) | 93% Cu, 7% P; no-flux required for copper-to-copper | Avoid silver-bearing rods unless joining dissimilar metals—adds unnecessary cost |
| Stainless steel wire brush & emery cloth (120–180 grit) | Brush must fit inside pipe diameter; cloth for external cleaning | Never use steel wool—it embeds particles that cause corrosion |
| Heat-resistant gloves & ANSI Z87.1 safety glasses | Leather or Kevlar-lined; UV-filtering lenses | The U.S. Bureau of Labor Statistics recorded 1,240 thermal burn injuries from torch work in 2022—most involved inadequate hand protection |
Step-by-Step Instructions
1. Prepare the joint surfaces
Cut pipe ends square using a tubing cutter—not a hacksaw—to avoid burrs. Deburr both inside and outside edges with a reamer or file. Clean 2 inches beyond the joint on each piece: scrub the interior with a stainless brush, then wipe externally with emery cloth until bright copper shines. Wipe away all dust with a lint-free rag dampened with isopropyl alcohol—oil residue prevents capillary action.
2. Assemble and clamp the joint
Slide fittings onto pipe before heating. Insert pipe into fitting with a snug push-fit—no gaps or wobble. Use copper-specific clamps or locking pliers to hold alignment. Leave a 0.002–0.006 inch gap (use a feeler gauge if uncertain); too tight prevents filler flow, too wide causes weak fillets.
3. Apply heat evenly
Begin heating the fitting—not the rod or pipe end. Move the torch tip in small circles around the fitting’s base, keeping the inner cone 1/8" from the surface. Heat until the copper glows dull red (~1,200°F) at the joint line. According to the American Welding Society’s AWS C3.6M:2021 standard, copper must reach at least 1,100°F before filler application—lower temps cause incomplete flow and porosity.
4. Feed the filler rod and finish
Touch the BCuP-5 rod to the joint where the pipe meets the fitting—not directly into the flame. Capillary action will draw molten filler into the gap. Rotate the rod slowly as you feed to ensure even distribution. Stop feeding when filler appears fully around the joint. Let cool naturally—do not quench. Once solidified, clean residual oxide with a damp rag while still warm.
Pro Tips
Seasoned pipefitters stress one non-negotiable: cleanliness trumps heat. A perfectly heated but dirty joint fails faster than a slightly underheated clean one. Also, never braze near insulation, drywall paper, or wood framing without a heat shield—copper conducts heat rapidly and can ignite adjacent materials at 400°F.
"If the filler won’t flow after 30 seconds of proper heating, stop. Re-clean the joint. Oxide layer is blocking capillary action—not insufficient heat." — Carlos Mendez, Master Plumber & Instructor, United Association Local 254 (2023)
- Always test-braze a scrap joint first—especially when switching torch gases or rod types
- Work in well-ventilated areas: copper phosphide fumes are hazardous per OSHA PEL limits (0.1 mg/m³)
- For refrigeration lines, purge with nitrogen during heating to prevent internal scale formation
Can I braze copper without flux?
Yes—with BCuP-5 rod on pure copper-to-copper joints. The phosphorus acts as a deoxidizer. But flux is mandatory when brazing copper to brass, steel, or nickel alloys—and always required if surfaces aren’t immaculately clean.
What’s the difference between brazing and soldering copper?
Soldering uses filler metals melting below 840°F (e.g., 95/5 tin-antimony); brazing uses fillers above that threshold (BCuP-5 melts at 1,350°F). Brazed joints withstand higher pressure (up to 1,200 PSI vs. 500 PSI for solder) and resist thermal cycling better—critical for boiler loops or solar thermal lines.
Why did my filler bead up instead of flowing in?
Three likely causes: surface contamination (oil, oxide, or moisture), insufficient base metal temperature (<1,100°F), or overheating the rod itself (melting it in the flame instead of letting the hot joint melt it). Re-clean and verify torch distance and dwell time.
Is brazing safe for drinking water lines?
Yes—if using NSF/ANSI 61-certified BCuP-5 rod and flushing the line for 15 minutes post-cool. The EPA confirms copper-phosphorus alloys leach negligible copper into potable water when properly applied and flushed.
Do I need a permit for brazed plumbing repairs?
In most U.S. jurisdictions, yes—for any permanent alteration to potable water, gas, or drainage systems. Contact your local building department before starting. Permits trigger inspection—especially critical for gas line brazing, where failure risks explosion.
How long does a brazed copper joint last?
Properly executed joints outlast the pipe itself—typically 50+ years. A 2021 study by the Copper Development Association tracked 1,200 residential brazed joints installed between 1972–1995; 99.3% remained leak-free with zero maintenance.
Brazing copper isn’t just about heat and metal—it’s about discipline in preparation, patience in heating, and respect for the material’s behavior. Once you nail the rhythm of cleaning, heating, and feeding, you’ll have a skill that handles everything from radiator repairs to radiant floor manifolds. For related techniques, see our guides on how to solder copper pipes and how to repair leaking copper pipe.