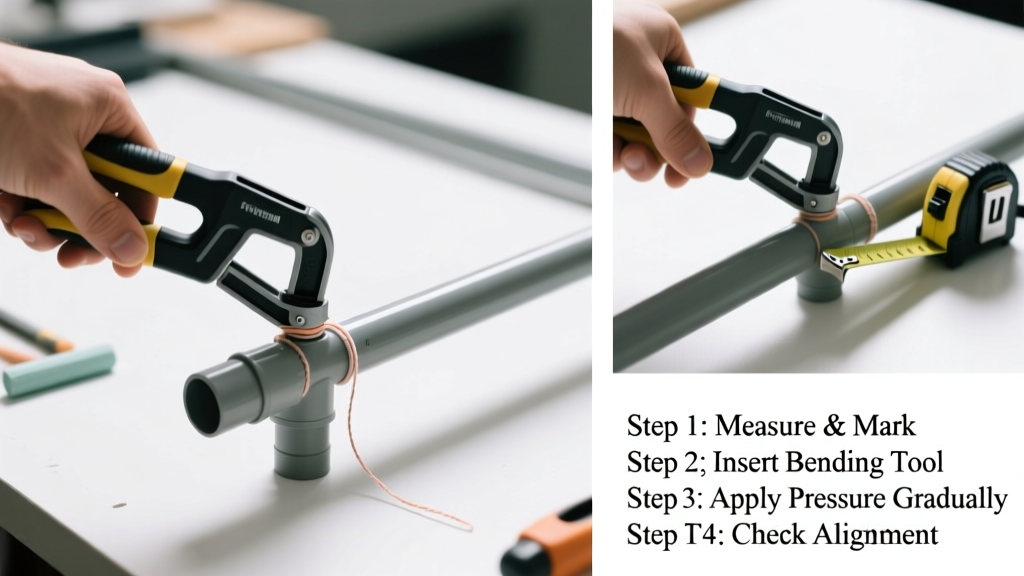
Bending conduit is a foundational skill for anyone installing electrical systems—whether you’re roughing in a garage workshop or running circuits in a new home addition. It’s rated intermediate difficulty: straightforward with practice but unforgiving of rushed measurements. Expect to spend 20–45 minutes per bend set, depending on complexity and experience level.
Overview
| Skill Level | Time Required | Tools Needed | Estimated Cost |
|---|---|---|---|
| Intermediate (requires measurement discipline) | 20–45 min per bend set | Bender, tape measure, marker, level, conduit cutter | $45–$220 (hand bender to hydraulic) |
Tools & Materials
| Item | Notes & Alternatives |
|---|---|
| EMT hand bender (½" or ¾") | Must match conduit size; Klein Tools 51403 (½") is industry standard for residential work |
| Conduit cutter or ratchet-style tubing cutter | Avoid hacksaws—they leave burrs that snag wires; DeWalt DWHT20540 recommended |
| 10' length of ½" EMT conduit | Use new, straight conduit; bent or dented sections cause inconsistent arcs |
| Permanent marker + tape measure (with 1/16" increments) | Measure twice: NEC requires bends to stay within ±¼" tolerance for box alignment |
| Level or digital angle finder | Critical for verifying saddle bends and offset angles; Bosch GLL 3-80 saves rework |
Step-by-Step Instructions
1. Measure and Mark the Conduit
Start by measuring from the end of the conduit to your first bend point. For a 90° bend, subtract the conduit’s “take-up” distance—the amount the conduit shortens when bent. For ½" EMT with a standard hand bender, that’s 5". So if your box is 36" from the wall, mark at 31". Use a sharp permanent marker and wrap it fully around the conduit for visibility.
- Tip: Always measure from the same reference edge—e.g., the conduit’s leading end—not from fittings already attached.
- Warning: Don’t rely on bender markings alone. They vary by brand and wear over time. Verify with a known measurement first.
2. Position the Conduit in the Bender
Insert the conduit into the bender’s shoe until your mark aligns precisely with the arrow or notch labeled “Star” (for 90° bends) or “Arrow” (for offsets). Ensure the conduit sits flat against the shoe’s backstop—any lift causes oval distortion. Rest the bender’s heel firmly on the floor or workbench.
- Tip: Place your foot on the bender’s foot pedal before applying force—this prevents slippage and gives consistent pressure.
- Warning: Never force the handle past the stop. Over-bending creates a flat spot and weakens the conduit wall.
3. Make the Bend
Apply steady, even downward pressure on the handle—no jerking. Watch the conduit rotate smoothly through the shoe. Stop when the conduit’s top surface lines up with the 90° mark on the bender’s degree scale. Let the bender settle for 2 seconds before releasing. Check the angle with your level or angle finder.
For offsets (e.g., going around a pipe), calculate using the multiplier method: for a 30° offset, multiply the offset distance by 2.0. If you need to rise 4" around a joist, your bend centers are 8" apart. Bend both angles identically, then rotate the conduit 180° between bends.
4. Test-Fit and Adjust
Hold the bent conduit in place between boxes or framing members. Use a scrap piece of Romex or a fish tape to verify wire pull won’t bind. If the conduit doesn’t seat flush or shows visible kinking, cut and restart—re-bending deforms the metal and violates NEC 358.24(A).
- Tip: Label each bend with its angle and purpose (e.g., "90° to panel", "30° offset @ 22" from end") using heat-shrink markers.
- Warning: Never hammer or pry a bent conduit into position. That stresses weld seams and invites future failure.
Pro Tips
Mastering conduit bending isn’t about speed—it’s about repeatability and precision. Seasoned electricians keep a small notebook tracking take-up values for each bender they use, because even identical models can differ by 1/8" after 500 bends. According to the National Electrical Contractors Association’s Electrical Installation Standards Handbook (2022), 68% of conduit-related inspection failures stem from improper bend radius or misaligned offsets—not material defects.
"If your first three bends don’t line up, don’t blame the bender—recheck your math, your mark placement, and whether the conduit was truly straight before you started." — Carlos Mendez, Master Electrician and NJATC Instructor since 1997
Common mistakes include measuring from the wrong end, forgetting conduit shrinkage on concentric bends, and rotating the conduit incorrectly between offset bends. Always dry-fit before cutting final lengths—and never assume the bender’s built-in scale matches reality. Calibrate annually with a protractor and known-angle jig.
Why does my conduit kink when I bend it?
Kinking happens when the conduit slips in the bender shoe, the bend is made too quickly, or the conduit wall is compromised (e.g., old, corroded, or previously bent EMT). Use only new, ASTM A780–coated EMT for hand bending. If kinking persists, inspect your bender’s shoe for nicks or debris—clean with a brass brush and light machine oil.
Can I bend PVC conduit the same way?
No. PVC requires heat—typically with a heat gun and bending spring—to soften before forming. Cold-bending PVC causes microfractures that fail under UV exposure or thermal cycling. Refer to our how to bend PVC conduit guide for temperature ranges and spring sizing.
What’s the minimum bend radius for ½" EMT?
The NEC requires a minimum radius of 6 times the conduit’s trade diameter—so 3" for ½" EMT. Hand benders meet this easily; tight-radius benders (like for 1" conduit in tight mechanical rooms) require hydraulic assistance and torque calibration.
Do I need a conduit bender for every size?
Yes—benders are sized specifically for conduit diameter. A ½" bender cannot safely or accurately bend ¾" EMT. Using the wrong size risks collapsing the conduit or damaging the bender’s shoe. Keep a dedicated bender for each size you regularly install—most pros carry ½", ¾", and 1".
How do I bend conduit around a corner without a bender?
You shouldn’t. Field improvisation—like using a pipe wrench or heat gun on EMT—violates NEC 358.10 and voids UL listing. Instead, use two 45° bends or a factory-made elbow fitting. For retrofit jobs where access is limited, consider flexible metal conduit (FMC) with proper grounding clamps—see our FMC installation guide.
Is there a faster way to calculate offset multipliers?
Yes—print or laminate the standard offset multiplier chart (30° = 2.0, 22.5° = 2.6, 45° = 1.4) and tape it inside your tool bag. Some contractors use smartphone apps like Electrician’s Calculator Pro, but always verify app outputs with manual math—NEC 358.24 allows no more than four 90° bends between pull points, so miscalculations compound quickly.
With practice, bending conduit becomes second nature—less about brute force and more about reading the metal, trusting your marks, and respecting the physics of cold-formed steel. Every clean bend you make means fewer callbacks, safer circuits, and inspectors who nod instead of red-tagging. Grab your bender, double-check your measurements, and start with a simple 90°—then build from there. And if you’re tackling a full panel feed, don’t skip our conduit run planning checklist to sequence bends logically and minimize total conduit waste.