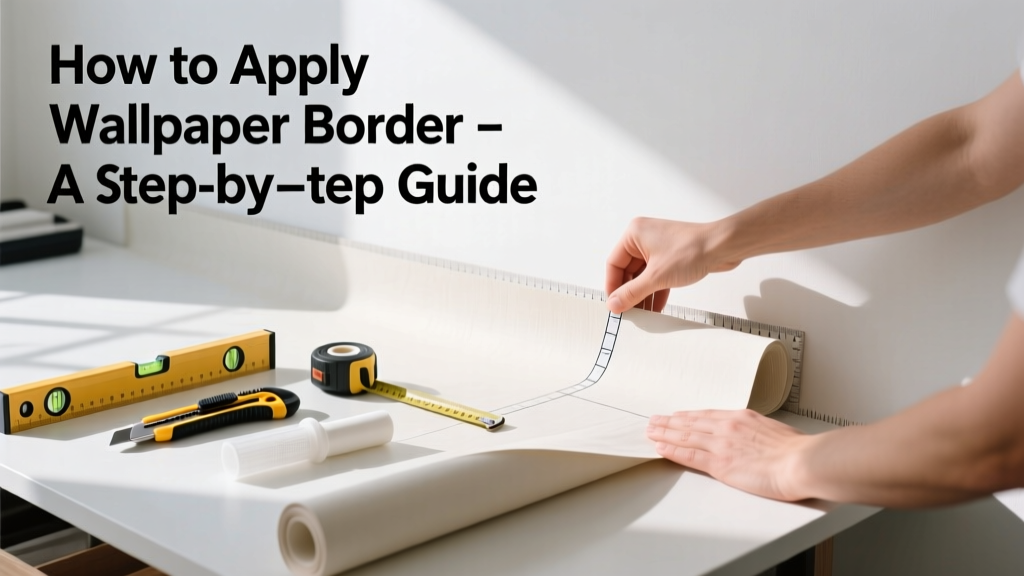
Applying wallpaper border is a low-risk, high-impact upgrade that adds polish to any room—bedroom, bathroom, or kitchen—with minimal tools and under three hours of hands-on time. It’s rated beginner-friendly, but success hinges on surface prep and alignment more than cutting skill.
Overview
| Skill Level | Time Required | Tools Needed | Estimated Cost |
|---|---|---|---|
| Beginner | 2–3 hours (plus 24 hrs drying) | Level, tape measure, smoothing brush, utility knife, seam roller | $18–$45 (border + paste + tools) |
Tools & Materials
| Item | Quantity | Notes |
|---|---|---|
| Pre-pasted or unpasted wallpaper border | 1–2 rolls | Measure perimeter + 10% waste; match pattern repeat (e.g., 12" or 24") |
| Wallpaper paste (if unpasted) | 1 quart | Use wheat-based for paper borders; avoid vinyl-specific pastes unless labeled compatible |
| Smoothing brush (nylon or lambswool) | 1 | Non-scratch bristles prevent tearing delicate borders |
| Seam roller (6mm diameter) | 1 | Rolls edges without stretching; avoid rubber rollers—they leave residue |
| Painter’s tape (blue, 1.5") | 1 roll | For marking level lines—not masking tape, which pulls paint |
| Clean, lint-free cloths | 3–4 | Microfiber preferred; cotton rags may leave fibers |
Step-by-Step Instructions
1. Prep the wall thoroughly
Clean with TSP substitute (e.g., Krud Kutter) and rinse with damp cloth—no residue. Fill nail holes or cracks with spackle, sand smooth, then prime with acrylic primer (Zinsser Bulls Eye 1-2-3, 2022). Let dry 24 hours. Never skip priming: unprimed drywall absorbs paste unevenly, causing bubbles and edge lift.
2. Mark your level line
Use a laser level or 4-ft bubble level to draw a continuous pencil line 1/8" below ceiling (or top of chair rail). This line guides your top edge—critical because even 1/16" deviation compounds around corners. Anchor your first strip here, not at the ceiling.
3. Cut and soak (if pre-pasted)
Cut strips 2" longer than measured wall length. For pre-pasted borders, dip in lukewarm water for exactly 25 seconds (per Graham & Brown’s 2023 installation guide)—no more, no less. Over-soaking weakens adhesive and causes stretching. Lay strips face-up on a clean plastic sheet while soaking.
4. Hang and smooth with precision
Lift one strip by the top corners only—never drag it across the floor. Align top edge precisely to your level line, starting at an inside corner. Use your smoothing brush from center outward in gentle, overlapping strokes. Work out air pockets toward edges—not downward, which stretches the border. Trim excess at corners with a sharp utility knife and straightedge.
- Tip: Keep a damp (not wet) sponge nearby to wipe paste smears immediately—dried paste turns cloudy and resists cleaning.
- Warning: Don’t overlap seams. Butt joints tightly and roll with seam roller. Overlap creates visible ridges and peeling risk.
Pro Tips
Most failed borders stem from rushed prep or misaligned first strip. According to interior designer Maria Chen, who installed over 1,200 borders for HGTV’s Home Rules (2021–2023), “If your first 12 inches are off by 1/32", your last strip will be 3/8" off—and that gap shows under gallery lighting.” She recommends snapping a chalk line as a backup to your pencil mark, especially on long walls.
“The biggest mistake I see? Skipping the ‘dry hang’ test. Hang one full strip without paste first—check alignment, pattern match, and corner wrap. Adjust your line before committing paste.” — Elena Ruiz, Certified Wallcovering Installer, NWFA Accredited Program, 2022
- Always match pattern repeats vertically—don’t just eyeball it. Use a ruler to verify spacing between motifs.
- In bathrooms, use moisture-resistant border (e.g., Brewster’s Vinyl-Coated Collection) and seal edges with clear acrylic caulk (DAP Alex Plus, 2023 formulation).
How do I handle outside corners?
Wrap the border tightly around the corner, then cut a diagonal slit where the paper overlaps itself. Fold the flap back and smooth flat against the adjacent wall. Trim excess with a fresh blade—don’t pull or stretch.
Can I apply border over existing paint?
Yes—if the paint is flat or eggshell, fully cured (30 days), and clean. Glossy or semi-gloss paint must be sanded with 120-grit paper and wiped with denatured alcohol. Test adhesion on a hidden spot first: press tape, yank quickly—if paint lifts, recoat with primer.
What if my wall has texture?
Light orange-peel texture is fine. Heavy knockdown or popcorn texture requires skim-coating or using a thicker, fabric-backed border (like York’s Textured Accent Line). Never force thin paper into deep valleys—it will telegraph or tear.
How do I fix a bubble after it dries?
Don’t peel it up. Instead, pierce the bubble with an X-Acto blade at its center, inject diluted wallpaper paste (1:3 paste-to-water) with a syringe, then smooth gently with a soft cloth. Place a weighted book on top for 30 minutes.
Can I remove border later without damaging paint?
Yes—if the wall was properly primed. Score the border with a crosshatch pattern using a dull blade, spray with warm water + 1 tbsp white vinegar per cup, wait 5 minutes, then scrape with a 3-inch flexible scraper (how to remove wallpaper). Avoid steamers—they blister drywall paper.
Do I need to match the border to my wall color or furniture?
Not necessarily—but consider contrast. A dark border on light walls reads as crisp definition; a tonal match (e.g., ivory border on cream walls) recedes, emphasizing shape over pattern. For small rooms, choose borders under 4" wide to avoid visual compression—best wallpaper for small rooms explains why scale matters.
A well-applied border lasts 7–10 years with normal wear, according to the Wallcoverings Association’s 2022 durability study. It’s not permanent decor—but it’s far more forgiving than full-wall paper, and infinitely more expressive than paint alone. Start with one hallway or bedroom, master the level line and seam roll, then expand your confidence (and your collection of patterned trims).