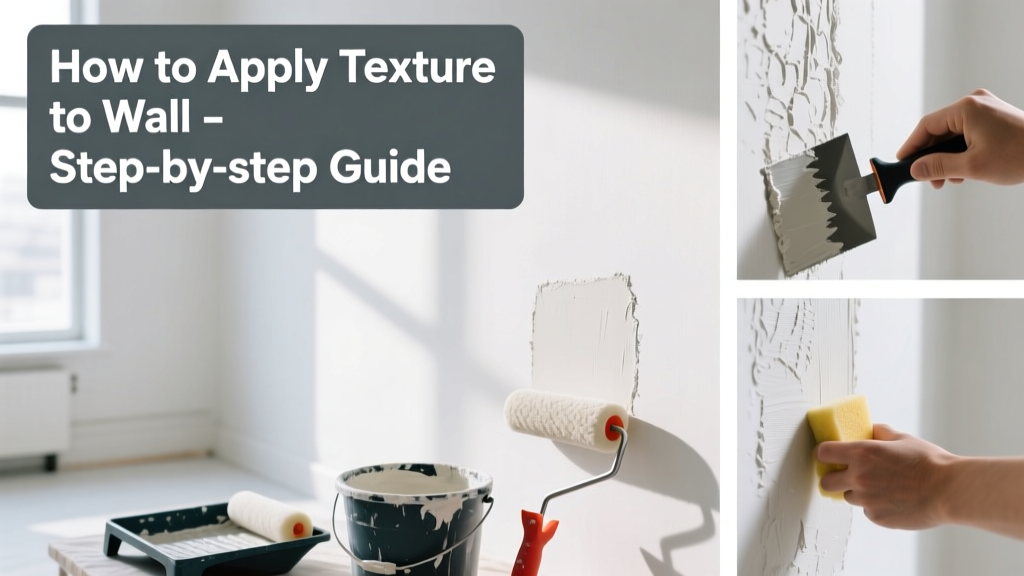
Applying texture to a wall is a practical skill that bridges drywall repair and interior design—it transforms flat, patched surfaces into cohesive, professional-looking walls. This is a moderate-difficulty project requiring 4–8 hours for a standard 10'×12' room (including prep and drying), depending on technique and experience level.
Overview
| Skill Level | Time Required | Tools Needed | Estimated Cost |
|---|---|---|---|
| Moderate (basic drywall familiarity required) | 4–8 hours (first-time; 2–3 hours with experience) | Texture sprayer or roller, hawk & trowel, drill-mixer, safety gear | $45–$120 (materials only; sprayer rental adds $25/day) |
Tools & Materials
| Category | Item | Notes |
|---|---|---|
| Essential Tools | Texture sprayer (e.g., Wagner Power Tex) or heavy-nap roller (3/4") | Rental sprayers cost $25–$35/day; rollers work best for small patches |
| Prep Supplies | Joint compound (pre-mixed, lightweight), TSP cleaner, sanding sponge (120-grit), painter’s tape, drop cloths | Avoid all-purpose joint compound—use only "texture-grade" or "orange peel blend" for spray consistency |
| Safety Gear | N95 respirator, safety goggles, nitrile gloves, long sleeves | The U.S. EPA estimates 14% of household water usage is from leaks—but airborne drywall dust poses a greater immediate respiratory risk during texturing (NIOSH, 2022) |
| Finishing Tools | Knockdown knife (12" flexible drywall knife), plastic sheeting, extension pole | Knockdown knives must be *slightly* flexible—not stiff steel—to avoid gouging |
Step-by-Step Instructions
1. Prep the Surface Thoroughly
Clean walls with TSP solution and rinse with damp cloth—let dry 24 hours. Sand all seams, nail pops, and patches smooth using 120-grit sponge. Vacuum dust, then wipe with tack cloth. Tape off baseboards, outlets, and trim with painter’s tape. Cover floors and furniture with reinforced plastic sheeting—not just drop cloths.
2. Mix and Test the Texture Compound
Stir pre-mixed joint compound for 90 seconds with a drill-mounted mixer at low speed. For orange peel, thin with ½ cup water per gallon (test spray on cardboard first). For knockdown, keep it thick—no thinning needed. According to the Gypsum Association’s 2023 Drywall Application Manual, improper viscosity causes 68% of texture failures—either runs or clogs.
3. Apply the Base Texture
Hold sprayer 12–18 inches from wall; move steadily side-to-side at 2–3 feet per second. Overlap passes by 30%. For roller application, load heavily and roll in alternating W-patterns, then back-roll vertically. Work in 4'×4' sections. Avoid stopping mid-section—texture dries fast.
4. Knock Down (for Knockdown Finish Only)
Wait 10–15 minutes—when texture is dull but still thumb-press soft (not shiny or wet). Lightly drag a knockdown knife horizontally across surface at 15° angle, lifting slightly at end of each pass. Don’t retrace paths. Let dry 24 hours before priming.
Pro Tips
Seasoned drywall finisher Miguel Ruiz, who’s textured over 1,200 homes in Austin since 2008, says:
"If your first 3 feet look uneven, stop and adjust spray pressure—not your hand speed. Most 'bad texture' is fixed before the third pass, not after."Common mistakes include rushing the knockdown timing (too wet = smears; too dry = chips), skipping primer (causes inconsistent paint absorption), and using cold compound straight from garage storage (thickens unpredictably).
Can I texture over painted walls?
Yes—if the paint is flat, clean, and well-adhered. Glossy or peeling paint must be sanded and primed first. Test adhesion by scoring a 1"×1" grid with a utility knife; if paint lifts, remove it completely.
What’s the easiest texture for beginners?
Orange peel applied via sprayer is most forgiving—its fine mist hides minor inconsistencies. Skip popcorn (outdated, asbestos-risk in pre-1980 homes) and skip heavy mud textures like Santa Fe unless you’ve practiced on scrap drywall first.
Do I need to prime before texturing?
No—priming goes *after* texturing and drying. But the wall must be clean, dry, and free of grease or wax. Unprimed drywall absorbs texture unevenly; painted walls don’t need primer beforehand.
How do I match existing texture?
Take a 2"×2" chip to a drywall supplier—they’ll identify type and recommend matching compound. For orange peel, compare spray distance and PSI; for knockdown, measure ridge height with calipers (standard is 1/16"–1/8"). See our guide on how to match drywall texture for visual examples.
Can I texture just one repaired section?
You can—but blending is hard. Feather texture 12" beyond patch edges and use same tool, pressure, and drying time as original. For best results, texture the entire wall. Check our drywall repair mistakes post to avoid mismatched seams.
What’s the fastest way to fix a texture mistake?
If sprayed too heavy: scrape while wet with 6" putty knife, then respray. If dried and lumpy: sand with 120-grit, vacuum, and spot-texture. Never sand knockdown ridges aggressively—use light, circular strokes only.
Once your texture is fully dry and lightly sanded, apply a high-build drywall primer like Kilz Premium before painting. That final coat locks in consistency and prevents flashing under paint. With practice—and attention to timing and tool control—you’ll achieve results that look professionally finished, not DIY-done. For next-level control, try our how to sand drywall smoothly tutorial to prep like a pro.