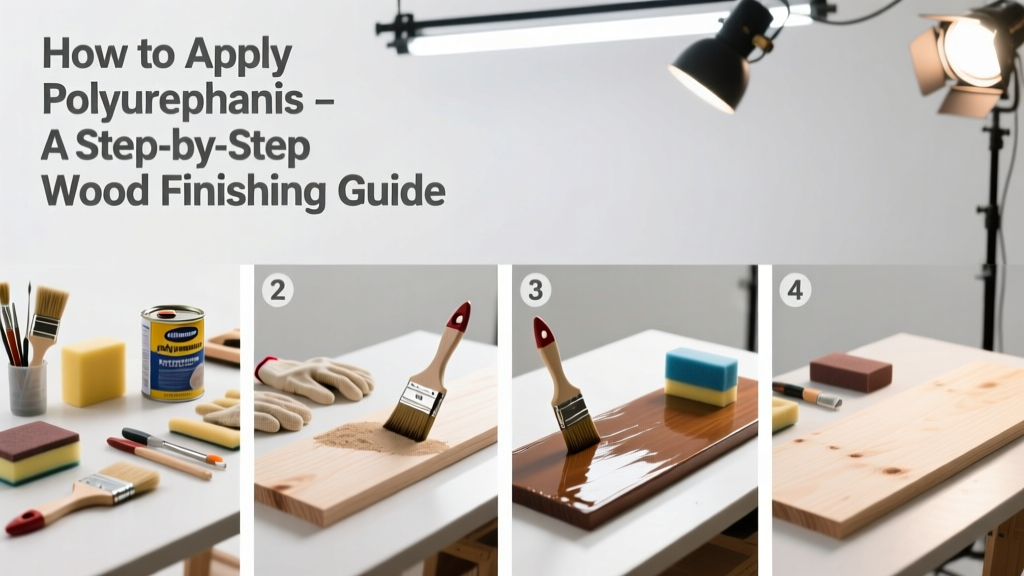
Applying polyurethane is a foundational wood-finishing skill that transforms raw or refinished wood into a durable, glossy (or satin) surface—but it’s easy to ruin hours of sanding with one rushed coat. This tutorial walks you through the entire process at beginner-to-intermediate level, requiring about 8–12 hours spread over 3–4 days (most of that is drying time).
Overview
| Skill Level | Time Required | Tools Needed | Estimated Cost |
|---|---|---|---|
| Beginner-friendly with attention to detail | 2–3 hours active work + 72+ hours drying/curing | Fine-grit sandpaper, foam brush or lambswool applicator, tack cloth, respirator, drop cloths | $18–$45 (depending on brand and quantity) |
Tools & Materials
| Item | Specifications | Notes |
|---|---|---|
| Polyurethane | Minwax Fast-Drying Oil-Based (gloss/satin) or General Finishes High Performance Water-Based | Oil-based gives deeper warmth and longer open time; water-based dries faster and yellows less. Avoid “spray poly” for large flat surfaces—it rarely levels well. |
| Sanding Supplies | 220-, 320-, and 400-grit sandpaper (or sanding sponge); random-orbit sander optional | Never skip final 400-grit sanding before first coat—it removes scratches and creates micro-grip for adhesion. |
| Application Tools | 1.5"–2" high-quality synthetic-bristle brush (oil-based) OR foam brush (water-based); lambswool pad for large surfaces | Brushes leave fewer streaks than rollers. Skip cheap foam brushes—they shed particles and create bubbles. |
| Cleaning & Prep | Tack cloth, lint-free cotton rags, mineral spirits (oil-based) or denatured alcohol (water-based), N95 respirator + safety glasses | According to the U.S. EPA’s 2022 Indoor Air Quality Guidelines, proper ventilation and PPE reduce VOC exposure by up to 70% during finish application. |
Step-by-Step Instructions
1. Prepare Your Workspace and Surface
Clear a dust-free area with good airflow (open windows + box fan pulling air out). Lay down rosin paper—not newspaper—under your project. Sand the bare or stripped wood progressively: 120 → 180 → 220 grit, then wipe with mineral spirits (oil-based) or water (water-based), let dry, then sand *again* with 320 grit. Finish with 400-grit and remove all dust using a tack cloth—never just blow or wipe with a rag.
2. Stir (Don’t Shake) the Polyurethane
Open the can and stir gently for 90 seconds with a wooden stick—no shaking. Agitation introduces tiny air bubbles that become visible as pinholes in the dried film. If using oil-based poly, thin the first coat 10% with mineral spirits for better penetration and leveling.
3. Apply the First Coat With Long, Even Strokes
Load your brush about 1/3 full. Start at one edge and work with the grain, applying moderate pressure and overlapping strokes by 25%. Keep a wet edge—don’t go back over semi-dry areas. Work in sections no wider than 18 inches to avoid lap marks. Immediately tip off (lightly drag dry brush tips across surface) to level ridges. Wipe excess from corners and edges with a clean rag to prevent drips.
- ⚠️ Warning: Don’t overbrush. Each extra pass increases bubble risk and raises the grain slightly on water-based formulas.
- 💡 Tip: For tabletops or cabinets, hang doors or elevate pieces on blocks so all sides get airflow—prevents sticking and ensures even cure.
4. Lightly Sand and Clean Between Coats
Wait the manufacturer’s minimum recoat time (usually 4–6 hrs for oil-based, 2 hrs for water-based), then sand *only* with 320- or 400-grit wet/dry paper *dry*, using light pressure and straight strokes. Wipe thoroughly with a tack cloth—then a second pass with a lint-free rag dampened with mineral spirits (oil) or water (water-based). Any missed dust will become a permanent nib.
Pro Tips
Even experienced finishers make avoidable mistakes with polyurethane. Here’s what separates decent results from professional ones:
“Most ‘cloudy’ or ‘milky’ finishes come from applying polyurethane in humidity above 65% or on a surface that wasn’t fully dry from cleaning. Always check dew point with a hygrometer—it’s the #1 preventable failure.” — Tom Slaton, Master Finisher & Instructor, American Association of Woodturners (2023)
- Apply in temperatures between 65–75°F. Below 60°F, solvent evaporation slows dramatically—causing blushing or soft film.
- Three thin coats beat two thick ones every time. Thick coats take 3× longer to cure and often shrink, crack, or peel at edges.
- Let the final coat cure *fully* before light use (72 hrs), and wait 7–14 days before placing heavy objects or using cleaners. The surface hardens top-down—the interior remains gel-like for days.
Why does my polyurethane look streaky after drying?
Streaks usually mean uneven application speed or inconsistent brush loading. You’re either dragging too slowly in some areas (causing buildup) or lifting the brush mid-stroke. Practice long, unbroken strokes on scrap wood first—keeping the same pressure and speed from start to finish. Also verify your brush isn’t worn or frayed at the tips.
Can I apply polyurethane over stained wood?
Yes—but only after the stain is *fully cured*, not just dry to the touch. Oil-based stains need 72+ hours; water-based stains need 24–48 hours. Test with your thumb—if it leaves a mark or feels tacky, wait longer. Skipping this causes bleeding, hazing, or poor adhesion.
How do I fix bubbles or fish eyes in my coat?
Bubbles are almost always from overbrushing or trapped air in the can. Fish eyes (small craters) signal silicone contamination—often from furniture polish residue or skin oils. Lightly sand the affected area with 400-grit, clean with mineral spirits *and* a dedicated silicone remover like Krud Kutter, then reapply a thinned coat.
Do I need to sand the final coat?
No—unless you’re polishing to a high gloss. Sanding the last coat removes the intended sheen and exposes softer layers underneath. If you want ultra-smooth clarity, wait until the final coat is fully cured (14 days), then wet-sand with 1000- and 2000-grit paper, followed by automotive rubbing compound and a soft cotton buffing pad.
Is water-based polyurethane as durable as oil-based?
In lab tests conducted by the Forest Products Laboratory (USDA, 2021), premium water-based polyurethanes like General Finishes High Performance match oil-based films in abrasion resistance after full 14-day cure—but they’re more vulnerable to heat and prolonged water exposure (e.g., cutting boards, outdoor furniture). Choose oil-based for heirloom pieces or high-moisture zones.
Can I use a roller instead of a brush?
You can—but only with a high-density foam roller (not paint-store variety) and only on large, flat surfaces like desktops. Roll in one direction, then tip off immediately with a dry, soft brush. Never roll near edges or details. Brushes still give superior control and edge definition, especially on turned legs or moldings.
Applying polyurethane well isn’t about speed—it’s about rhythm, patience, and respecting the chemistry of the finish. Once you’ve mastered the timing between coats and the feel of a properly loaded brush, you’ll finish furniture like a cabinetmaker. For related techniques, see how to sand wood properly and how to stain wood evenly. And if you're tackling a kitchen table or hardwood floor, revisit the how to choose wood finish guide to compare polyurethane with alternatives like wiping varnish or epoxy resin.