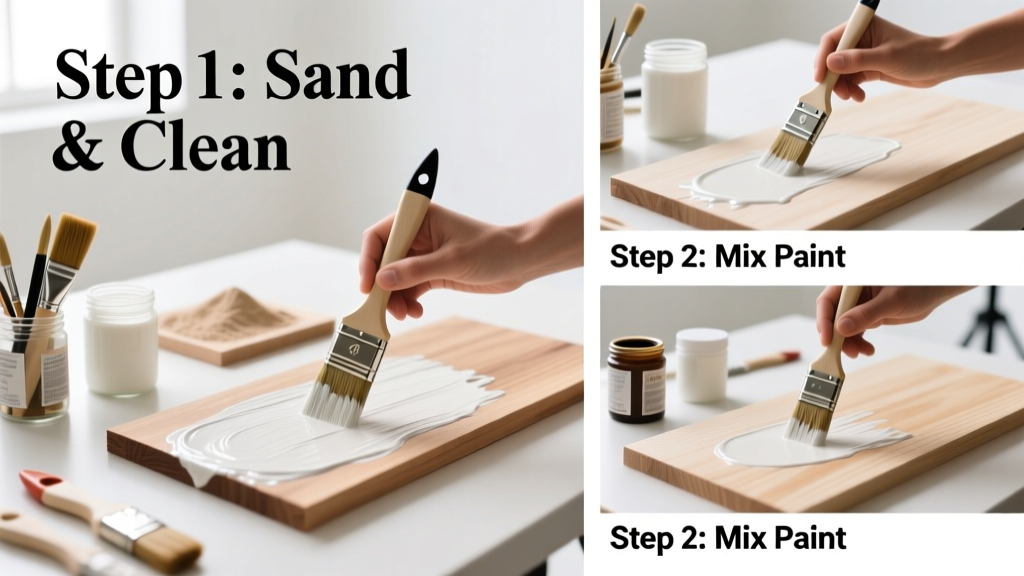
Applying milk paint is a rewarding skill that delivers rich, matte, vintage-inspired finishes using a non-toxic, biodegradable paint made from milk protein, lime, and pigment. It’s beginner-friendly but demands attention to surface prep and mixing—expect 2–4 hours total for a small dresser, including drying time between coats.
Overview
| Category | Details |
|---|---|
| Skill Level | Beginner (with careful prep) |
| Time Required | 2–4 hours (plus 12–24 hrs curing) |
| Tools Needed | Brushes, sandpaper, mixing bowl, whisk, spray bottle |
| Estimated Cost | $25–$45 (for 1 quart powder + supplies) |
Tools & Materials
| Item | Specification | Notes |
|---|---|---|
| Milk paint powder | Real Milk Paint Co. or Miss Mustard Seed’s | Avoid “milk paint-style” acrylic blends—they don’t distress or bond the same way |
| Distilled water | 1 part powder to 1 part water (by volume) | Tap water minerals can cause clumping or inconsistent cure |
| Brushes | Natural bristle (for traditional look) or synthetic angled brush (for control) | Stiff 2″ chip brush works best for first coat on raw wood |
| Sanding tools | 120- and 220-grit sandpaper + sanding block or orbital sander | Never skip sanding—even on raw wood—to open pores for adhesion |
| Sealer (optional) | Clear wax, hemp oil, or flat water-based poly | Wax enhances depth; poly adds durability for high-use surfaces like tabletops |
Step-by-Step Instructions
1. Prepare your surface thoroughly
Remove hardware and clean with TSP substitute or vinegar-water (1:1). Sand all surfaces with 120-grit, then wipe with a tack cloth. For previously painted or glossy surfaces, de-gloss with 220-grit and lightly dampen wood before painting—it helps the lime in milk paint bind.
2. Mix paint to the right consistency
In a non-reactive bowl, combine 1 cup milk paint powder with 1 cup distilled water. Whisk vigorously for 60 seconds until smooth—no lumps remain. Let sit 5 minutes, then re-whisk. It should flow like heavy cream. If too thick, add water ½ tsp at a time. If too thin, let it rest longer—the calcium hydroxide will thicken naturally.
3. Apply the first coat with controlled strokes
Use long, even strokes following the wood grain. Work in 2′ × 2′ sections. Don’t over-brush—milk paint dries fast (15–30 min). Feather edges where panels meet to avoid lap marks. Expect slight streaking—that’s normal and evens out with the second coat.
4. Lightly sand and apply the second coat
After 2 hours (or overnight), scuff-sand with 220-grit only where needed—don’t sand through. Wipe away dust. Apply second coat the same way. This coat fills texture and deepens color. Avoid applying too thickly: runs or cracking occur if layers exceed 3 mils wet film thickness.
Pro Tips
Milk paint behaves unlike modern paints—it’s reactive, not film-forming. That means it bonds chemically with porous surfaces, not just physically. According to the Real Milk Paint Co.’s 2022 Technical Guide, “Milk paint achieves maximum durability when applied to raw, sanded wood with no sealers or primers underneath.”
- Distress intentionally: For chippy, aged effects, skip sealing raw wood in spots—or apply a glue-water wash (1 tsp white glue + ¼ cup water) before painting to block absorption in select areas
- Fix blotchiness: If one area absorbs more paint than another, mist lightly with water before recoating—it equalizes absorption
- Store mixed paint: Refrigerate unused paint up to 7 days in an airtight jar—but discard if it smells sour or separates irreversibly
Can I use milk paint over laminate or melamine?
No—not without mechanical bonding. Laminate doesn’t absorb, so milk paint won’t adhere. If you must try it, heavily scuff with 100-grit, apply a shellac-based primer like Zinsser BIN, then test a 2″ × 2″ patch. Most pros recommend how to paint laminate furniture with acrylic enamel instead.
Why does my milk paint look streaky after drying?
Streaking usually comes from uneven absorption or overworking the brush. Raw pine and poplar absorb aggressively at end grain—seal those areas lightly with diluted glue wash before painting. Also, never go back over semi-dry paint: it lifts and drags. Keep a damp (not wet) brush edge and maintain a wet edge as you work.
Do I need to seal milk paint?
Yes—for anything functional. Unsealed milk paint is water-sensitive and rubs off easily. For dining chairs or cabinets, use best sealers for milk paint: clear paste wax for soft sheen and easy touch-ups, or water-based poly for kitchens and bathrooms. Avoid oil-based poly—it yellows and prevents future waxing.
Can I mix colors or create custom shades?
Absolutely—and it’s one of milk paint’s biggest strengths. Mix dry powders before adding water (e.g., 2 parts Burgundy + 1 part Raw Umber = deep terracotta). The U.S. EPA notes that milk paint generates zero VOCs during mixing or curing, making color experimentation safe indoors without ventilation (Indoor Air Quality Guidelines, 2021). Just document ratios—you can recreate them later.
What’s the difference between milk paint and chalk paint?
Milk paint is mineral-based, requires mixing, and bonds chemically to raw surfaces. Chalk paint is acrylic-based, premixed, and sticks to almost anything—but lacks true distressing behavior and isn’t food-safe. Milk paint is certified non-toxic by ASTM D-4236; chalk paint often contains acrylic co-polymers not rated for children’s furniture.
How long until I can use the piece?
You can reassemble hardware after 24 hours, but full chemical cure takes 21 days. During this time, avoid placing heavy objects or wiping with damp cloths. For sealed pieces, wait 72 hours before light use and 7 days before full exposure to moisture or abrasion.
Milk paint rewards patience and precision—not perfection. Its subtle variations, gentle sheen, and historical authenticity make it worth mastering. Once you’ve nailed the mix-and-match rhythm and learned how wood talks back to the brush, you’ll reach for it before any other finish. And if your first coat cracks or blisters? That’s not failure—it’s feedback. Sand it down and try again with less water. You’re not just painting furniture. You’re reviving a 2,000-year-old craft—one brushstroke at a time.