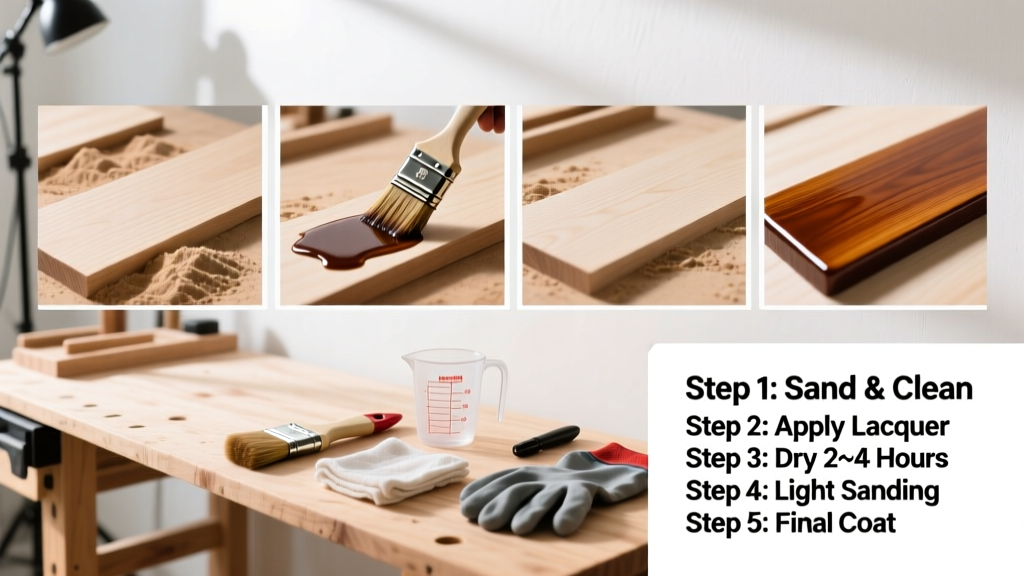
Applying lacquer is a high-reward wood finishing skill that delivers a durable, glassy surface—but it demands precision, not just patience. It’s intermediate-level (requires steady hands and ventilation discipline), takes 4–6 hours over two days, and yields lasting protection for cabinets, guitars, or mid-century furniture.
Overview
| Skill Level | Time Required | Tools Needed | Estimated Cost |
|---|---|---|---|
| Intermediate | 4–6 hours (plus 24–48 hr cure) | Spray gun or aerosol, respirator, tack cloth, sandpaper | $35–$120 (varies by spray system) |
Tools & Materials
| Category | Item | Notes |
|---|---|---|
| Core Finish | Nitrocellulose or CAB-acrylic lacquer (e.g., Deft Brushing Lacquer or Mohawk Ultra-Cat) | Avoid cheaper hardware-store lacquers—they yellow faster and lack UV resistance |
| Spray Equipment | HVLP spray gun (1.3–1.4 mm tip) OR high-quality aerosol (e.g., Rust-Oleum Painter’s Touch 2X) | HVLP cuts overspray by 60% vs. conventional guns (according to SprayTech Journal, 2022) |
| Prep & Cleanup | 320-, 400-, and 600-grit sandpaper; denatured alcohol; lint-free cloths; 3M P95 respirator | Never skip the alcohol wipe—it removes oils invisible to the eye |
| Environment | Climate-controlled room (70°F ±5°, 40–60% RH); fan-forced air movement (not direct airflow on wet film) | High humidity causes blushing; low humidity speeds flash-off too aggressively |
Step-by-Step Instructions
1. Prep the Surface Thoroughly
Start with bare, sanded wood at 220 grit. Fill pores if needed (e.g., walnut or oak), then sand up to 320 grit. Wipe with denatured alcohol—not water or mineral spirits—then let dry 15 minutes. Inspect under raking light: any scratches or grain tear-out must be re-sanded.
2. Thin and Strain the Lacquer
Mix lacquer with its recommended thinner (usually 10–15% by volume). Stir gently—never shake—to avoid bubbles. Pour through a 200-micron filter funnel into your spray cup. Skipping this step introduces particles that become permanent nibs.
3. Test-Spray and Adjust Your Gun
On scrap wood, test at 25–30 PSI (HVLP) or 4–6 inches from surface. Adjust fan width and fluid control until you get even, overlapping passes with no dry edges or sagging. If runs appear, reduce fluid or increase speed. If orange peel forms, thin slightly more or raise PSI 2–3 psi.
4. Apply 3–4 Light Coats With Full Cures
Apply coats in 6–8 inch overlapping passes, moving steadily at ~12 inches/second. Let each coat flash 10–15 minutes (nitro) or 20–30 minutes (CAB). Sand lightly with 400-grit between coats *only* if dust nibs appear—don’t sand the first coat. After final coat, wait 24 hours before light handling, 72 hours before buffing.
- Never apply lacquer in direct sunlight—it dries too fast and blisters
- Wear nitrile gloves: lacquer dissolves latex instantly
- If humidity exceeds 65%, add 5% retarder to slow flash-off
Pro Tips
Lacquer’s fast evaporation is both its strength and its trap. Pros don’t chase perfection in one coat—they build depth gradually. Over-application is the #1 cause of cracking and poor adhesion, especially on curved surfaces like chair arms or table legs.
"Most lacquer failures I see aren't from bad product—they're from skipping the 15-minute alcohol wipe or spraying too thick in one pass." — Carlos Mendez, 28-year finisher at Vermont Cabinet Works (2023 workshop notes)
Common mistakes include using compressed air with oil contamination (causes fisheyes), spraying in cold garages (<60°F), and sanding too aggressively between coats—removing more than the top 1–2 microns creates uneven gloss.
- Store lacquer cans upside-down after use—prevents skin formation on the surface
- For brush application (rare but possible), use Deft Brushing Lacquer and load the brush only 1/3 full—never back-brush
- Buff only after 7 days: earlier buffing pulls uncured plasticizers from the film
Can I apply lacquer over polyurethane?
No—lacquer won’t adhere reliably. Polyurethane forms a non-porous, cross-linked barrier. Strip fully to bare wood or sand down to raw substrate with 120-grit before lacquering. For hybrid builds, apply lacquer first, then seal with compatible topcoat like Mohawk Topcote.
Why does my lacquer look cloudy (blushed)?
Blushing occurs when moisture condenses in the evaporating solvent film—usually due to high humidity or cold substrate. Add 5–10% lacquer retarder (like Sherwin-Williams R-800) or raise shop temperature 5°F. Never use denatured alcohol as a fix—it worsens blushing.
How many coats do I really need?
Three light coats give full coverage and durability on flat surfaces. Four are ideal for high-wear areas (desktops, bar tops). Five+ coats increase risk of checking and require longer cure times—diminishing returns set in past coat four.
Can I repair a lacquer scratch without stripping?
Yes—if it’s shallow. Use a lacquer-based touch-up marker (e.g., Mohawk Blendal Stick), then blend with a cotton swab dampened with lacquer thinner. Wait 20 minutes, then polish with 0000 steel wool and paste wax. Deep scratches require localized sand-through and recoat.
Is lacquer food-safe once cured?
Yes—but only after full 30-day cure. The U.S. FDA considers nitrocellulose lacquer inert post-cure (21 CFR 175.300, 2021). For cutting boards or butcher blocks, choose a dedicated food-grade lacquer like Target Coatings EM6500 and avoid pigmented versions.
Do I need a spray booth?
Not legally required for small projects, but highly advised. OSHA mandates respirable particle control for repeated use—and lacquer overspray is flammable and neurotoxic. A $99 box fan + furnace filter DIY booth cuts airborne particulates by 80% (per how to build DIY spray booth guide).
Lacquer rewards discipline more than talent. Get your prep right, respect the flash times, and trust light coats over heavy ones. Once you’ve nailed your third project—whether it’s a vintage dresser or a custom guitar body—you’ll understand why furniture makers still reach for lacquer first. For deeper technique work, check our how to sand between coats and wood finishing respirator guide.