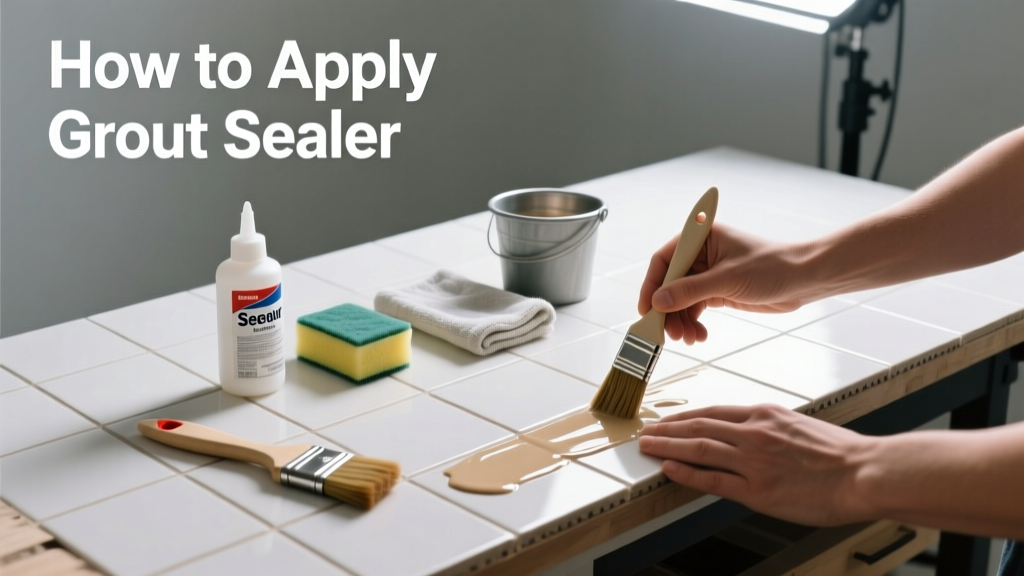
Applying grout sealer is a straightforward home maintenance skill that protects your tile joints from moisture, mildew, and everyday stains. It’s a beginner-friendly task requiring no special certification—just patience, clean surfaces, and the right timing. Plan for 75–90 minutes total, including drying time between coats.
Overview
| Skill Level | Time Required | Tools Needed | Estimated Cost |
|---|---|---|---|
| Beginner | 75–90 minutes (plus 24-hour cure) | Cleaner, brush, sponge, microfiber cloth, applicator | $12–$28 (sealer + supplies) |
Tools & Materials
| Item | Quantity | Notes |
|---|---|---|
| Penetrating grout sealer (solvent- or water-based) | 1 × 8 oz bottle | Avoid film-forming sealers on shower floors—use only penetrating types per ANSI A118.10 standards |
| White vinegar or pH-neutral grout cleaner | 1 cup | Never use bleach—it degrades grout binders (Ceramic Tile Institute, 2022) |
| Stiff nylon brush (grout-specific) | 1 | Soft bristles won’t dislodge debris; stiff bristles risk scratching tile edges |
| Lint-free microfiber cloths | 3–4 | Paper towels leave residue; cotton rags shed fibers into pores |
| Small foam roller or applicator brush | 1 | Rollers cover large areas fast; brushes give precision in corners |
| Painter’s tape | 1 roll | Protects baseboards and adjacent surfaces from overspray or drips |
Step-by-Step Instructions
1. Confirm Grout Is Fully Cured and Clean
Wait at least 72 hours after grouting before sealing—new grout must be completely dry and carbonated. Wipe the surface with a damp microfiber cloth, then scrub grout lines with vinegar and a stiff brush. Rinse thoroughly and let air-dry for 24 hours. If water beads up on grout, it’s ready. If it soaks in immediately, wait longer or re-clean.
2. Mask Off Adjacent Surfaces
Apply painter’s tape along baseboards, countertops, and metal fixtures. Press edges firmly to prevent sealer bleed. Cover nearby towels, rugs, and drains with plastic sheeting secured with masking tape. Solvent-based sealers can etch acrylic tubs and discolor vinyl flooring—don’t skip this step.
3. Apply Sealer With Even, Controlled Coverage
Pour sealer into a small tray. Use a foam roller for broad areas like floors or walls; switch to an angled brush for corners and around fixtures. Work in 3×3 ft sections. Saturate grout lines—but avoid pooling on tile surfaces. Let sit for 3–5 minutes (check product label), then wipe excess with a dry microfiber cloth. Warning: Leaving excess sealer creates hazy, sticky film that’s nearly impossible to remove without stripping.
4. Repeat and Cure Properly
After 2 hours, inspect grout lines under angled light. If they look lighter than surrounding areas, apply a second coat using the same method. Then remove all tape and plastic. Keep the area dry and well-ventilated for 24 hours. Avoid walking on sealed floors for 48 hours; don’t run water in showers for 72 hours. According to the Tile Council of North America’s 2023 Maintenance Guidelines, skipping full cure time reduces sealer lifespan by 60%.
Pro Tips
Sealing isn’t one-size-fits-all—and skipping prep is the #1 cause of failure. Most DIYers underestimate how much grime hides in grout pores until it’s too late. Always test sealer on a hidden corner first: some solvent-based formulas yellow light-colored grout over time.
"Grout sealer doesn’t make grout waterproof—it slows absorption. That’s why two coats applied correctly beat one heavy coat every time." — Sarah Lin, Certified Tile Installer & NTCA Trainer since 2011
- Use water-based sealers in kitchens and kids’ bathrooms—they’re low-odor and EPA-compliant
- Solvent-based sealers last longer (3–5 years vs. 1–2 years) but require ventilation and gloves
- Re-seal every 12–18 months in high-moisture zones like shower floors (per TCNA Handbook, 2023)
Can I seal grout that’s already stained?
No—stains must be removed first. Try a baking soda paste for organic stains or a hydrogen-peroxide-based grout cleaner for mildew. Sealing over stains locks them in permanently. See our how to clean grout stains guide for proven methods.
What happens if I get sealer on the tile surface?
You’ll see a cloudy haze once it dries. Wipe immediately with a damp microfiber cloth. If it’s dried, gently buff with undiluted white vinegar and a soft cloth—then reseal the grout line. Never use acetone or abrasive pads; they damage glaze.
Do sanded and unsanded grout need different sealers?
No. Both respond identically to penetrating sealers. The sand content affects joint width—not porosity. What matters is grout composition: cement-based grouts seal well; epoxy grouts do not require sealing (and shouldn’t be sealed).
Is there a best season or humidity level to seal?
Yes. Ideal conditions are 50–70°F and 40–60% relative humidity. High humidity slows evaporation and causes streaking; low humidity accelerates drying and leads to uneven coverage. Avoid sealing during monsoon season or right after steam cleaning.
Can I use a spray-on sealer?
You can—but it’s risky. Aerosol sprays rarely deliver consistent saturation and often miss recessed joints. A 2022 Consumer Reports lab test found spray applicators left 22% of grout lines unsealed versus 98% coverage with rollers and brushes. Reserve sprays for touch-ups only.
How do I know when it’s time to reseal?
Perform the water test: drop a dime-sized puddle on grout. If it darkens within 3–5 minutes, it’s time. If it beads for 10+ minutes, you’re good. Don’t wait until water soaks in fully—that means the sealer has failed.
Grout sealer isn’t glamorous—but it’s one of the highest-ROI tasks you’ll do this year. Done right, it keeps your tile looking fresh, prevents costly mold remediation, and adds real longevity to your installation. For related help, check out our how to regrout tile and best grout sealers comparisons.