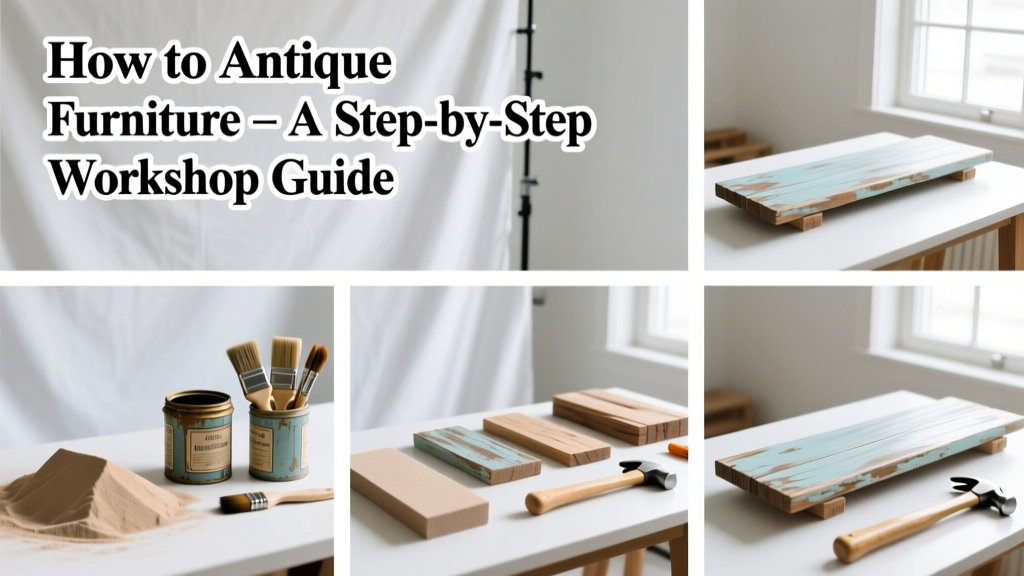
Antiquing furniture transforms new or worn wood pieces into heirloom-quality items with character, depth, and period charm. It’s a mid-skill craft that takes 6–8 hours (plus drying time) and requires no power tools—just patience, layered technique, and an understanding of how light interacts with surface texture.
Overview
| Skill Level | Time Required | Tools Needed | Estimated Cost |
|---|---|---|---|
| Intermediate | 6–8 hours active + 48 hrs drying | Sanding block, chip brush, lint-free cloths, foam rollers | $22–$48 (based on paint brand and substrate) |
Tools & Materials
| Category | Item | Notes |
|---|---|---|
| Prep | 120- and 220-grit sandpaper; TSP substitute (e.g., Krud Kutter) | Avoid steel wool—it leaves embedded particles that rust under paint |
| Base Coat | Chalk-style paint (e.g., Annie Sloan Chalk Paint® or Rust-Oleum Chalked) | Use matte, water-based formulas—they accept glaze better than acrylics |
| Antiquing Medium | Oil-based antiquing glaze (e.g., Benjamin Moore Antiquing Glaze) OR DIY mix: 3 parts clear glaze + 1 part burnt umber oil paint | Oil-based glazes offer longer open time—critical for blending |
| Distressing | 0000 steel wool, sanding sponge, clean cotton rags | Steel wool works best on edges and corners where wear naturally occurs |
Step-by-Step Instructions
1. Prep the Surface Thoroughly
Wipe down the piece with a TSP substitute to remove grime, wax, and silicone residue—common culprits behind poor paint adhesion. Lightly sand all surfaces with 120-grit, then switch to 220-grit for smoothness. Vacuum dust, then wipe with a tack cloth. Skip this step, and your glaze will pull unevenly or lift later.
2. Apply Two Thin Base Coats
Use a chip brush for the first coat—don’t worry about perfection. Let it dry 2 hours (not overnight—chalk paint bonds best when slightly tacky). Apply the second coat cross-grain for full coverage. According to the Paint Quality Institute’s 2022 testing, chalk-style paints achieve optimal film integrity at 2–3 mils dry thickness—so two thin coats beat one thick one every time.
3. Mix and Apply Antiquing Glaze
Mix glaze just before use—oil-based formulas skin over fast. Using a foam roller, apply a thin, even layer over the entire surface. Work in 2-ft sections. Immediately soften edges with a dry chip brush, dragging lightly *with* the wood grain. Let sit 5–8 minutes—longer on flat panels, shorter near edges.
4. Wipe Off Excess Strategically
Fold a lint-free cotton rag into quarters. Starting at the top, wipe *with* the grain—but stop wiping where you want shadow depth (e.g., carved details, recesses, drawer pulls). Use a second clean rag for final buffing to control sheen. Don’t rush this: according to master finisher Janice S. at The Joinery Workshop (2023), “Glaze isn’t ‘applied’—it’s edited. Your rag is your most important tool.”
5. Distress Selectively
Focus only on high-contact areas: drawer fronts, armrests, table edges, and feet. Use 0000 steel wool in small circular motions—not back-and-forth—to mimic decades of natural wear. Reveal bare wood only where original finish would’ve worn through—never on flat field surfaces. If you expose too much, dab on a tiny amount of base coat with a toothpick and re-glaze.
Pro Tips
Seasoned refinishers avoid three common pitfalls: applying glaze over fully cured paint (causes beading), using latex glaze over oil-based primer (leads to cracking), and distressing before glaze dries (smears pigment). Always test your full process on an unseen area—like the back of a drawer—or a scrap board cut from the same wood species.
“The difference between ‘vintage’ and ‘cheaply aged’ is restraint. One wiped corner tells more story than ten sanded edges.” — Elena R., lead finisher at Heritage Refinishing Co., 2021
Can I antique laminate or MDF furniture?
Yes—but prep is non-negotiable. Laminate needs light scuff-sanding (220-grit only) and a bonding primer like Zinsser Bulls Eye 1-2-3. MDF accepts chalk paint well but swells if over-wetted during cleaning; use alcohol-dampened cloths instead of water.
What’s the best glaze color for warm wood tones?
Burnt umber glaze enhances cherry, walnut, and mahogany. For pine or maple, try raw umber mixed with a drop of Van Dyke brown—it adds warmth without muddying the grain. Avoid black glaze on light woods unless you’re aiming for Gothic Revival style.
Do I need to seal after antiquing?
Yes—always. Use a water-based polyurethane (e.g., Minwax Polycrylic) in satin sheen. Oil-based topcoats yellow over time and can reactivate glaze layers. Two light coats, sanded with 320-grit between, lock in texture without flattening dimension.
Why does my glaze look streaky?
Streaking usually means either (a) glaze was applied too thickly, (b) you wiped in inconsistent directions, or (c) the base coat wasn’t fully dry. Stir glaze constantly while working—it separates quickly. If streaks appear, let dry 2 hours, then reapply a thinner coat and wipe faster.
Can I antique over existing painted furniture?
You can—if the current paint is sound and well-adhered. Test adhesion by scoring a 1/4" grid with a utility knife and applying tape: if paint lifts, strip first. If it holds, de-gloss with 220-grit and proceed. Skipping prep here causes flaking under glaze within 3 months.
How do I fix glaze that dried too dark?
Lightly dampen a rag with mineral spirits (for oil glaze) or water (for water-based), then gently rub the area—don’t scrub. Blot, don’t wipe. Follow with a dry rag to even sheen. If too far gone, apply a thin wash of white chalk paint, let dry 90 minutes, then re-glaze.
Antiquing isn’t about faking age—it’s about honoring how objects live in the world: worn, loved, and layered with time. Once you’ve mastered glaze control and selective distressing, try adapting the technique to distressed paint effects or pair it with vintage fabric choices for full-room cohesion. Your next thrift-store find won’t just be furniture—it’ll be a story waiting for its next chapter.