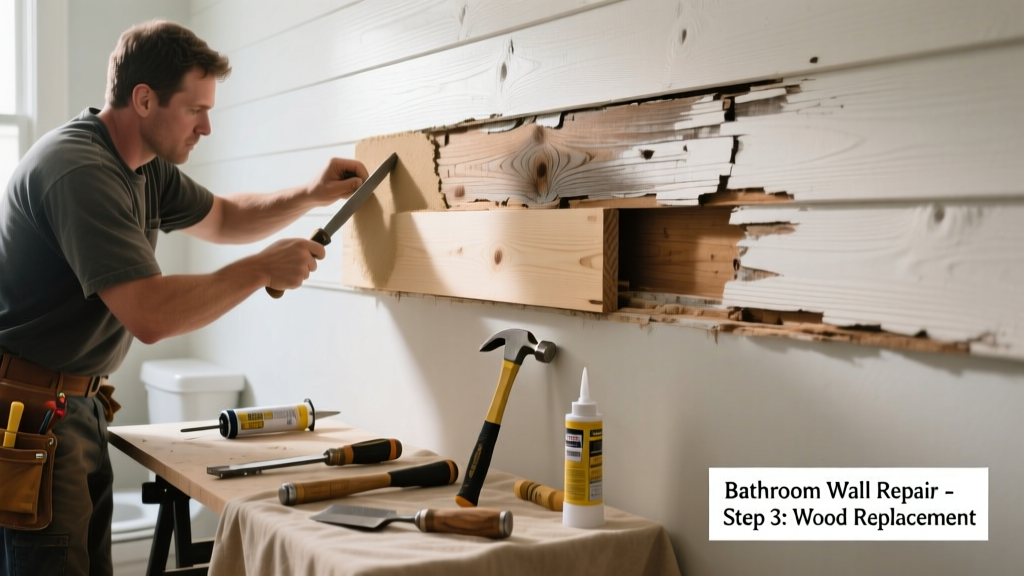
Wood siding inside a bathroom is rare—but when it happens (often in older homes, lofts, or custom-built wet rooms), moisture exposure can cause rapid, hidden decay. By the time you see discoloration or soft spots, rot may already extend 6–12 inches behind the surface. Ignoring it risks structural weakening and mold migration into wall cavities.
Quick Diagnosis
Before grabbing tools, confirm the cause—not all soft wood is rot. Check for these telltale signs:
- Dark brown or black staining with a musty odor
- Soft, spongy texture that crumbles under light pressure
- Visible fungal growth or fine white filaments (hyphae)
- Peeling paint or blistered caulk near seams or corners
- Water stains on adjacent drywall or ceiling below
Tools & Materials Needed
| Item | Purpose | Estimated Cost |
|---|---|---|
| Carbide-tipped oscillating tool blade | Cuts through rotted wood without splintering adjacent material | $12–$18 |
| Borax-based wood preservative (e.g., Bora-Care) | Kills remaining fungi and prevents reinfestation | $45–$65 |
| Exterior-grade epoxy wood filler (e.g., Abatron WoodEpox) | Structurally rebuilds severely degraded areas | $32–$48 |
| 100% silicone caulk with mildewcide | Seals joints where siding meets tub/shower surround | $5–$9 |
| Moisture meter (pin-type) | Verifies moisture content <15% before sealing | $75–$120 |
Step-by-Step Fix
Choose the method based on rot depth and location. Always wear N95 and gloves—rot spores are hazardous.
- Isolate & dry: Shut off bathroom ventilation temporarily, run a dehumidifier at 35% RH for 48 hours, then measure moisture. If readings exceed 20%, delay repair.
- Remove rotted wood: Use an oscillating tool to cut out decayed sections, extending 2 inches beyond visible damage. Save intact pieces for pattern matching.
- Treat remaining substrate: Apply borax solution (1 cup borax per gallon hot water) with a stiff brush, saturating 1/4" deep. Let dry 24 hours.
- Rebuild or replace: For gaps <1/2" thick, use epoxy filler. For full board loss, install pressure-treated cedar or Accoya® siding—never standard pine indoors.
- Seal & protect: Prime with oil-based primer, then apply two coats of 100% acrylic satin paint. Caulk all vertical and horizontal seams with silicone.
When to Call a Pro
DIY stops where safety or code compliance begins. Call a licensed contractor if:
- Rotted area exceeds 16 square inches or spans more than one stud bay
- You find active mold colonies (>10 sq ft) or suspect HVAC duct contamination
- The siding is load-bearing (e.g., part of a cathedral ceiling assembly)
- Your home was built before 1978 and lead paint is present beneath layers
Prevention Tips
Wood siding belongs outside—not inside high-humidity zones. But if it’s there, mitigate risk long-term:
- Install an inline humidity sensor (like the Sensi Touch) that auto-triggers your exhaust fan at 60% RH
- Replace grout lines every 3 years—cracked grout lets water wick behind tile and into framing
- Add a 1/4" air gap behind siding using furring strips; pair with rigid foam insulation to block condensation
- Run bathroom fans for 20 minutes post-shower—even if windows are open
Can I use bleach on this?
No. Bleach only kills surface mold and doesn’t penetrate wood fibers where rot fungi reside. Worse, it leaves sodium residue that attracts moisture. The U.S. EPA explicitly advises against bleach for wood rot remediation (EPA Mold Remediation Guidelines, 2022).
Will painting over it stop the rot?
Painting over active rot traps moisture and accelerates decay. It’s like wrapping a wound in plastic—no breathability, no healing. According to the National Association of Home Builders’ 2023 Moisture Management Handbook, 'Surface coatings without substrate drying are the leading cause of premature wood failure in humid interior spaces.'
How fast does bathroom wood rot spread?
In sustained 80%+ RH environments, brown rot fungi can degrade structural integrity in as little as 3–6 months. A 2021 study in Journal of Building Engineering tracked untreated cedar samples exposed to bathroom-like conditions: 78% lost >40% compressive strength within 12 weeks.
Can I replace just one board without matching grain?
You can—but mismatched grain or color will stand out. For visual continuity, order replacement boards from the same mill lot (check end stamps). If unavailable, sand and stain all visible boards uniformly. Better yet, consider switching to fiber-cement panels—they mimic wood but resist rot entirely (fiber-cement vs. wood).
Do I need a vapor barrier behind the siding?
Yes—if the wall faces exterior or unconditioned space. Use 6-mil polyethylene *behind* insulation, not between siding and sheathing. Placing it on the warm side prevents interstitial condensation. Incorrect placement causes more rot than no barrier at all (vapor barrier installation guide).
What’s the best wood species for bathroom-adjacent siding?
Cedar and redwood have natural rot resistance, but even they fail without proper detailing. For interior-wet-zone applications, Accoya® (acetylated radiata pine) is certified to last 50+ years in ground contact (TRADA Service Life Prediction, 2020). It’s dimensionally stable, paint-friendly, and won’t warp near steam sources.
"In bathrooms, wood isn’t failing because it’s inherently weak—it’s failing because we treat it like brick. Every wood surface needs a drainage plane, airflow, and a way to dry inward *or* outward." — Sarah Lin, building scientist, Building Science Corporation (2023)
If your bathroom has wood siding, treat it like a boat hull—not a picture frame. Every seam is a potential leak path, every finish layer a moisture trap unless designed for breathability. Replace damaged sections decisively, monitor humidity religiously, and consider upgrading to non-organic cladding where moisture exposure is unavoidable. Your next shower shouldn’t come with a side of crumbling walls.