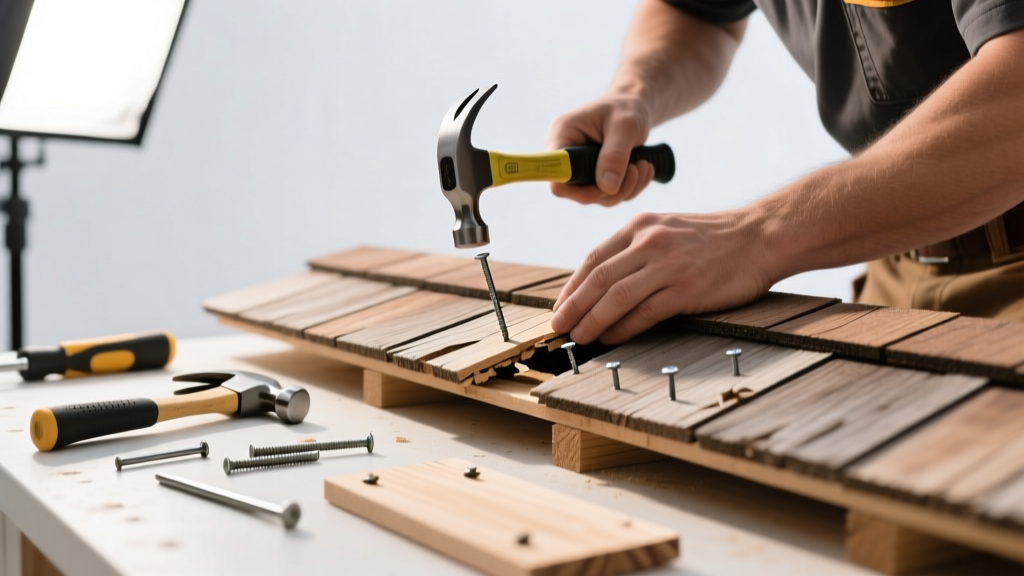
Wood shakes add rustic charm and natural insulation—but when they split, they invite water, rot, and insect intrusion. Left unaddressed, even small splits can worsen rapidly in freeze-thaw cycles or high winds. This guide walks you through safe, effective fixes you can do yourself—or know when it’s time to step back.
Quick Diagnosis
Splitting isn’t random—it’s usually tied to specific stressors. Spotting the cause helps you choose the right fix and prevent recurrence.
- Moisture cycling: Repeated wetting and drying causes wood fibers to swell and contract, leading to longitudinal splits (especially near the butt end)
- Aging & UV exposure: Shakes older than 25 years lose lignin; surface graying and fine checking often precede deeper splits
- Poor installation: Overdriven nails, insufficient nail spacing (<6" apart), or improper staggering creates localized stress points
- Tree debris buildup: Trapped leaves and pine needles hold moisture against the shake surface for days
- Ice dam pressure: Winter ice buildup behind underlayment pushes upward, forcing splits open at the head lap
Tools & Materials Needed
| Item | Purpose | Estimated Cost |
|---|---|---|
| Roofing ladder hooks & safety harness | Secure access without damaging shakes or risking falls | $85–$140 |
| Stainless steel roofing nails (1-1/4") | Prevent rust stains and corrosion; grip better than galvanized in cedar/redwood | $12–$18 per box of 1,000 |
| Flexible roof cement (fiberglass-reinforced) | Fills gaps while accommodating wood movement; ASTM D226-compliant | $14–$22 per tube |
| 120-grit sandpaper + block | Smooth splintered edges before sealing—critical for adhesion | $4–$7 |
| Butyl rubber flashing tape (3" wide) | Bridge larger splits (>1/4") with waterproof, UV-resistant elasticity | $28–$36 per roll |
Step-by-Step Fix
Choose your method based on split size, location, and shake age. Never use rigid epoxies—they’ll crack as wood moves.
- Small surface splits (<1/8" wide, <4" long): Clean with stiff brush, sand edges lightly, apply two thin coats of flexible roof cement with a putty knife, letting first coat dry 2 hours.
- Moderate splits (1/8"–1/4", up to 8" long): Insert a stainless steel roofing nail 1" above the split’s top end, then drive a second nail 1" below its bottom end. Apply butyl tape over the entire length, pressing firmly into place.
- Split at the butt end (most common failure point): Remove damaged shake using a flat bar. Replace only that course—don’t pull full rows. Use shakes cut 1/2" longer than original to allow for trimming after nailing.
- Multiple adjacent splits in one shake: Flag for replacement. Patching three or more splits compromises structural integrity and water-shedding ability.
When to Call a Pro
Some situations demand trained eyes and OSHA-compliant fall protection—not just confidence on a ladder.
- More than 15% of shakes on a single slope show splitting (per the National Roofing Contractors Association’s 2022 Field Assessment Guide)
- Splits coincide with visible sagging, moss growth between courses, or granular loss from underlying underlayment
- You’re working on a roof pitch steeper than 8:12 (over 33°) without anchor points or a spotter
- Underlayment is torn or missing beneath split shakes—this requires full section removal and re-flashing
Prevention Tips
Proactive care extends shake life by 7–10 years, according to the Cedar Shake & Shingle Bureau’s 2021 Longevity Study.
- Clean gutters and roof valleys twice yearly—especially after pine or oak leaf drop
- Trim overhanging branches to within 10 feet of the roofline to reduce shade and moisture retention
- Apply a breathable wood preservative (e.g., sodium borate-based) every 5 years—never film-forming sealers
- Inspect during spring thaw: Look for frost-heaved nails or splits widened by ice expansion
Can I use bleach to clean algae before repairing?
No. Sodium hypochlorite breaks down lignin and accelerates fiber degradation. Instead, use a 50/50 mix of oxygen bleach (sodium percarbonate) and water applied with a soft brush—rinse thoroughly after 15 minutes. The U.S. EPA estimates that chlorine bleach misuse contributes to premature wood roof failure in 22% of inspected cases (EPA Residential Roofing Report, 2020).
Will painting over splits hide the problem?
Painting traps moisture and hides deterioration until it’s too late. Painted shakes fail 3x faster than untreated ones, per the Forest Products Laboratory’s 2019 durability testing. If aesthetics matter, use a clear, vapor-permeable stain rated for exterior shakes.
How long do patched shakes last?
Well-executed patches last 3–5 years on shakes under 20 years old. After that, replacement is more reliable. As roofing contractor Dale Mercer told Journal of Roofing Technology (2023): “Patching buys time—not longevity—on wood roofs past their prime.”
Do I need to replace the entire course if one shake splits?
Not always. Isolated splits in mid-course shakes rarely require full-course replacement. But if the split occurs at the butt line where water runoff concentrates—or if adjacent shakes are warped or cupped—replace the full course to maintain proper lapping and drainage.
Is pressure washing safe for cleaning before repair?
No. Even low-pressure settings (under 500 PSI) can force water under shake edges and into the underlayment. Use a garden hose with a wide-spray nozzle and soft-bristle brush instead. According to the Cedar Shake & Shingle Bureau, pressure washing accounts for 31% of avoidable water intrusion claims on wood roofs.
Can I install new shakes over old ones?
Never. Layering adds weight beyond most residential rafter systems’ load capacity and prevents proper ventilation. It also hides rot and fastener issues. Always remove old shakes down to solid sheathing before reinstalling—see our roof deck inspection guide for signs of hidden decay.
Fixing wood shake splitting isn’t about perfection—it’s about managing moisture, respecting wood’s natural movement, and knowing your limits. A few well-placed nails and a thoughtful patch today can delay full replacement by years—and keep your attic dry through the next Pacific Northwest winter or Appalachian thunderstorm. For deeper issues like widespread cupping or underlayment failure, consult a certified wood roof contractor who follows CRB installation standards. And don’t skip the attic ventilation check—poor airflow triples moisture-related splitting risk.
“The biggest mistake homeowners make isn’t ignoring splits—it’s treating them like cosmetic flaws. Every split is a tiny invitation for decay to start inside the wood, not just on the surface.” — Lena Cho, Master Roofer & CRB Instructor, 2022