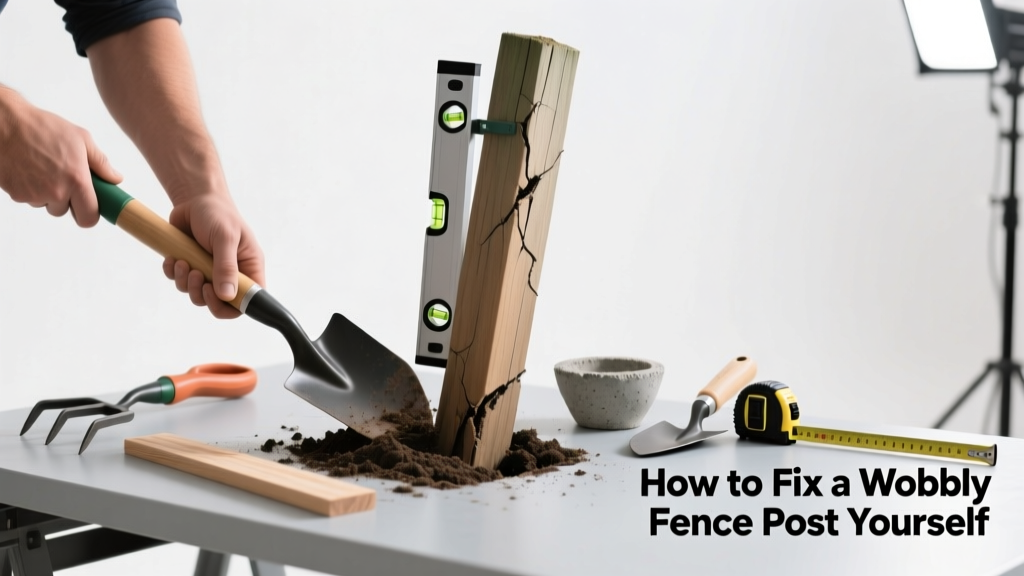
A wobbly fence post isn’t just an eyesore—it’s a safety hazard and a sign your fence is losing structural integrity. Left unaddressed, it can lead to sagging panels, leaning rails, or even full collapse after heavy wind or rain. The good news? Most cases are fixable in under four hours with basic tools and materials.
Quick Diagnosis
Before grabbing tools, identify the root cause. A loose post rarely has just one issue—often two or more overlap:
- Rot at the base (especially in wood posts buried in soil)
- Insufficient concrete footing or cracked/shifted concrete collar
- Soil erosion or frost heave around the post base
- Loose or corroded fasteners connecting rail to post
- Post installed too shallow (less than 1/3 of total length underground)
Tools & Materials Needed
| Item | Purpose | Estimated Cost |
|---|---|---|
| 4-ft level | Ensures post is plumb during re-securing | $12–$25 |
| Post-hole digger or auger | Removes compromised soil/concrete without disturbing adjacent posts | $18–$45 |
| Quick-setting concrete (60-lb bag) | Fills voids and anchors post; sets in 20–40 minutes | $5–$9 |
| Galvanized lag screws (⅜" × 4") | Re-attaches rails securely to post without splitting wood | $4–$7 |
| Pressure-treated 2×4 braces | Temporary support while concrete cures | $3–$6 |
Step-by-Step Fix
Choose the method that matches your diagnosis. Most homeowners start with Method 1—but if rot exceeds 2 inches above grade, skip to Method 3.
- Brace & Tighten (Minor Wobble): Drive two 2×4 braces at opposing 45° angles from solid ground into the post. Drill pilot holes and secure with 3" deck screws. Then tighten all rail-to-post fasteners using a socket wrench.
- Concrete Reinforcement (Loose Footing): Dig out 4–6 inches of soil around the post base. Pour 2 inches of gravel for drainage, then mix and pour quick-set concrete up to 2 inches below grade. Tamp firmly and let cure 4 hours before removing braces.
- Full Replacement (Rot or Deep Shift): Cut post 2" above ground. Use a reciprocating saw to sever below grade, then extract remnants. Dig new 24"-deep hole (36" in frost zones), set new pressure-treated 4×4, and fill with 50 lb of concrete mixed 1:2:3 (cement:sand:gravel).
When to Call a Pro
Some situations demand licensed expertise—not just because they’re hard, but because they risk property damage or personal injury:
- The post supports a gate with hydraulic hinges or automated opener
- Three or more adjacent posts are wobbling (indicates systemic soil failure or poor original installation)
- Post is embedded in a retaining wall, concrete patio, or near underground utilities (call 811 before digging)
- You discover termite damage extending into attached framing or decking
"Over 62% of fence failures begin with a single compromised post—and 78% go unrepaired until secondary damage occurs." — Fence Industry Association Maintenance Report, 2022
Prevention Tips
Extend your fence’s life by building in resilience from day one:
- Always use pressure-treated posts rated for ground contact (UC4B or higher)
- Set posts in concrete only if local code allows; otherwise, use gravel-filled holes with proper tamping
- Apply asphalt-based sealant to the below-grade portion before installation
- Inspect posts twice yearly—look for soft spots, cracks, or gaps between concrete and wood
- Install French drains or slope grade away from posts to prevent water pooling
How deep should a fence post be buried?
Minimum depth is one-third the above-ground height—or 24 inches for standard 6-ft fences. In cold climates, go deeper: the U.S. Department of Agriculture recommends burying below the local frost line (e.g., 42" in Minnesota, 12" in Georgia). Always check your frost depth map before digging.
Can I use dry concrete mix without adding water?
No—dry-pouring concrete (dumping powder into a wet hole) creates weak, crumbly bonds. Quick-set mixes require precise water ratios (usually 1 quart per 50-lb bag). Under-mixed concrete lacks compressive strength; over-mixed forms voids as water separates. For reliable anchoring, follow the manufacturer’s instructions on the bag—mixing guide here.
Will adding more concrete fix a rotted post?
No. Concrete traps moisture against wood, accelerating decay. If you see spongy texture, dark discoloration, or crumbling grain within 12 inches of the soil line, the post must be replaced. According to the International Residential Code (IRC R317.1, 2021), any wood post with >10% cross-sectional loss due to rot is structurally unsound.
How long does concrete need to cure before fence use?
Quick-set concrete reaches 50% strength in 2–4 hours, but full load-bearing capacity takes 28 days. For safety, wait at least 24 hours before hanging gates or applying lateral pressure. Light fence panel contact is okay after 4 hours—if the post doesn’t shift when gently rocked.
Can I repair a metal fence post the same way?
Only if it’s surface-rusted. For steel or aluminum posts, clean rust with wire brush + vinegar soak, then apply zinc-rich primer and epoxy coating. If the base is bent, cracked, or corroded through, replacement is required—metal posts don’t tolerate partial embedment repairs like wood. See our metal post repair guide for specifics.
What’s the best brace angle for temporary stabilization?
A 30°–45° angle delivers optimal mechanical advantage—steeper angles transfer more vertical force, shallower ones resist lateral sway better. Use two braces at opposing angles (like an X) anchored into undisturbed soil at least 18 inches from the post base. Secure with 16d galvanized nails or 3" screws driven at opposing 15° angles for maximum grip.
A properly fixed fence post should stand firm for 8–12 years—longer if you combine sound installation with seasonal inspections. Don’t wait until your fence leans into the neighbor’s yard or collapses during a storm. Grab your level and get started this weekend; most fixes cost under $30 and take less time than mowing the lawn twice.